Quick & Creamy White Chocolate Peppermint Cookies Recipe
Memories of frosty winter nights dance through these irresistible white chocolate peppermint cookies that promise pure seasonal magic.
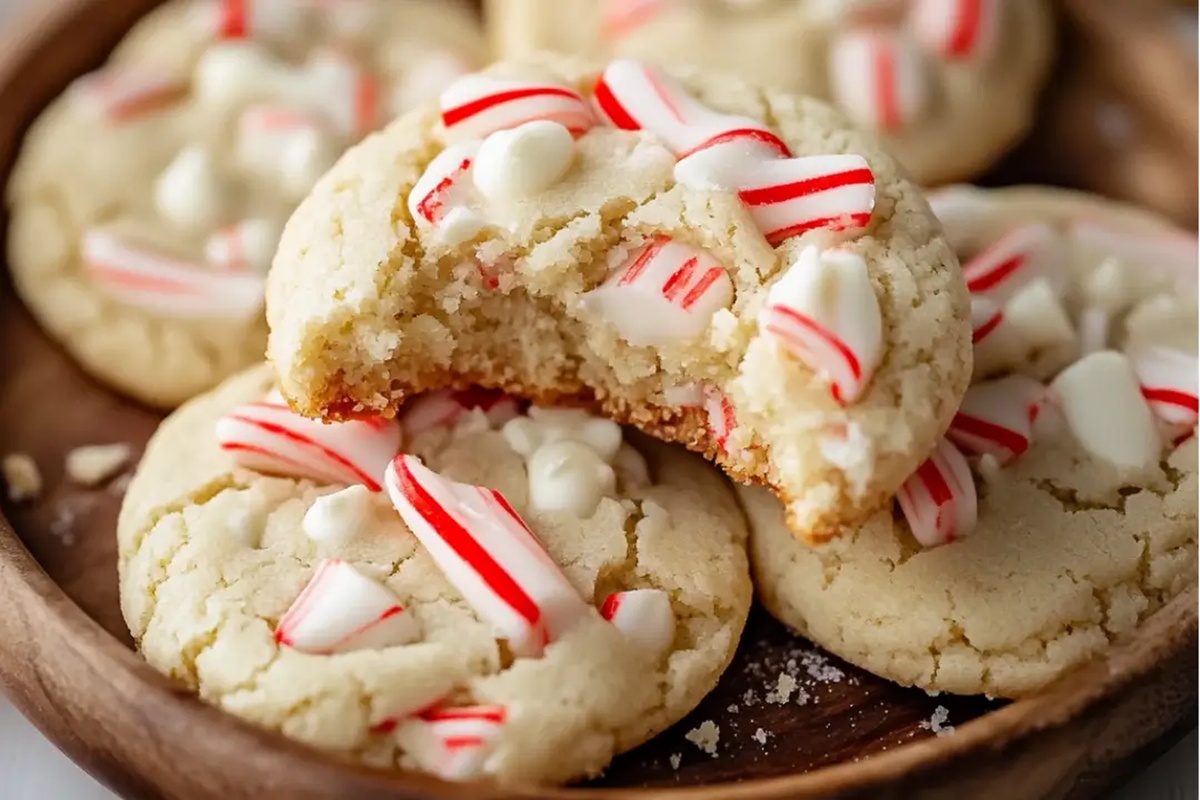
Sweet candy cane pieces sparkle throughout delicate butter-rich dough.
We stumble upon comfort with each delightful bite of crisp edges and soft centers.
Crumbling peppermint adds festive cheer to every morsel of these delectable treats.
Holiday baking becomes an adventure when you mix unexpected flavors into classic cookie recipes.
Cool mint and creamy white chocolate create a symphony of taste that surprises and delights.
Bake a batch and watch smiles spread faster than melting chocolate.
What Makes White Chocolate Peppermint Cookies So Festive

White Chocolate Peppermint Cookies Ingredient Lineup
Flour Base:Wet Ingredients:Mix-Ins:Peppermint Cookie Instructions with White Chocolate

Step 1: Fire Up The Oven
Crank the oven to a toasty 350°F.
Grab your baking sheets and line them with parchment paper or silicone mats for a smooth cookie adventure.
Step 2: Blend Dry Components
In a medium bowl, whisk together:Set this powdery mix aside for later magic.
Step 3: Whip Butter and Sweet Crystals
Grab your electric mixer and transform butter, granulated sugar, and brown sugar into a fluffy cloud-like mixture.
Beat for 2–3 minutes until super smooth and airy.
Step 4: Splash in Liquid Goodness
Toss in the egg, vanilla extract, and peppermint extract.
Mix until everything looks perfectly combined and smells incredible.
Step 5: Marry Wet and Dry Worlds
Slowly introduce dry ingredients to your wet mixture.
Stir gently until just mixed – no aggressive stirring allowed!
Step 6: Sprinkle Delightful Chunks
Fold in with tender loving care:Step 7: Shape Cookie Rounds
Scoop tablespoon-sized dough balls onto prepared baking sheets.
Leave about 2 inches between each cookie buddy.
Step 8: Bake to Perfection
Slide sheets into the oven.
Bake 8–10 minutes until edges look set and centers seem slightly underbaked – they’ll firm up while cooling.
Step 9: Cool and Enjoy
Let cookies rest on baking sheet for 5 minutes.
Transfer to wire rack and allow complete cooling before devouring.
Peppermint Cookie Tips for White Chocolate Swaps
Reheat White Chocolate Peppermint Cookies
Flavors to Pair with White Chocolate Peppermint Cookies
Peppermint Cookies Holiday Versions
FAQs
Yes, you can substitute milk chocolate chips, but it will change the flavor profile and sweetness of the cookies.
Place unwrapped candies in a sealed plastic bag and gently crush them with a rolling pin or the back of a spoon to control the size of the pieces.
Peppermint extract adds intense flavor, but you can omit it if you prefer a milder taste or don’t have it on hand.
Absolutely! Prepare the dough, wrap it tightly in plastic wrap, and refrigerate for up to 3 days before baking. You can also freeze the dough for up to 2 months.
Print
White Chocolate Peppermint Cookies Recipe
- Total Time: 25 minutes
- Yield: 24 1x
Description
Sweet holiday magic unfolds with white chocolate peppermint cookies, blending creamy chocolate and cool mint in a delightful seasonal treat. Festive crumbles melt smoothly, inviting you to savor winter’s most charming cookie experience.
Ingredients
Main Ingredients:
- 2 1/4 cups (270 grams) all-purpose flour
- 3/4 cup (170 grams) unsalted butter, softened
- 3/4 cup (150 grams) granulated sugar
- 3/4 cup (165 grams) packed light brown sugar
- 1 large egg
Flavor Enhancers:
- 1 teaspoon vanilla extract
- 1 teaspoon peppermint extract
- 1 cup (170 grams) white chocolate chips
- 1/2 cup (50 grams) crushed peppermint candies or candy canes
Leavening and Seasoning:
- 1/2 teaspoon baking soda
- 1/2 teaspoon baking powder
- 1/2 teaspoon salt
Instructions
- Prepare workspace by heating the oven to 350°F and lining baking sheets with parchment paper.
- Combine flour, leavening agents, and salt in a medium mixing vessel, whisking thoroughly to ensure even distribution.
- Use an electric mixer to transform butter and sugars into a light, airy mixture with soft peaks and a creamy consistency.
- Incorporate egg and aromatic extracts into the butter mixture, blending until smooth and homogeneous.
- Gently introduce dry ingredients into the wet mixture, folding carefully to maintain a tender cookie texture without overworking the dough.
- Delicately fold white chocolate chips and crushed peppermint candies throughout the cookie dough, distributing ingredients evenly.
- Form uniform dough portions using a tablespoon, placing each dollop approximately two inches apart on prepared baking sheets.
- Slide cookie-laden sheets into the preheated oven, allowing cookies to transform for 8-10 minutes until edges turn golden and centers remain slightly soft.
- Allow cookies to rest on baking sheets for five minutes, enabling them to stabilize and firm up before transferring to a wire cooling rack for complete cooling and optimal texture.
Notes
- Swap out white chocolate chips for dark chocolate or milk chocolate to create different flavor profiles and suit various taste preferences.
- Crush peppermint candies finely for a more uniform texture and even distribution throughout the cookie dough.
- Chill the dough for 30 minutes before baking to prevent excessive spreading and create thicker, chewier cookies.
- For gluten-free options, replace all-purpose flour with a 1:1 gluten-free baking blend to maintain similar texture and consistency.
- Prep Time: 15 minutes
- Cook Time: 10 minutes
- Category: Desserts, Snacks
- Method: Baking
- Cuisine: American
Nutrition
- Serving Size: 24
- Calories: 150
- Sugar: 10 g
- Sodium: 100 mg
- Fat: 7 g
- Saturated Fat: 4 g
- Unsaturated Fat: 3 g
- Trans Fat: 0 g
- Carbohydrates: 21 g
- Fiber: 0.5 g
- Protein: 1 g
- Cholesterol: 15 mg
James Walker
Lead Recipe Developer & Culinary Educator
Expertise
Southern Cuisine & Farm-to-Table Cooking, Recipe Development & Testing, Culinary Education & Instruction
Education
School: Auguste Escoffier School of Culinary Arts
Program: Diploma in Culinary Arts and Operations
Focus: Comprehensive training in classical and modern culinary techniques, kitchen operations, and farm-to-table practices.
James didn’t learn cooking from a TV show, he learned it from busy kitchens, family gatherings, and long afternoons spent testing recipes the hard way.
After training at the Auguste Escoffier School of Culinary Arts, he brought his love for real, down-to-earth food to every dish he makes.
At Dining At Home, James loves building recipes that feel familiar but still have something special, like adding a twist to a classic or making a slow Sunday dinner feel brand new.
When he’s not in the kitchen, you’ll probably find him swapping garden tips at the farmers’ market or teaching his daughter how to flip pancakes without a mess (almost).