Tangy Sour Cherry Jam Recipe: Homemade Summer Sweetness
Sweet memories dance through my grandmother’s cherished sour cherry jam recipe, weaving nostalgia into every spoonful.
Sunlight streaming through kitchen windows always reminds me of summer mornings spent pitting cherries together.
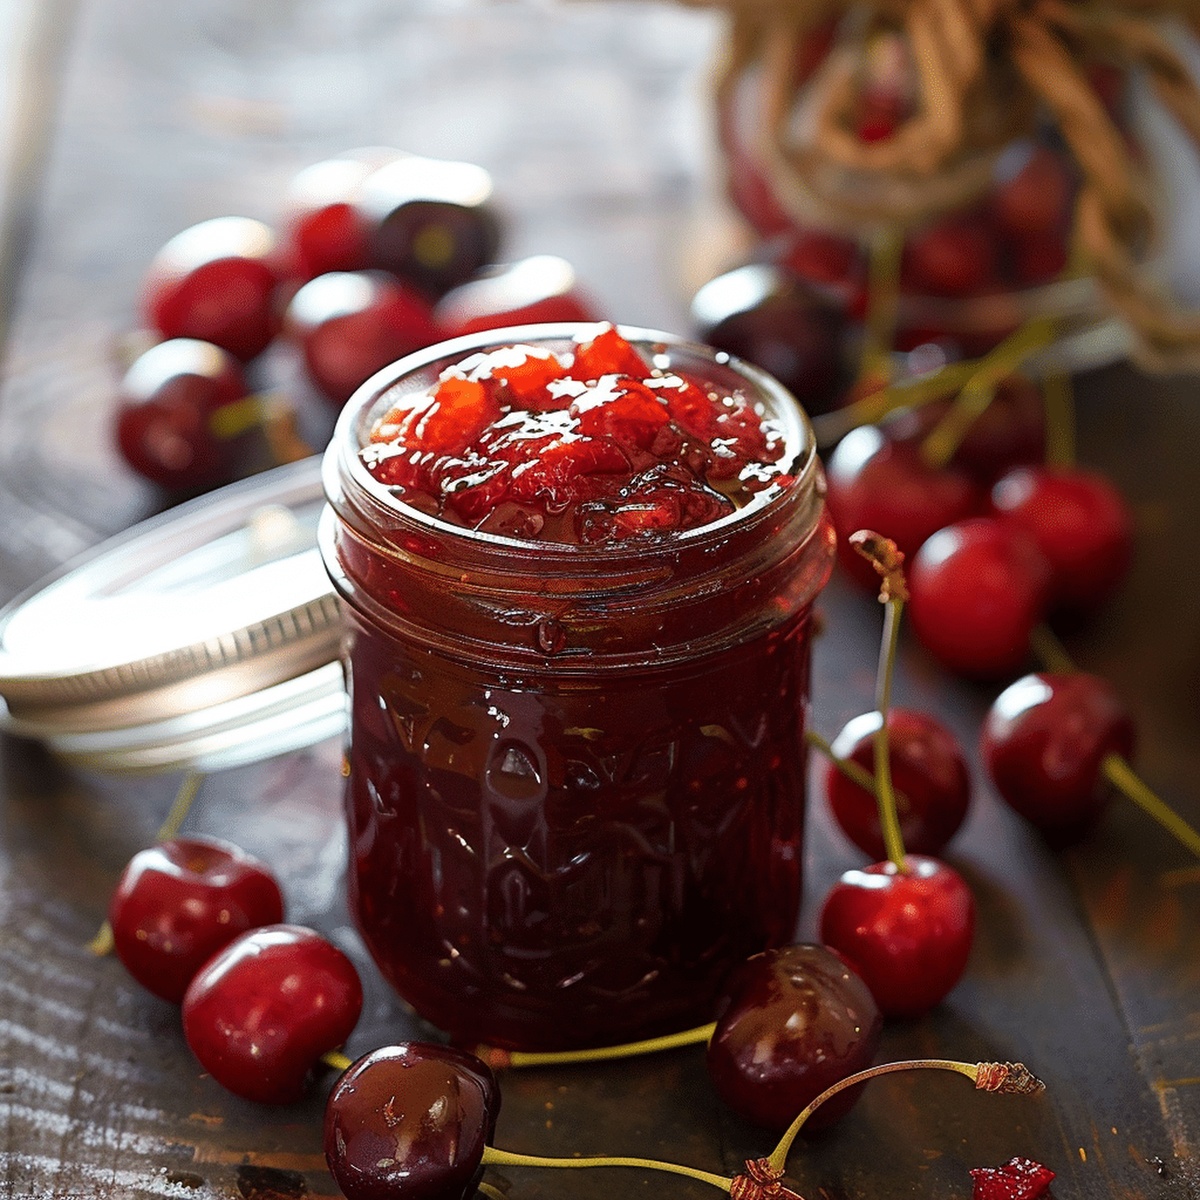
Crimson fruits burst with vibrant flavor, promising a delectable spread that captures seasonal magic.
My hands still recall the gentle rhythm of transforming ripe cherries into silky, glistening preserve.
Tart notes blend perfectly with subtle sweetness, creating a complex taste that sings of traditional craftsmanship.
Homemade goodness beats store-bought versions every single time, infusing love into each carefully crafted jar.
Trust me, you’ll want to savor every delicious spoonful of this irresistible jam.
Sour Cherry Jam For Bold Fruity Flavor
Savor Summer Sweetness: Quickly Create Homemade Jam with Minimal Effort
What You Use For Sour Cherry Jam
Fresh Fruit Base:Sweeteners:Sour Cherry Jam Cooking Instructions
Step 1: Prepare Cherry Mixture
Gather fresh sour cherries and sugar in a large saucepan.
Gently mix the cherries and sugar together, allowing them to mingle and release their natural juices.
Let the mixture rest for about 10 minutes, watching as the cherries begin to soften and create a beautiful ruby-red liquid.
Step 2: Enhance Flavor
Add your choice of vanilla enhancement:Stir the vanilla into the cherry mixture, creating a fragrant and rich base for your jam.
Step 3: Bring to Boiling Point
Place the saucepan over medium heat.
Stir the mixture consistently to prevent burning.
Allow the mixture to reach a rolling boil, watching as the bubbles become vigorous and the jam starts to take shape.
Step 4: Simmer and Thicken
Reduce the heat to low.
Continue stirring frequently to prevent sticking and ensure even cooking.
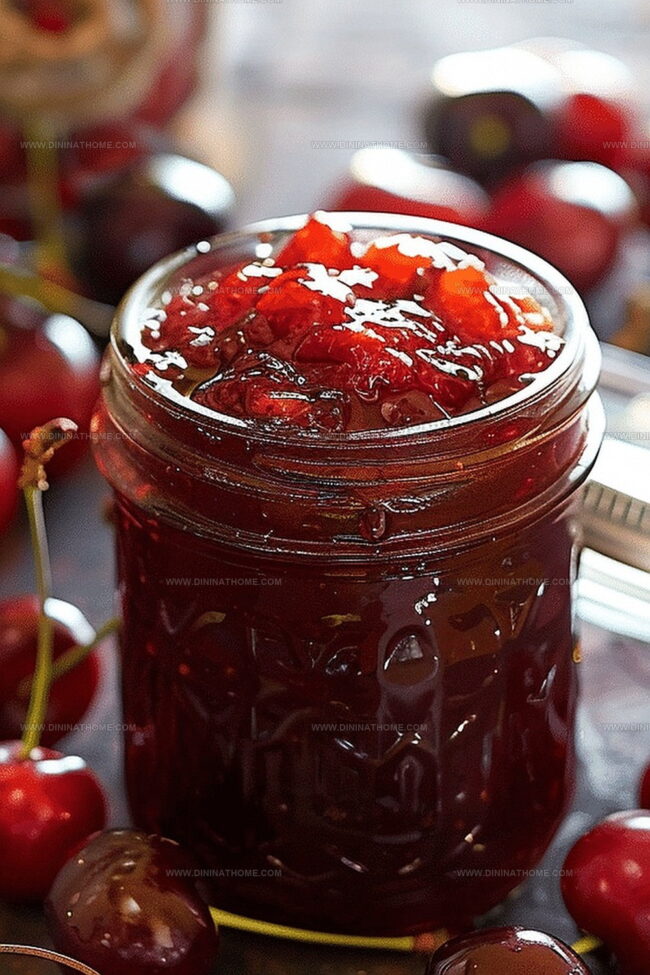
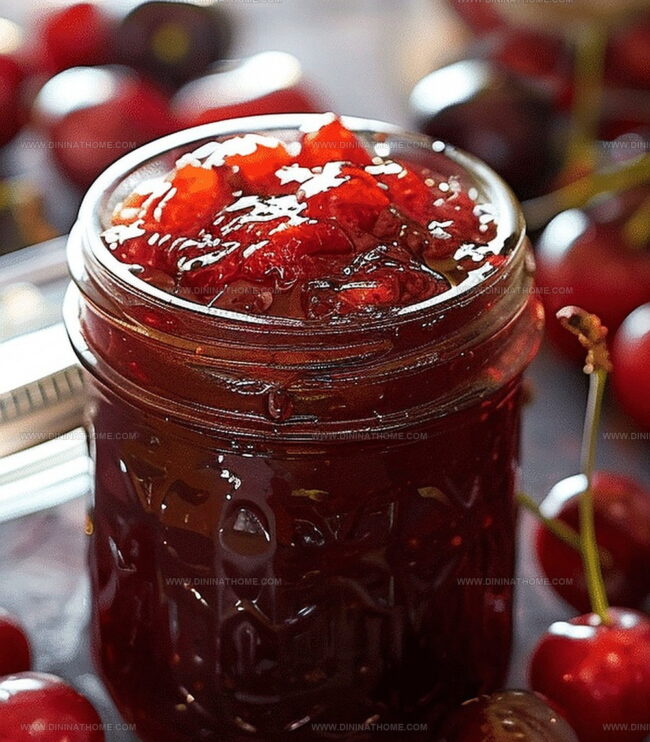
Let the jam simmer for 20-25 minutes, watching it gradually thicken and develop a rich, glossy texture.
Step 5: Cool and Preserve
Remove the saucepan from heat.
Allow the jam to cool slightly.
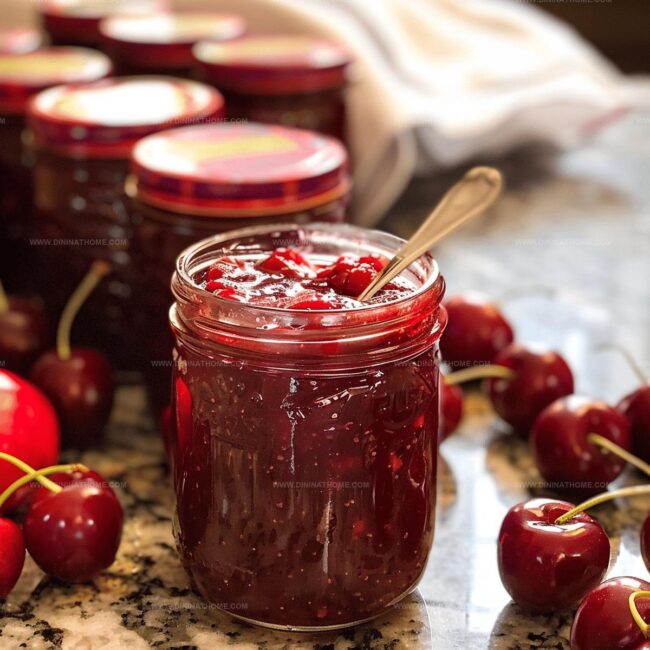
Carefully transfer the warm jam into sterilized jars.
At this point, you can taste and adjust sweetness if desired.
Step 6: Storage Options
You have two preservation choices:Pro tip: The jam will continue to thicken as it cools, so don’t overcook.
Handy Advice for Sour Cherry Jam
Sour Cherry Jam – How to Keep It Perfect in the Fridge
Options with Sour Cherry Jam
Sour Cherry Jam Recipe Recipe Switches You Can Try
FAQs
Sour cherries have a more intense, tart flavor and are typically smaller with softer flesh, making them perfect for cooking and baking compared to sweet cherries.
Yes, frozen sour cherries work perfectly. Thaw them completely and drain excess liquid before using in the recipe to maintain the right consistency.
The jam is ready when it coats the back of a spoon and leaves a clear path when you run your finger through it, or when it reaches about 220°F on a candy thermometer.
No, sour cherries naturally contain enough pectin to help the jam set, so additional pectin is not required for this recipe.
Print
Sour Cherry Jam Recipe
- Total Time: 40 minutes
- Yield: 5 1x
Description
Homemade Sour Cherry Jam celebrates summer’s bounty with intense fruit flavors and delightful sweetness. Polish kitchens inspire this simple preserve that delivers pure seasonal magic you can enjoy long after harvest ends.
Ingredients
Main Ingredients:
- 2 cups sour cherries, pitted and chopped
- 1 cup granulated sugar
Flavoring Ingredient:
- 1 teaspoon vanilla bean paste, seeds from 1 vanilla bean, or vanilla extract
Instructions
- Gently merge sour cherries with sugar in a spacious cooking vessel, allowing the fruits to macerate and release their vibrant crimson juices.
- Infuse the cherry mixture with delicate vanilla essence, introducing depth and aromatic complexity to the developing preserve.
- Elevate the pan to medium temperature, stirring consistently to prevent scorching and ensure even heat distribution.
- Allow the mixture to surge into an enthusiastic, bubbling boil, signaling the transformation from raw ingredients to luscious jam.
- Reduce the thermal intensity, permitting the liquid to gently simmer and concentrate, gradually thickening into a luxurious spread.
- Monitor the consistency closely, observing the jam’s gradual viscosity as it transforms from liquid to a spreadable texture.
- Exercise culinary vigilance by continuously stirring, preventing any potential adherence to the pan’s bottom and maintaining a smooth, uniform texture.
- Taste and adjust the sweetness profile, balancing the cherries’ natural tartness with additional sugar if desired.
- Once the desired consistency is achieved, carefully transfer the molten jam into sanitized glass receptacles.
- Preserve the jam through refrigeration for short-term enjoyment or utilize professional canning techniques for extended preservation.
Notes
- Experiment with different vanilla flavors like bourbon or Madagascar vanilla to enhance the cherry’s natural tartness.
- Gradually reduce sugar for a more intense, natural fruit flavor that highlights the sour cherries’ unique taste.
- Use a candy thermometer to ensure the jam reaches the perfect gel point around 220°F, preventing runny or overly thick consistency.
- Consider adding a splash of almond extract to complement the cherry’s deep, rich flavor and create a more complex taste profile.
- Prep Time: 10 minutes
- Cook Time: 30 minutes
- Category: Snacks, Desserts
- Method: Simmering
- Cuisine: Middle Eastern
Nutrition
- Serving Size: 5
- Calories: 160
- Sugar: 32 g
- Sodium: 0 mg
- Fat: 0 g
- Saturated Fat: 0 g
- Unsaturated Fat: 0 g
- Trans Fat: 0 g
- Carbohydrates: 40 g
- Fiber: 1 g
- Protein: 1 g
- Cholesterol: 0 mg
Emily Harper
Nutrition Consultant & Recipe Analyst
Expertise
Healthy Recipe Modification, Nutritional Analysis & Meal Planning, Global Cuisine & Dietary Adaptations
Education
School: French Pastry School, Chicago, IL
Program: L’Art de la Pâtisserie
Focus: Intensive training in traditional French pastry techniques, baking theory, and confectionery arts.
Emily’s journey started in a pastry kitchen but took a detour into the world of health and flavor science.
Graduating from the French Pastry School and studying nutrition opened her eyes to a new mission: making healthy food taste like something you’d actually crave.
At Dining At Home, Emily’s the go-to for smart, feel-good recipes that don’t trade flavor for nutrition.
She’s all about adding a fresh spin on old favorites and finding small ways to make everyday meals a little brighter.
Outside of the kitchen, Emily is most at home walking forest trails, testing plant-based recipes, or sharing a picnic under a wide-open sky.