
Simple Small Batch Brownies Recipe: Indulgent Sweet Treats
Crafting delectable small batch brownies can turn an ordinary afternoon into a chocolate lover’s paradise.
Chocolate cravings strike without warning, beckoning you toward sweet indulgence.
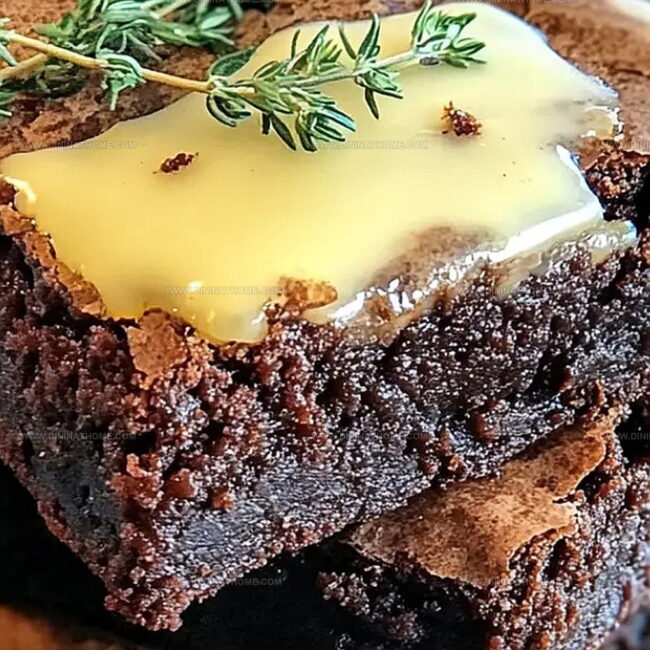
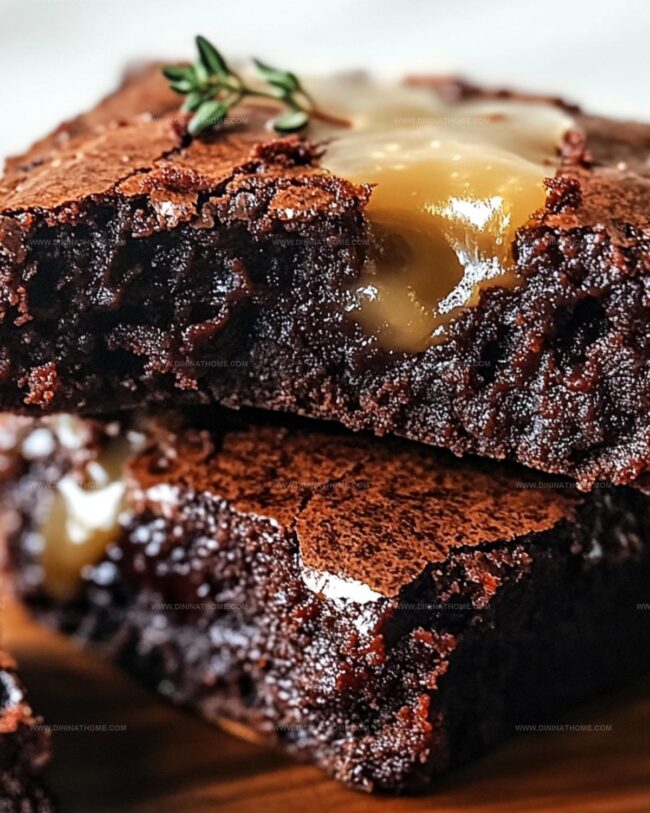
Rich, fudgy squares promise pure comfort in miniature form.
Compact recipes like these save precious kitchen time while delivering maximum satisfaction.
Minimal ingredients mean less waste and more concentrated deliciousness.
Dessert enthusiasts appreciate how these petite treats deliver intense flavor without overwhelming.
Bake these brownies and savor every delightful, chocolatey moment.
Small Batch Brownies with Big Chocolate Payoff
Small Batch Brownies – What’s Required
Wet Ingredients:Dry Ingredients:Preparation Ingredients:How to Make Brownies in a Small Batch
Step 1: Prepare the Oven and Pan
Get your oven ready by setting it to 300°F.
Grab an 8×4-inch bread pan and give it a quick spray with non-stick cooking spray or rub it down with a light layer of butter.
Skip the 9×5-inch pan – we want thick, fudgy brownies!
Step 2: Melt the Butter
Pop your butter into a microwave-safe bowl and zap it until it’s completely melted (around 30 seconds).
Let it cool down for a moment while you gather your other ingredients.
Step 3: Create the Brownie Base
Combine the melted butter and sugar, stirring until they become best friends.
Crack in the egg and splash of vanilla, mixing until the mixture looks smooth and glossy.
Gently fold in:Mix just until everything comes together.
Pro tip: stop mixing the moment you can’t see any dry spots to keep these babies ultra-fudgy.
If you’re feeling extra, toss in some chocolate chips at the last second.
Step 4: Bake to Perfection
Transfer the batter to your prepared pan, spreading it out evenly.
Slide the pan into the preheated oven and bake for 19-23 minutes.
You’ll know they’re done when a toothpick comes out with a few moist crumbs clinging to it.
Step 5: Cool and Devour
Let the brownies chill in the pan for 15-20 minutes.
This helps them set up and makes cutting easier.
Slice into three generous pieces and prepare for chocolate heaven!
Small-Batch Brownie Baking Guidelines

Save Small Batch Brownies
What Works with Small Batch Brownies
Small Batch Brownies Fudgy Alternatives
FAQs
A bread pan helps create thicker, fudgier brownies. The narrow 8×4-inch pan ensures the batter is deeper, resulting in rich, dense brownies with a perfect texture.
Look for slightly set edges and a few moist crumbs on a toothpick when inserted in the center. This indicates they’re fudgy but not raw. Overbaking will make them dry and cakey.
Yes, simply substitute the all-purpose flour with a gluten-free flour blend designed for baking. Make sure to use a 1:1 replacement to maintain the recipe’s texture.
Let the brownies cool completely in the pan. Use a sharp knife wiped clean between each cut for smooth, precise edges that don’t crumble.
Print
Small Batch Brownies Recipe
- Total Time: 25 minutes
- Yield: 2 1x
Description
Indulgent small batch brownies deliver rich chocolate bliss in perfectly portioned squares. Chocolate lovers will savor this compact dessert that promises maximum pleasure with minimal effort.
Ingredients
Main Ingredients:
- 1 large egg
- 1/2 cup (100g) granulated sugar
- 1/4 cup (56g) salted butter, cut into 4 pieces
Flour and Cocoa:
- 1/4 cup (36g) all-purpose flour
- 3 tablespoons (18g) unsweetened cocoa powder
Optional Add-ins:
- 1/4 cup (42g) chocolate chips or 3 tablespoons mini chocolate chips
- 1/2 teaspoon vanilla extract
Instructions
- Prepare the baking environment by warming the oven to 300°F (150°C). Thoroughly coat an 8×4-inch bread pan with non-stick spray or butter, ensuring complete coverage to prevent sticking.
- Transform butter into liquid form using microwave, heating until fully melted. Allow the warm butter to rest and slightly cool while gathering remaining ingredients.
- Incorporate granulated sugar into melted butter, whisking until fully integrated. Introduce egg and vanilla extract, blending smoothly to create a uniform mixture.
- Gently fold flour and cocoa powder into the wet ingredients, maintaining a delicate touch to preserve a fudgy texture. Mix until ingredients are just combined, avoiding excessive stirring that could result in dense brownies.
- If desired, delicately fold chocolate chips into the batter, distributing them evenly throughout the mixture with minimal disruption to the overall consistency.
- Transfer the silky batter into the prepared pan, using a spatula to spread it uniformly across the surface, ensuring an even layer for consistent baking.
- Position the pan in the preheated oven and bake for 19-23 minutes. Monitor the brownies, looking for a set texture and checking with a toothpick that emerges with a few moist crumbs.
- Remove from oven and allow brownies to rest in the pan for 15-20 minutes, enabling them to firm up and cool gradually. Slice into three generous portions and serve.
Notes
- Choose a small bread pan to ensure thick, fudgy brownies with the perfect texture and depth.
- Melt butter gently to prevent burning, letting it cool slightly before mixing to maintain ingredient stability.
- Avoid overmixing the batter to keep brownies rich and dense; stir ingredients just until combined for the ultimate chocolate experience.
- Check brownies early and remove when a few moist crumbs remain on the toothpick to guarantee a supremely moist, decadent final result.
- Prep Time: 5 minutes
- Cook Time: 20 minutes
- Category: Desserts, Snacks
- Method: Baking
- Cuisine: American
Nutrition
- Serving Size: 2
- Calories: 302 kcal
- Sugar: 26 g
- Sodium: 208 mg
- Fat: 15 g
- Saturated Fat: 9 g
- Unsaturated Fat: 6 g
- Trans Fat: 0 g
- Carbohydrates: 37 g
- Fiber: <1 g
- Protein: 3 g
- Cholesterol: 36 mg
James Walker
Lead Recipe Developer & Culinary Educator
Expertise
Southern Cuisine & Farm-to-Table Cooking, Recipe Development & Testing, Culinary Education & Instruction
Education
School: Auguste Escoffier School of Culinary Arts
Program: Diploma in Culinary Arts and Operations
Focus: Comprehensive training in classical and modern culinary techniques, kitchen operations, and farm-to-table practices.
James didn’t learn cooking from a TV show, he learned it from busy kitchens, family gatherings, and long afternoons spent testing recipes the hard way.
After training at the Auguste Escoffier School of Culinary Arts, he brought his love for real, down-to-earth food to every dish he makes.
At Dining At Home, James loves building recipes that feel familiar but still have something special, like adding a twist to a classic or making a slow Sunday dinner feel brand new.
When he’s not in the kitchen, you’ll probably find him swapping garden tips at the farmers’ market or teaching his daughter how to flip pancakes without a mess (almost).