
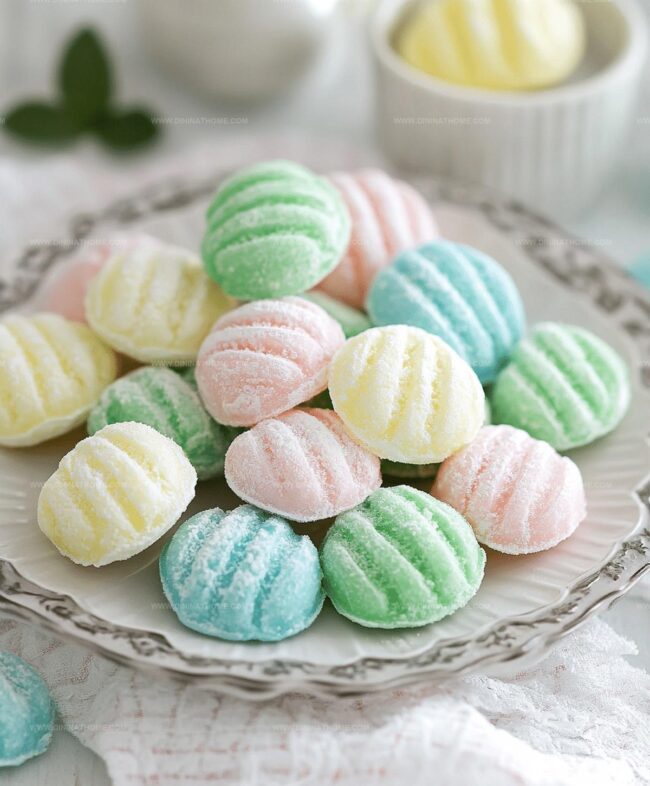
Dreamy Simple Cream Cheese Mints Recipe for Sweet Moments
Crafting these delightful cream cheese mints brings pure joy to any celebration.
Sweet gatherings deserve something special that melts perfectly on your palate.
Soft and creamy, these delectable treats require minimal ingredients and zero baking skills.
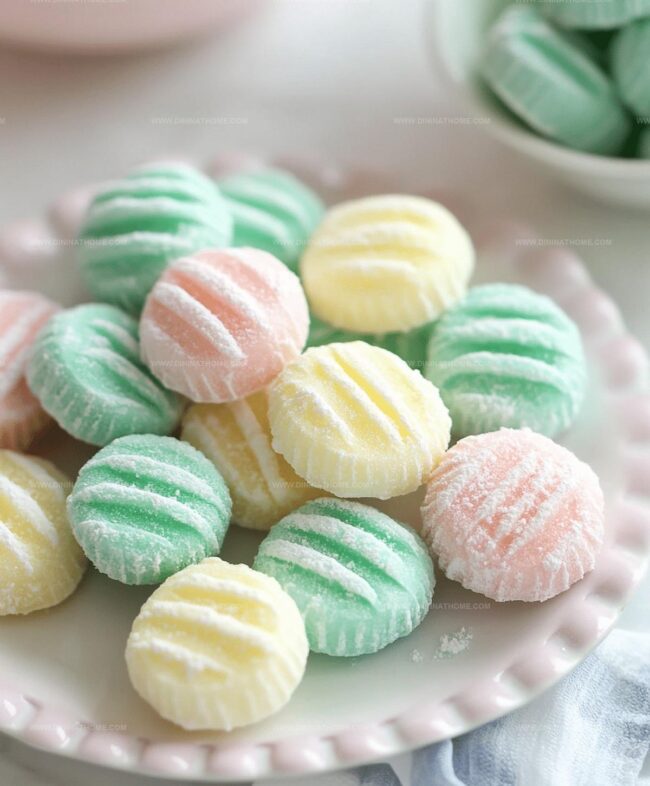
Guests will absolutely adore these pastel-colored confections that look professionally made.
Homemade candies often seem intimidating, but this recipe proves otherwise with its straightforward approach.
Mint lovers appreciate the cool, refreshing flavor that dances across their taste buds.
Let’s create something magical that will impress everyone at your next party.
Simple Cream Cheese Mints Why They’re Addictive
Cream Cheese Mints Key Items
Base Ingredients:Flavoring:Color and Coating:Cream Cheese Mints Assembly
Step 1: Soften and Smooth Cream Cheese
Grab your mixing bowl and beat the cream cheese until it becomes silky smooth and free of any lumps.
Use an electric mixer for the best results, making sure to scrape down the sides of the bowl to incorporate all the cream cheese.
Step 2: Create Magical Dough
Gradually add powdered sugar to the cream cheese.
Mix slowly at first to prevent a sugar explosion in your kitchen.
Continue mixing until a soft, pliable dough forms that’s easy to handle and doesn’t stick to your fingers.
Step 3: Flavor and Customize
Introduce peppermint extract to the dough, stirring it in thoroughly.
If you want to add a pop of color, this is the perfect moment to mix in food coloring.
Choose pastel pink, soft green, or classic white to match your mood or occasion.
Step 4: Shape Your Sweet Treats
Roll the dough into tiny bite-sized balls, each about the size of a small marble.
Make sure your hands are clean and slightly dampened to prevent sticking.
Step 5: Add a Sparkly Sugar Coating
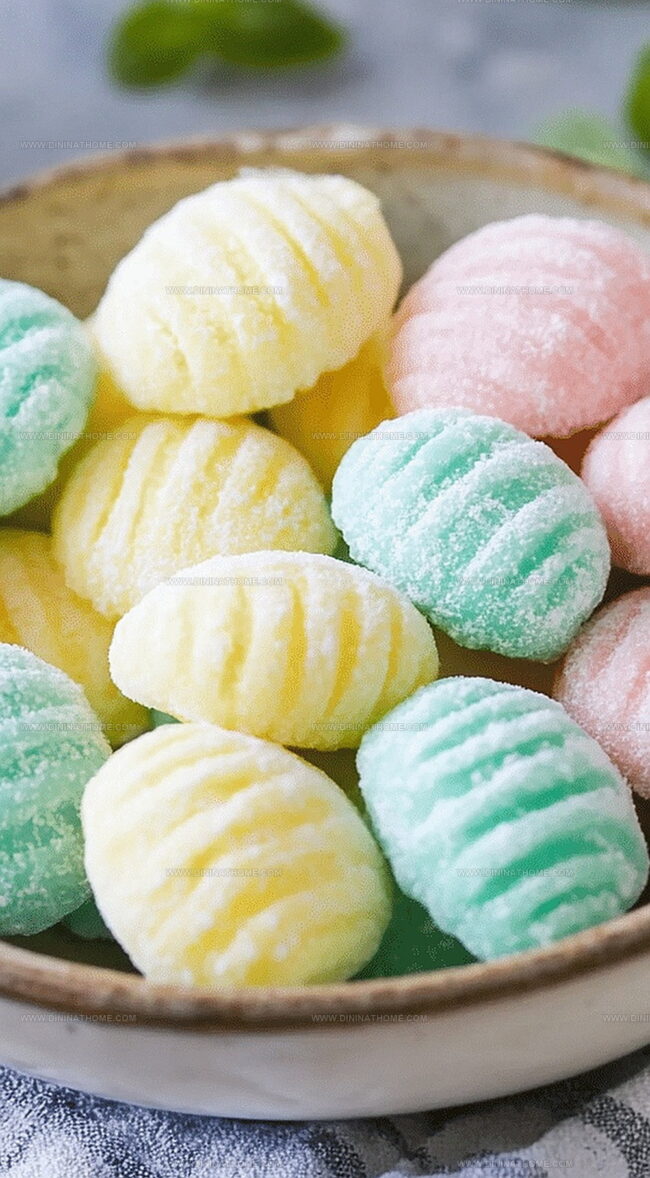
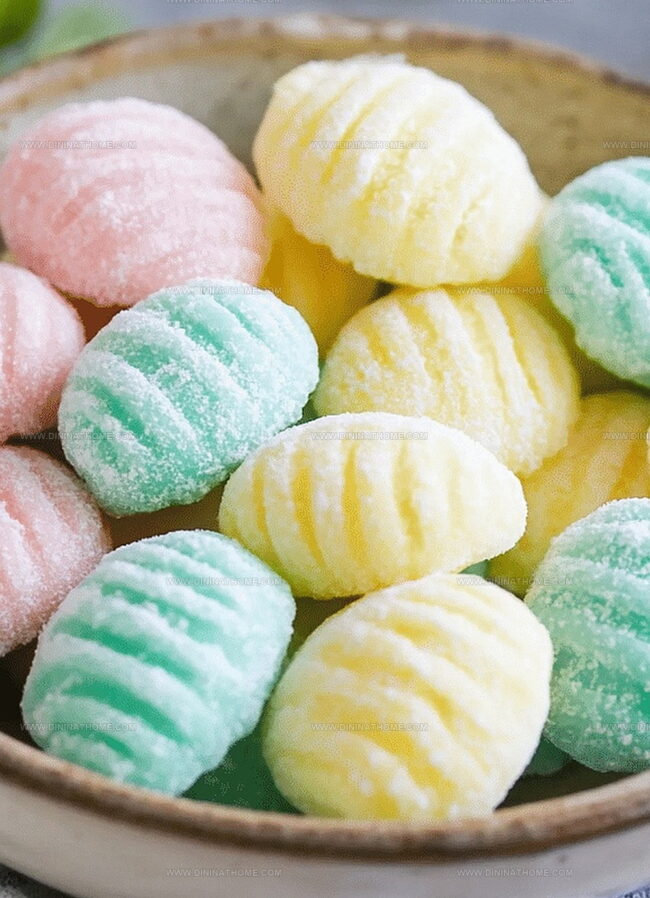
Gently roll each mint ball in granulated sugar, creating a delicate, crystalline exterior that adds a delightful crunch and extra sweetness.
Step 6: Create Beautiful Mint Shapes
Use a fork to create classic crosshatch patterns or press the mints into decorative silicone molds.
Get creative with shapes like flowers, shells, or simple round discs.
Step 7: Let Mints Set and Dry
Allow the mints to rest and dry at room temperature.
This magical resting period helps them firm up and develop their signature texture.
Be patient and let them sit undisturbed for 12-24 hours.
Step 8: Store and Enjoy
Transfer your completed mints to an airtight container.
They’ll stay fresh and delicious for up to two weeks – if they last that long!
Perfect for parties, gifts, or a sweet personal treat.
Cream Cheese Mints With Helpful Handling Hints
Store Cream Cheese Mints For A Cool Treat
Nibbles to Go with Cream Cheese Mints
Cream Cheese Mints with Colorful Celebration Options
FAQs
Yes, you can substitute peppermint extract with other flavors like vanilla, almond, or lemon extract to create unique mint variations.
No, you can use a fork to flatten the balls or simply press them with your fingers. If you have decorative candy molds, they work great for creating interesting shapes.
The cream cheese should be completely softened at room temperature, making it easy to mix smoothly without lumps. Take it out of the refrigerator about 30 minutes before you start preparing the recipe.
These mints contain dairy from cream cheese and are not suitable for vegans or those with dairy allergies. For a dairy-free version, you’ll need to find alternative cream cheese substitutes.
Print
Simple Cream Cheese Mints Recipe
- Total Time: 15 minutes
- Yield: 24 1x
Description
Creamy classic “Simple Cream Cheese Mints” blend sweet smoothness with delicate peppermint flair. Southern gatherings welcome these delightful bite-sized treats you’ll instantly adore and want to share with friends and family.
Ingredients
Main Ingredients:
- 4 ounces (113 grams) cream cheese, softened
- 3 1/2 cups (438 grams) powdered sugar, sifted
Flavoring:
- 1/4 teaspoon peppermint extract
Additional Ingredients:
- Gel food coloring (optional)
- Granulated sugar (for coating)
Instructions
- Whip the softened cream cheese in a large mixing bowl until it achieves a velvety, uniform consistency.
- Gradually incorporate powdered sugar into the cream cheese, stirring continuously until a malleable dough develops.
- Infuse the mixture with peppermint extract, blending thoroughly to distribute the flavor evenly. Optional: Add a few drops of food coloring for visual appeal.
- Portion the dough into small, uniform spheres approximately the size of a teaspoon, using gentle rolling motions between your palms.
- Delicately roll each mint ball in granulated sugar, ensuring a light, even coating.
- Transform the sugared spheres into decorative shapes by either gently pressing with a fork or using intricate candy molds to create elegant designs.
- Allow the minted confections to air-dry at ambient temperature, permitting them to solidify and develop a delicate crust over 12–24 hours.
- Once completely set, transfer the mints to a sealed, airtight container to preserve freshness and maintain their delicate texture for up to two weeks.
Notes
- Experiment with different extract flavors like almond or vanilla to create unique mint variations that suit your taste preferences.
- Use a silicone mold for intricate, professional-looking shapes that elevate the visual appeal of these classic party treats.
- Reduce sugar content by substituting part of the powdered sugar with a low-calorie sweetener for a lighter version suitable for diabetic or health-conscious guests.
- Freeze mints for longer storage, allowing you to prepare these delightful treats weeks in advance of special events or gatherings.
- Prep Time: 15 minutes
- Cook Time: 0 minutes
- Category: Desserts, Snacks
- Method: Rolling
- Cuisine: American
Nutrition
- Serving Size: 24
- Calories: 56
- Sugar: 12 g
- Sodium: 14 mg
- Fat: 2 g
- Saturated Fat: 1 g
- Unsaturated Fat: 1 g
- Trans Fat: 0 g
- Carbohydrates: 13 g
- Fiber: 0 g
- Protein: 0.5 g
- Cholesterol: 6 mg
James Walker
Lead Recipe Developer & Culinary Educator
Expertise
Southern Cuisine & Farm-to-Table Cooking, Recipe Development & Testing, Culinary Education & Instruction
Education
School: Auguste Escoffier School of Culinary Arts
Program: Diploma in Culinary Arts and Operations
Focus: Comprehensive training in classical and modern culinary techniques, kitchen operations, and farm-to-table practices.
James didn’t learn cooking from a TV show, he learned it from busy kitchens, family gatherings, and long afternoons spent testing recipes the hard way.
After training at the Auguste Escoffier School of Culinary Arts, he brought his love for real, down-to-earth food to every dish he makes.
At Dining At Home, James loves building recipes that feel familiar but still have something special, like adding a twist to a classic or making a slow Sunday dinner feel brand new.
When he’s not in the kitchen, you’ll probably find him swapping garden tips at the farmers’ market or teaching his daughter how to flip pancakes without a mess (almost).