
Magical Sheet Pan Oven Grilled Cheese Recipe for Cozy Days
Crafting a perfect sheet pan oven grilled cheese demands more than just bread and cheese.
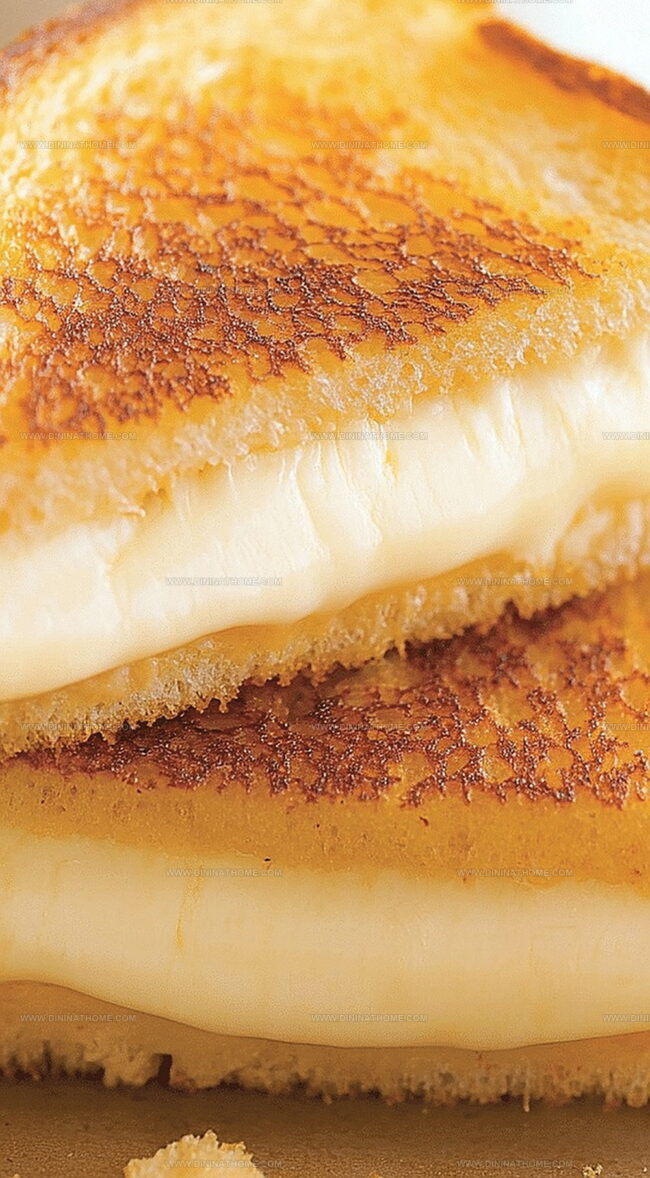
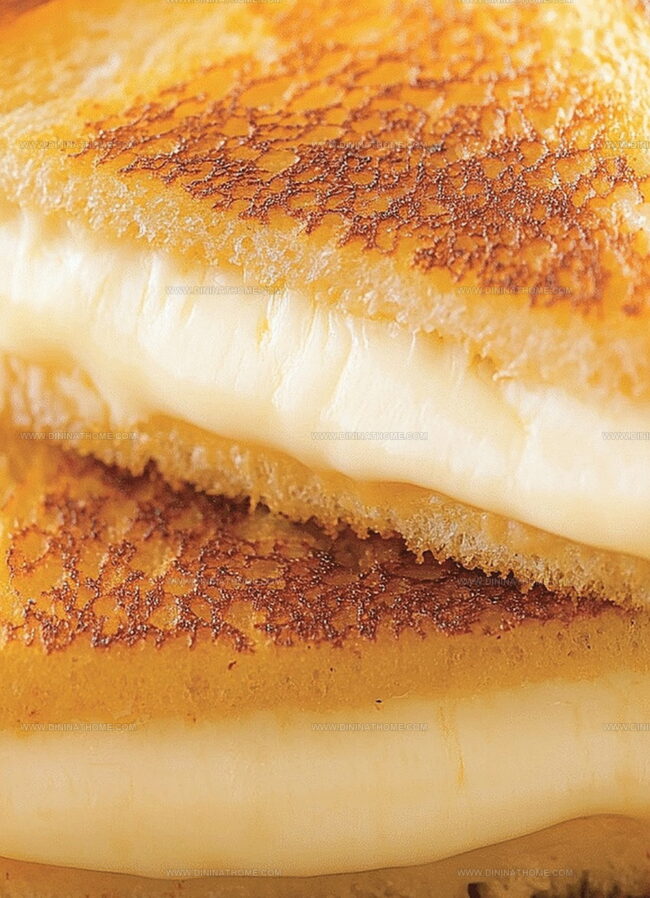
Melty goodness awaits with minimal effort and maximum flavor.
Crispy edges promise a delightful crunch that’ll make your taste buds dance.
Kitchen magic happens when you spread butter generously and layer ingredients strategically.
Smart home cooks know the secret to hassle-free meals lies in clever techniques.
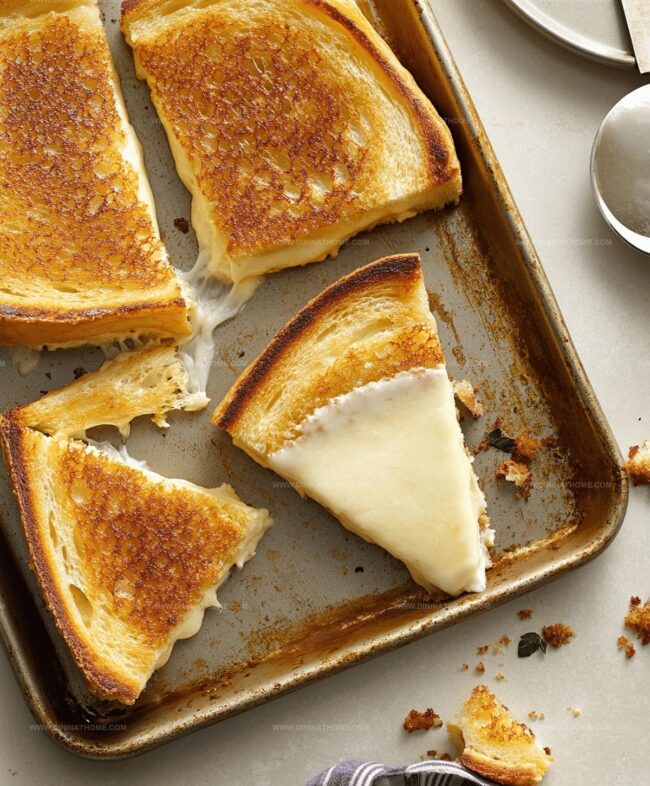
Baking an entire pan of grilled cheese means everyone gets hot, gooey sandwiches simultaneously.
Sheet Pan Oven Grilled Cheese Comfort Food Classic
Sheet Pan Grilled Cheese Prep Base
Bread and Cheese:Fat and Spread:Oven Grilled Cheese Sheet Pan Instructions
Step 1: Warm Up The Oven
Crank the oven to a toasty 425°F to get ready for some cheesy magic.
Step 2: Prepare Bread Surfaces
Spread softened butter generously on one side of each bread slice, creating a golden crispy potential.
Step 3: Build The Sandwich Base
Lay out bread slices on a parchment-covered sheet pan with buttered sides facing down, creating a delicious foundation.
Step 4: Layer Cheese Generously
Top each bread slice with:Step 5: Complete Sandwich Assembly
Cover each cheese-loaded slice with remaining bread, ensuring buttered sides face upward.
Step 6: Press And Compress
Place a second sheet pan directly on top of sandwiches, creating a perfect pressed surface for even cooking.
Step 7: Bake To Golden Perfection
Slide sheet pan into the hot oven and bake for 10-12 minutes, flipping sandwiches midway to ensure gorgeous, even browning.
Step 8: Serve And Enjoy
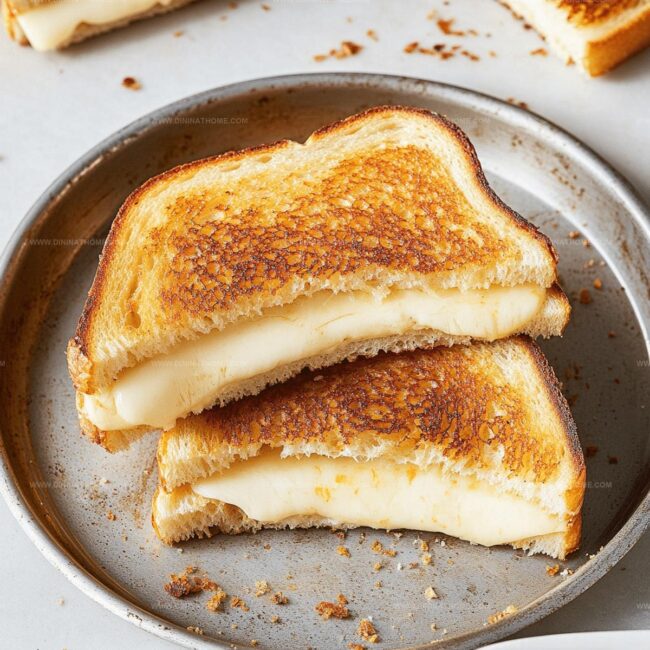
Pull out crispy, melty sandwiches, slice diagonally, and serve immediately while cheese remains gooey and bread stays crunchy.
Sheet Pan Grilled Cheese With No-Fail Melting Tricks
Reheat Grilled Cheese From The Oven Right
What to Have with Sheet Pan Grilled Cheese
Oven Grilled Cheese (Sheet Pan Style) with Filling Combos
FAQs
No, you just need a sheet pan, parchment paper, and a second sheet pan to press the sandwiches. Most home kitchens already have these items.
Absolutely! Cheddar, American, Swiss, or provolone work great. Mix and match cheeses for more flavor complexity.
Use a parchment-lined sheet pan and butter the bread’s exterior. The second sheet pan helps create a crispy, golden texture by pressing the sandwich and distributing heat evenly.
Yes, it uses less butter and allows excess grease to drain, making it a slightly lighter option compared to pan-frying. The oven method also ensures more consistent browning.
Print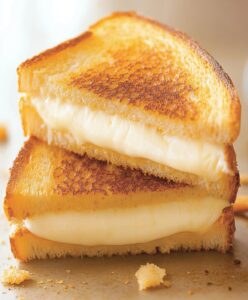
Sheet Pan Oven Grilled Cheese Recipe
- Total Time: 17 minutes
- Yield: 4 1x
Description
Comfort meets convenience in this sheet pan oven grilled cheese, delivering golden-crisp sandwiches for a crowd with minimal effort. Melted cheese and buttery bread create a crispy, gooey masterpiece you can easily prepare for friends and family.
Ingredients
main ingredients:
- 8 slices bread (white, whole wheat, or sourdough)
- 8 slices cheese (cheddar, american, or favorite variety)
secondary ingredients:
- 4 tablespoons (1/4 cup / 60 milliliters) butter, softened
Instructions
- Prepare a baking sheet by lining it with parchment paper to prevent sticking and ensure easy cleanup.
- Spread softened butter generously on one side of each bread slice, creating a golden, crispy exterior.
- Arrange four bread slices on the prepared sheet pan with the buttered side facing down, creating a solid foundation for the sandwiches.
- Layer two slices of cheese on each bread slice, ensuring complete coverage and promising a gooey, melted center.
- Crown each cheese-covered slice with the remaining bread, positioning the buttered side facing upward to achieve maximum crispiness.
- Carefully place a second sheet pan on top of the assembled sandwiches, applying gentle pressure to compress and ensure even toasting.
- Slide the sheet pan into a preheated 425°F (220°C) oven, allowing the sandwiches to transform into crisp, golden delights.
- Midway through cooking, carefully flip the sandwiches to guarantee uniform browning and optimal cheese melting.
- Remove the sheet pan from the oven when the bread reaches a rich, golden-brown color and the cheese appears completely melted and irresistible.
- Transfer the sandwiches to a cutting board, slice diagonally, and serve immediately while still warm and crispy.
Notes
- Experiment with different cheese combinations like sharp cheddar, gruyere, or pepper jack for unique flavor profiles.
- Use high-quality bread with sturdy texture to prevent sogginess and maintain crispy exterior when baking.
- Customize sandwiches by adding thin slices of ham, turkey, or roasted vegetables between cheese layers for extra nutrition and taste.
- For gluten-free option, replace regular bread with gluten-free bread and ensure all ingredients are certified gluten-free.
- Prep Time: 5 minutes
- Cook Time: 12 minutes
- Category: Breakfast, Lunch, Snacks
- Method: Baking
- Cuisine: American
Nutrition
- Serving Size: 4
- Calories: 400
- Sugar: 2 g
- Sodium: 800 mg
- Fat: 22 g
- Saturated Fat: 14 g
- Unsaturated Fat: 6 g
- Trans Fat: 0 g
- Carbohydrates: 36 g
- Fiber: 2 g
- Protein: 16 g
- Cholesterol: 60 mg
James Walker
Lead Recipe Developer & Culinary Educator
Expertise
Southern Cuisine & Farm-to-Table Cooking, Recipe Development & Testing, Culinary Education & Instruction
Education
School: Auguste Escoffier School of Culinary Arts
Program: Diploma in Culinary Arts and Operations
Focus: Comprehensive training in classical and modern culinary techniques, kitchen operations, and farm-to-table practices.
James didn’t learn cooking from a TV show, he learned it from busy kitchens, family gatherings, and long afternoons spent testing recipes the hard way.
After training at the Auguste Escoffier School of Culinary Arts, he brought his love for real, down-to-earth food to every dish he makes.
At Dining At Home, James loves building recipes that feel familiar but still have something special, like adding a twist to a classic or making a slow Sunday dinner feel brand new.
When he’s not in the kitchen, you’ll probably find him swapping garden tips at the farmers’ market or teaching his daughter how to flip pancakes without a mess (almost).