Festive and Fudgy Red Velvet Crinkle Cookies Recipe
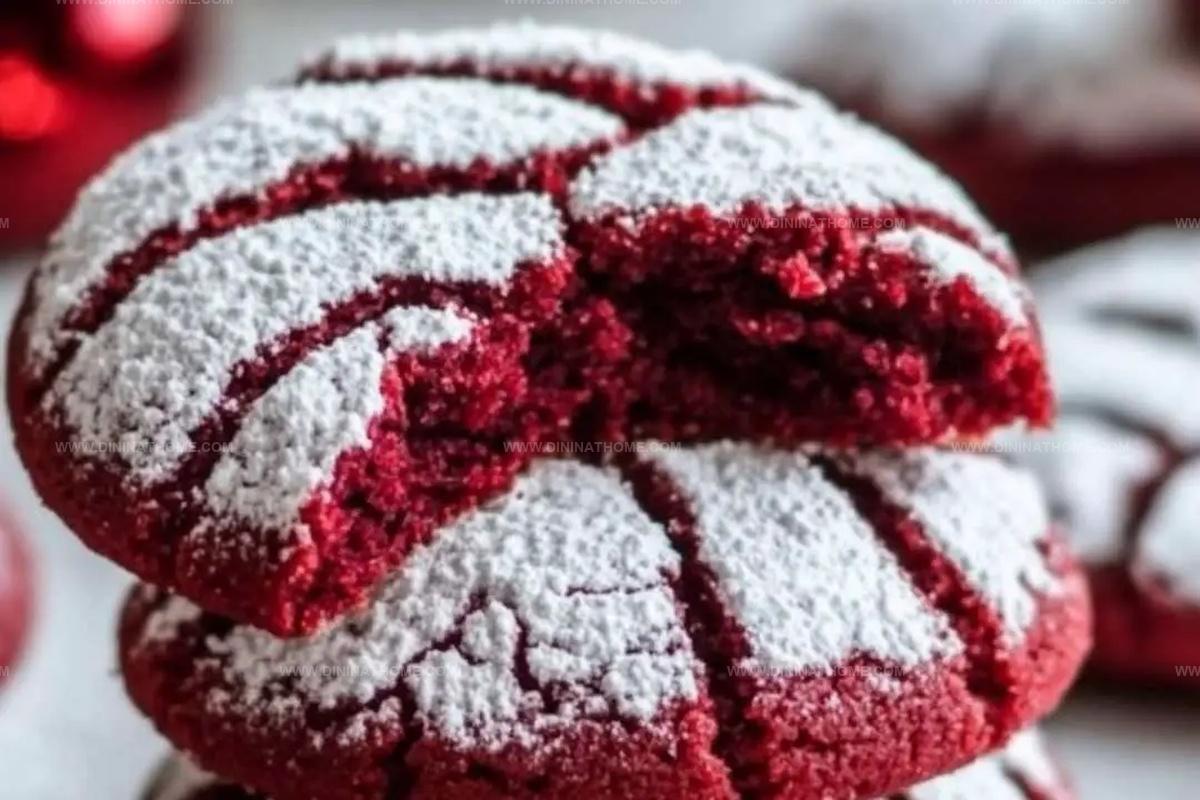
These delightful red velvet crinkle cookies burst with rich, chocolatey goodness that’ll make your taste buds dance.
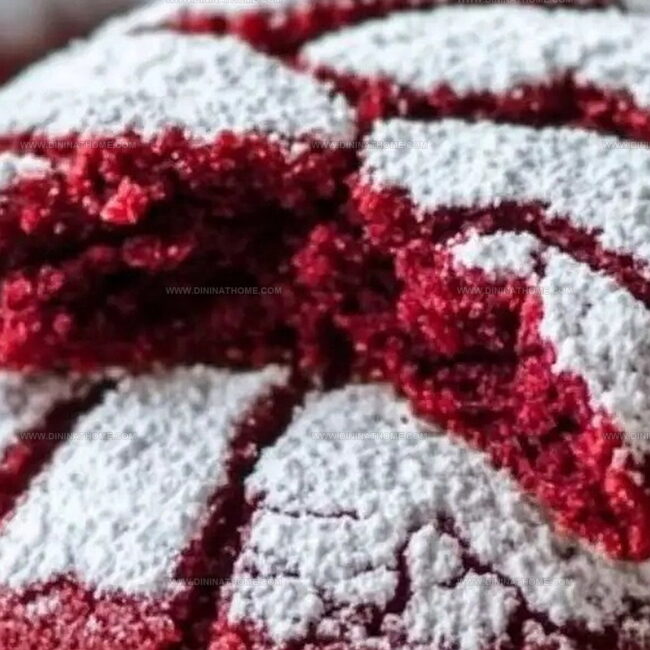
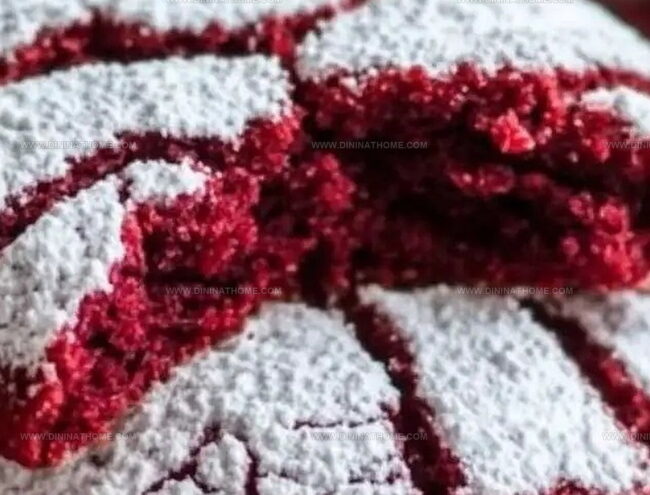
Powdered sugar creates a gorgeous crackled exterior for each irresistible bite.
Soft centers melt in your mouth with decadent smoothness.
Winter gatherings become magical moments when you serve these stunning treats.
Chocolate lovers will absolutely adore the deep crimson hue and velvety texture.
Baking these cookies feels like spreading edible joy across your kitchen.
One taste, and you’ll want to share these festive delights with everyone around you.
Red Velvet Cookies That Combine Festive Looks and Flavor
How to Bake Perfect Red Velvet Crinkle Cookies
Dry Ingredients:Wet Ingredients:Coating Ingredient:Red Velvet Cookies Festive Crinkle Bake
Step 1: Prep the Oven and Baking Space
Get your oven warmed up to 350°F.
Cover two baking sheets with parchment paper, creating a perfect landing spot for your delicious cookie creations.
Step 2: Mix the Dry Ingredients
Grab a medium bowl and whisk together:Blend these ingredients until they’re perfectly combined and set aside.
Step 3: Whip Up the Butter and Sugar
In a large mixing bowl, use an electric mixer to beat butter and granulated sugar.
Whip them together until the mixture becomes light, fluffy, and looks like a cloud of sweet goodness.
Step 4: Incorporate Wet Ingredients
Add eggs one at a time, beating thoroughly after each addition.
Pour in:Mix until the batter becomes smooth and has a vibrant red hue.
Step 5: Create the Cookie Dough
Slowly fold the dry ingredients into the wet mixture.
Stir until a thick, rich dough forms that’s ready to become amazing cookies.
Step 6: Shape the Cookies
Use a cookie scoop or tablespoon to create perfect dough balls.
Roll each ball generously in powdered sugar, ensuring a complete white coating.
Place the sugar-covered balls on baking sheets, leaving about 2 inches between each cookie.
Step 7: Bake to Perfection
Slide the cookies into the preheated oven.
Bake for 10-12 minutes until the edges look set and the tops have those signature crinkle cracks.
The centers should remain soft and tender.
Step 8: Cool and Enjoy
Let the cookies rest on the baking sheets for 5 minutes.
Transfer to a wire rack to cool completely.
These festive treats are perfect for holiday gatherings or a cozy night in with a glass of cold milk.
Baking Tips for Red Velvet Crinkle Cookies
Red Velvet Crinkle Cookies Storage
Sweet Sips With Red Velvet Crinkle Cookies
Red Velvet Crinkle Cookies Fudgy Spins
FAQs
Red food coloring is responsible for the vibrant red hue. A small amount creates the classic deep red shade that makes these cookies visually striking.
The powdered sugar coating creates the crinkle effect. When the cookies bake, the sugar cracks and splits, forming beautiful white lines against the red background, giving them their distinctive look.
While a mixer helps create a smoother, more consistent dough, you can use a whisk and strong arm muscles. Hand-mixing requires more effort but can still produce delicious cookies if you mix thoroughly and evenly.
Look for set edges and a crackled top. The centers should remain soft and slightly underbaked. When you remove them from the oven, they’ll continue cooking slightly on the hot baking sheet, ensuring a fudgy texture.
Print
Red Velvet Crinkle Cookies Festive and Fudgy Recipe
- Total Time: 27 minutes
- Yield: 24 1x
Description
Festive red velvet crinkle cookies bring holiday cheer with their chocolate-rich charm and powdered sugar elegance. Rich cocoa and cream cheese create irresistible magic you cannot resist.
Ingredients
Primary Ingredients:
- 2 1/2 cups (595 ml) all-purpose flour
- 2 large eggs
- 1 cup (200 g) granulated sugar
- 1/2 cup (113 g) unsalted butter, softened
Flavoring and Coloring Ingredients:
- 1 tablespoon cocoa powder
- 1 tablespoon red food coloring (gel preferred)
- 1 teaspoon vanilla extract
- 1 tablespoon milk
Binding and Finishing Ingredients:
- 1 teaspoon baking powder
- 1/2 teaspoon salt
- 1/2 cup (60 g) powdered sugar (for rolling)
Instructions
- Prepare the baking workspace by setting the oven temperature to 350°F and lining two baking sheets with parchment paper.
- Create a dry ingredient mixture by whisking flour, cocoa powder, baking powder, and salt together in a medium mixing bowl, then set aside for later use.
- Use an electric mixer to blend butter and granulated sugar until the mixture becomes light, airy, and develops a fluffy texture, continuing to mix for approximately 3-4 minutes.
- Incorporate eggs into the butter mixture one at a time, ensuring thorough blending after each addition. Introduce milk, vanilla extract, and red food coloring, mixing until the liquid ingredients are evenly distributed and create a smooth consistency.
- Gradually fold the prepared dry ingredient mixture into the wet ingredients, stirring carefully until a thick, uniform dough forms.
- Shape the cookie dough by scooping tablespoon-sized portions and rolling each into a ball. Generously coat each dough ball with powdered sugar, then arrange them on the prepared baking sheets, maintaining approximately 2 inches of space between each cookie.
- Place the cookie-laden baking sheets in the preheated oven and bake for 10-12 minutes. Look for crinkled tops and set edges while ensuring the centers remain soft. After removing from the oven, let the cookies rest on the baking sheets for 5 minutes before transferring to a wire cooling rack.
- Once completely cooled, serve these vibrant, rich red velvet crinkle cookies as a delightful treat perfect for sharing or enjoying with a refreshing glass of milk.
Notes
- Customize the sweetness by adjusting powdered sugar coating, ensuring a perfect balance between tangy cocoa and sweet exterior.
- Prevent cookies from spreading too thin by chilling the dough for 30 minutes before rolling and baking, creating a more compact texture.
- Swap regular food coloring with natural alternatives like beetroot powder for a healthier, chemical-free red hue that maintains vibrant color.
- Accommodate gluten-sensitive diets by substituting all-purpose flour with almond or gluten-free flour blend, maintaining the cookie’s rich, fudgy consistency.
- Prep Time: 15 minutes
- Cook Time: 12 minutes
- Category: Desserts, Snacks
- Method: Baking
- Cuisine: American
Nutrition
- Serving Size: 24
- Calories: 150
- Sugar: 12 g
- Sodium: 80 mg
- Fat: 6 g
- Saturated Fat: 4 g
- Unsaturated Fat: 2 g
- Trans Fat: 0 g
- Carbohydrates: 22 g
- Fiber: 0 g
- Protein: 2 g
- Cholesterol: 30 mg
Emily Harper
Nutrition Consultant & Recipe Analyst
Expertise
Healthy Recipe Modification, Nutritional Analysis & Meal Planning, Global Cuisine & Dietary Adaptations
Education
School: French Pastry School, Chicago, IL
Program: L’Art de la Pâtisserie
Focus: Intensive training in traditional French pastry techniques, baking theory, and confectionery arts.
Emily’s journey started in a pastry kitchen but took a detour into the world of health and flavor science.
Graduating from the French Pastry School and studying nutrition opened her eyes to a new mission: making healthy food taste like something you’d actually crave.
At Dining At Home, Emily’s the go-to for smart, feel-good recipes that don’t trade flavor for nutrition.
She’s all about adding a fresh spin on old favorites and finding small ways to make everyday meals a little brighter.
Outside of the kitchen, Emily is most at home walking forest trails, testing plant-based recipes, or sharing a picnic under a wide-open sky.