
Zesty Southern Pickled Shrimp Recipe: A Tangy Coastal Delight
Southern coastal kitchens have long cherished this zesty pickled shrimp recipe that brings tangy ocean flavors to your table.
Briny seafood meets bright vinegar notes in a delightful dance of taste.
Crisp peppers and aromatic herbs create a vibrant maritime experience.
Quick pickling techniques unlock deep, complex flavor profiles that surprise and delight.
Seafood enthusiasts appreciate how simple ingredients can elevate a classic dish.
Marinating transforms ordinary shrimp into an extraordinary appetizer everyone will adore.
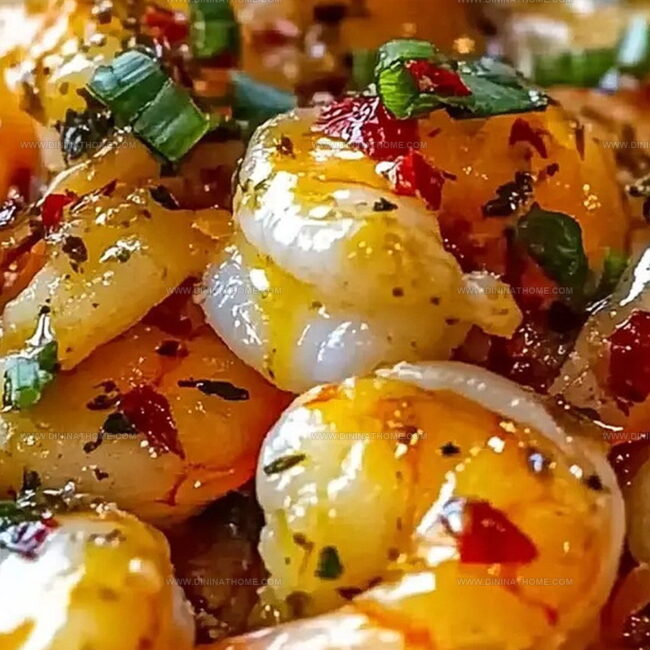
Pickled Shrimp That Add A Tangy Twist To Any Spread
What’s Inside Pickled Shrimp
Main Ingredients:
Seafood:Brine Components:Aromatic Spices:Additional Component:Pickling and Serving Shrimp the Right Way
Step 1: Create Flavor-Packed Brine
In a medium pot, combine water and vinegar, bringing them to a rolling boil.
Reduce heat to low and add the following ingredients:Simmer the mixture for 5 minutes, allowing the spices to dance and release their aromatic magic.
Step 2: Transform Shrimp into Tangy Delights
Gently slide the shrimp into the simmering brine.
Cook for 2-3 minutes until the shrimp turn a beautiful pink color and become perfectly tender.
Watch carefully to avoid overcooking.
Step 3: Prepare Pickling Container
Select a clean glass jar and layer sliced onions at the bottom.
This will add an extra punch of flavor to your pickled shrimp.
Step 4: Combine and Chill
Pour the warm shrimp and brine mixture over the onions, ensuring they are completely submerged.
Allow the mixture to cool to room temperature, which typically takes about 10 minutes.
Step 5: Preserve and Develop Flavors
Securely seal the jar and transfer to the refrigerator.
Let the shrimp marinate for at least 24 hours.
This resting period allows the flavors to mingle and intensify, creating a mouth-watering pickled delicacy.
Step 6: Serve and Enjoy
After 24 hours, your pickled shrimp are ready to be devoured.
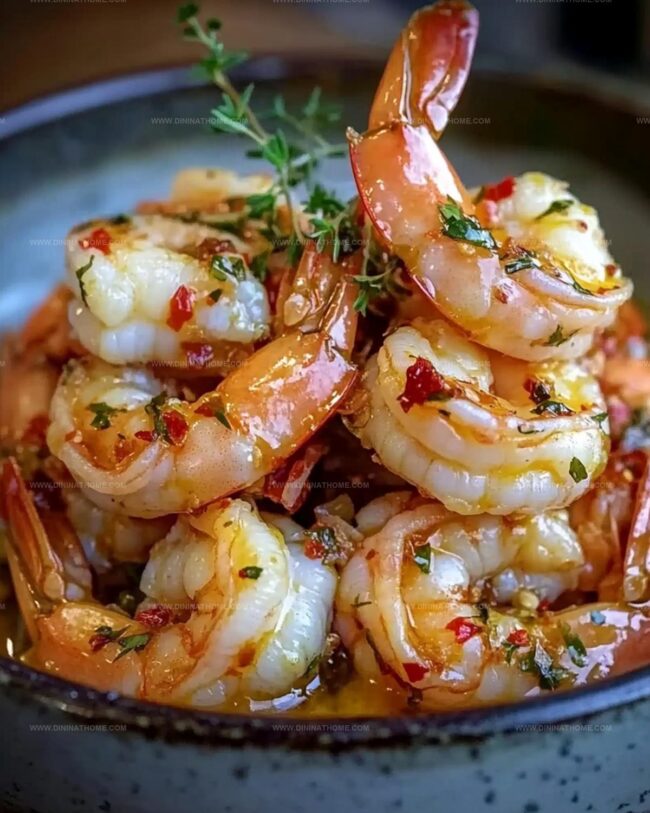
Serve chilled as an appetizer, salad topper, or standalone snack that will impress any crowd.
Pickled Shrimp Prep Tips for Bright Tangy Bites

Save Pickled Shrimp for Later
What to Eat with Pickled Shrimp
Pickled Shrimp Style Experiments
FAQs
White vinegar or apple cider vinegar are ideal. They provide the right balance of acidity and help preserve the shrimp while adding a subtle tangy flavor.
Yes, you can use frozen shrimp. Just ensure they are completely thawed and patted dry before cooking to prevent excess water from diluting the brine.
Pickled shrimp will remain fresh for up to 5-7 days when stored in an airtight container in the refrigerator. Always use clean utensils when serving to prevent bacterial contamination.
The recipe has a mild heat from red pepper flakes, but you can adjust the amount to suit your spice preference. If you prefer less heat, reduce the red pepper flakes or omit them entirely.
Print
Pickled Shrimp Recipe
- Total Time: 20 minutes
- Yield: 4 1x
Description
Southern charm meets coastal elegance in this pickled shrimp recipe, showcasing zesty citrus and delicate herbs. Crisp, tangy morsels deliver a refreshing bite that will transport you straight to a breezy Carolina kitchen.
Ingredients
Main Ingredients:
- 1 pound (454 grams) shrimp, peeled and deveined
Liquid and Oil Ingredients:
- 1 cup white vinegar
- 1 cup water
- 1/2 cup olive oil
Spices and Aromatics:
- 1 tablespoon salt
- 1 tablespoon sugar
- 1 tablespoon red pepper flakes
- 1 tablespoon black peppercorns
- 1/2 teaspoon mustard seeds
- 1/2 teaspoon coriander seeds
- 2 cloves garlic, minced
- 1 small onion, thinly sliced
- 1 bay leaf
Instructions
- Craft a fragrant liquid infusion by combining water and vinegar in a medium pot, bringing to a rolling boil, then reducing to a gentle simmer.
- Enhance the brine with aromatic seasonings: crushed garlic, salt, sugar, fiery red pepper flakes, whole black peppercorns, fragrant bay leaf, earthy mustard seeds, and citrusy coriander seeds. Allow the mixture to steep and meld flavors for approximately 5 minutes.
- Carefully introduce fresh shrimp into the seasoned liquid, gently poaching until they transform from translucent to a delicate pink hue, which typically takes 2-3 minutes. Ensure the seafood is just cooked through, maintaining its tender texture.
- Remove the pot from heat source and permit the shrimp and spiced liquid to cool naturally for 10 minutes, allowing the flavors to harmonize.
- Select a clean glass container and layer thinly sliced onions across the bottom as a flavorful foundation.
- Cascade the cooled shrimp and aromatic brine over the onion bed, ensuring complete coverage of the seafood.
- Securely seal the jar and transfer to the refrigerator, allowing the pickled delicacy to rest and develop complex flavors for a minimum of 24 hours before serving.
Notes
- Use fresh, high-quality shrimp for the best flavor and texture in your pickled dish.
- Remove shrimp shells beforehand if you prefer a more delicate eating experience.
- Experiment with different vinegar types like apple cider or white wine vinegar for unique flavor profiles.
- Reduce red pepper flakes for a milder version or increase for extra spiciness.
- Allow shrimp to marinate longer than 24 hours for deeper, more intense pickled flavor.
- Serve chilled as an appetizer or add to salads for a tangy protein boost.
- Store pickled shrimp in an airtight container in the refrigerator for up to 5-7 days.
- Choose medium-sized shrimp for the most consistent cooking and pickling results.
- Prep Time: 10 minutes
- Cook Time: 10 minutes
- Category: Appetizer, Lunch
- Method: Pickling
- Cuisine: Southern (American)
Nutrition
- Serving Size: 4
- Calories: 300
- Sugar: 1 g
- Sodium: 800 mg
- Fat: 22 g
- Saturated Fat: 3 g
- Unsaturated Fat: 19 g
- Trans Fat: 0 g
- Carbohydrates: 4 g
- Fiber: 0 g
- Protein: 24 g
- Cholesterol: 200 mg
James Walker
Lead Recipe Developer & Culinary Educator
Expertise
Southern Cuisine & Farm-to-Table Cooking, Recipe Development & Testing, Culinary Education & Instruction
Education
School: Auguste Escoffier School of Culinary Arts
Program: Diploma in Culinary Arts and Operations
Focus: Comprehensive training in classical and modern culinary techniques, kitchen operations, and farm-to-table practices.
James didn’t learn cooking from a TV show, he learned it from busy kitchens, family gatherings, and long afternoons spent testing recipes the hard way.
After training at the Auguste Escoffier School of Culinary Arts, he brought his love for real, down-to-earth food to every dish he makes.
At Dining At Home, James loves building recipes that feel familiar but still have something special, like adding a twist to a classic or making a slow Sunday dinner feel brand new.
When he’s not in the kitchen, you’ll probably find him swapping garden tips at the farmers’ market or teaching his daughter how to flip pancakes without a mess (almost).