Buttery Pepperoni Pizza Bombs Recipe: Cozy Handheld Joy
Pizza nights just got a delicious twist with these irresistible pepperoni pizza bombs that explode with flavor in every bite.
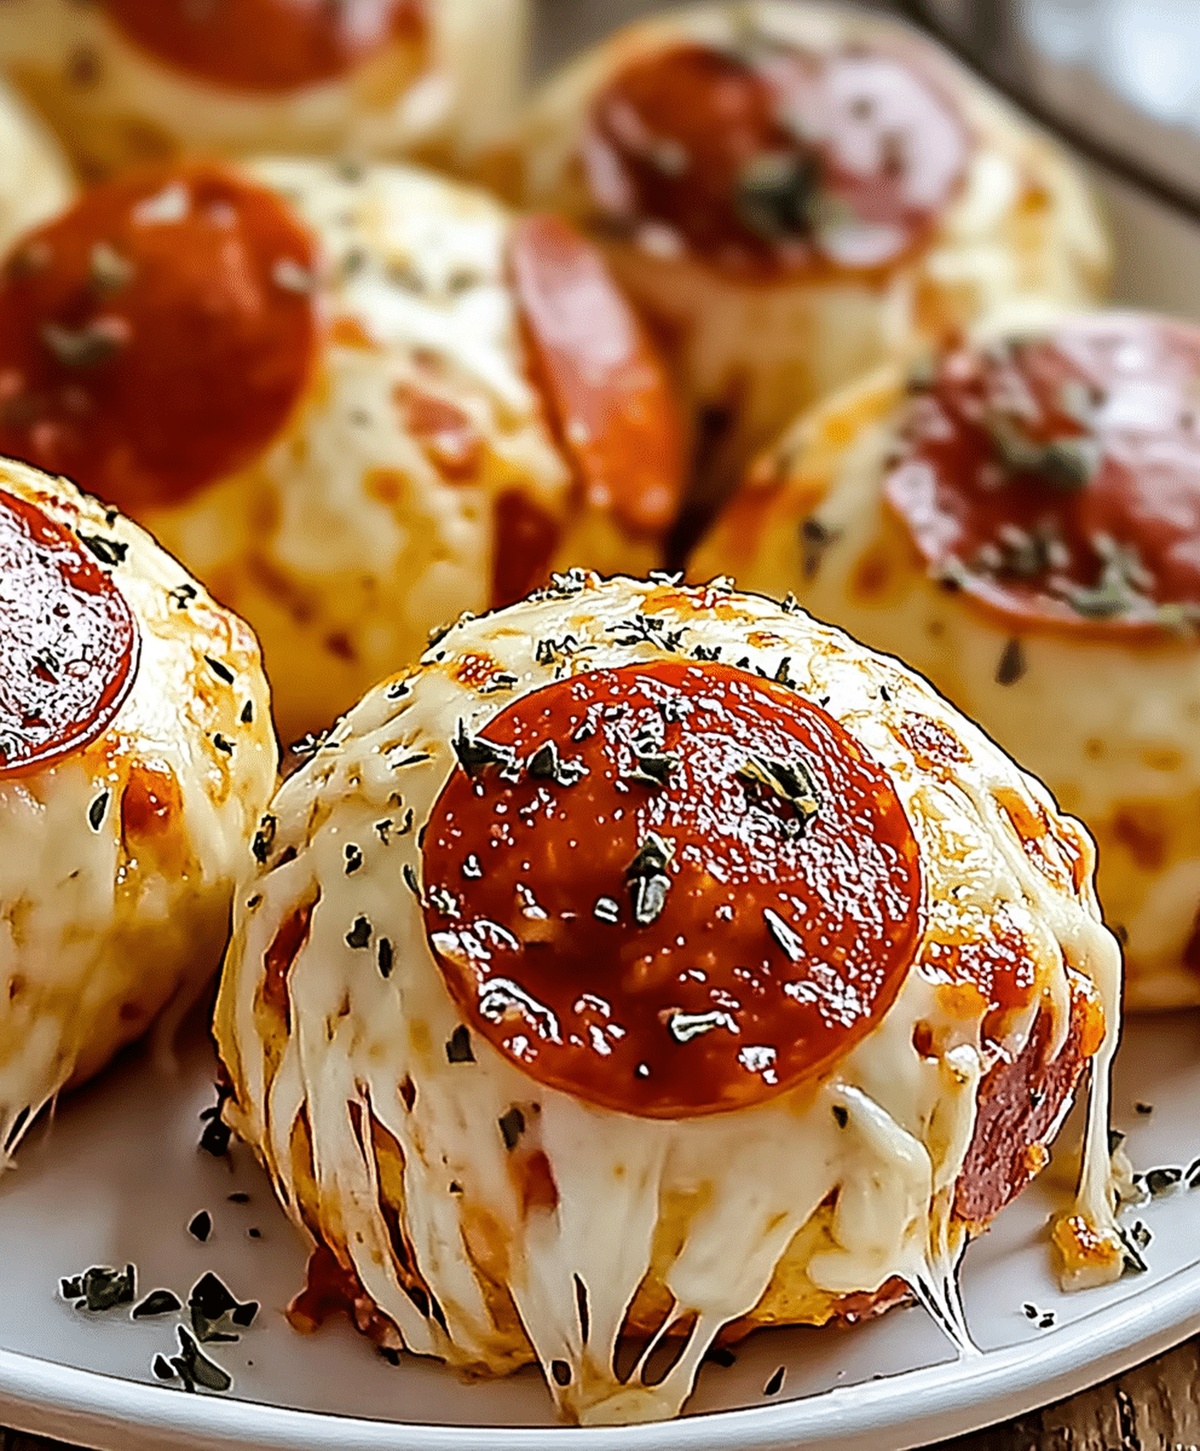
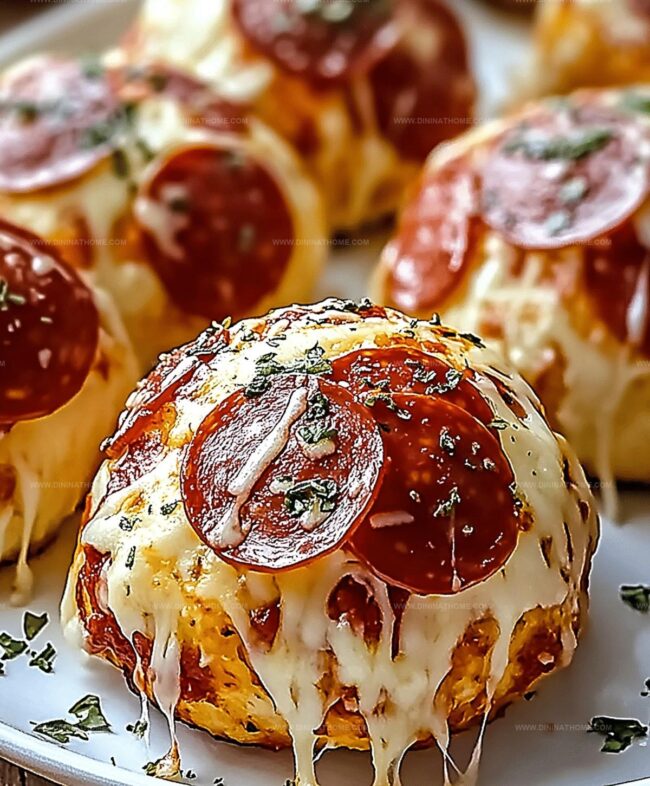
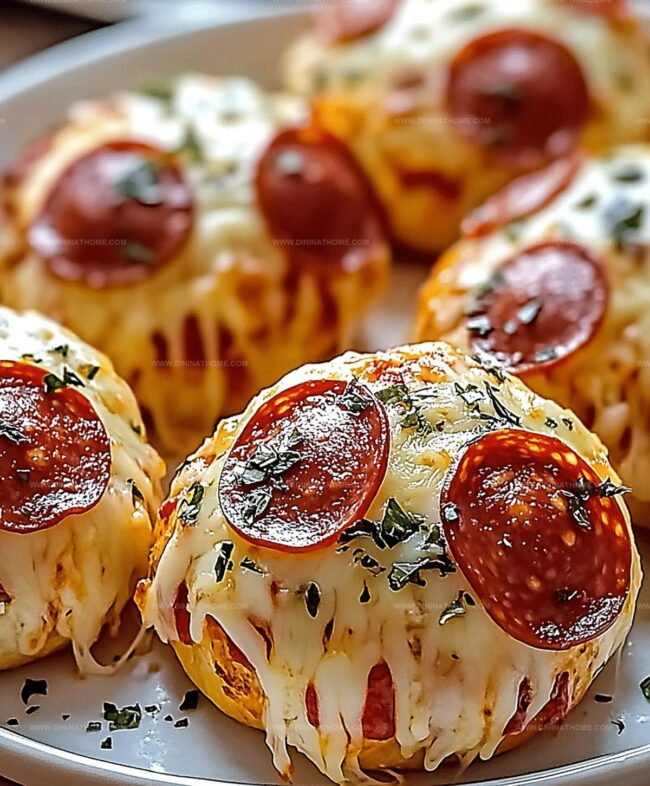
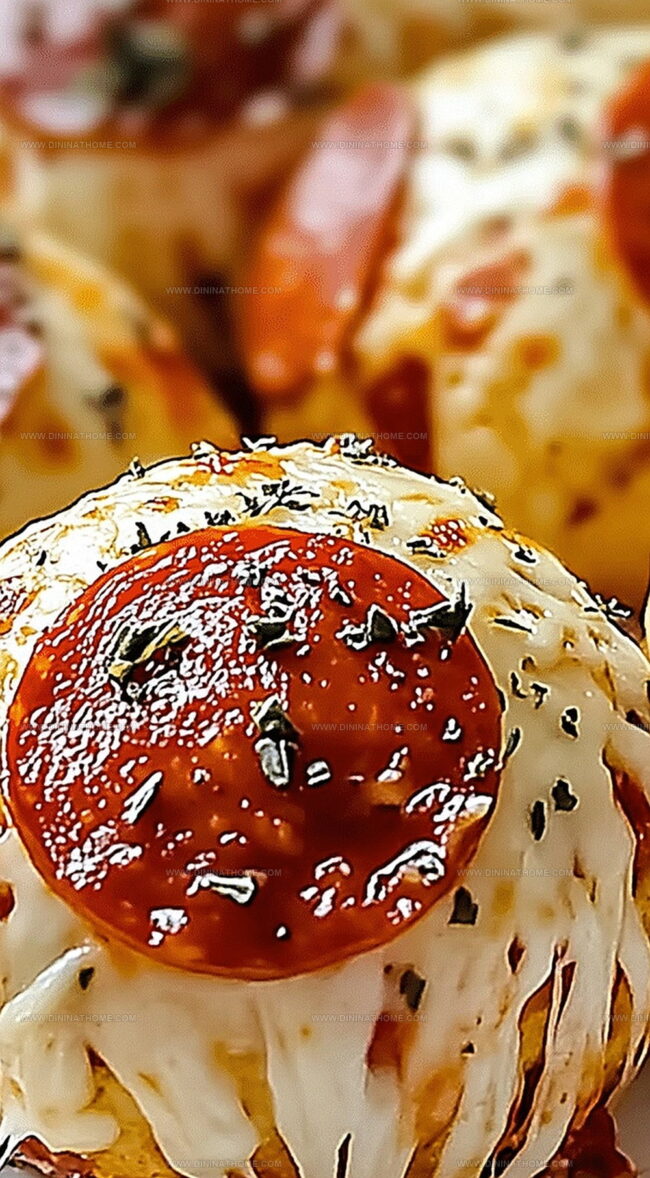
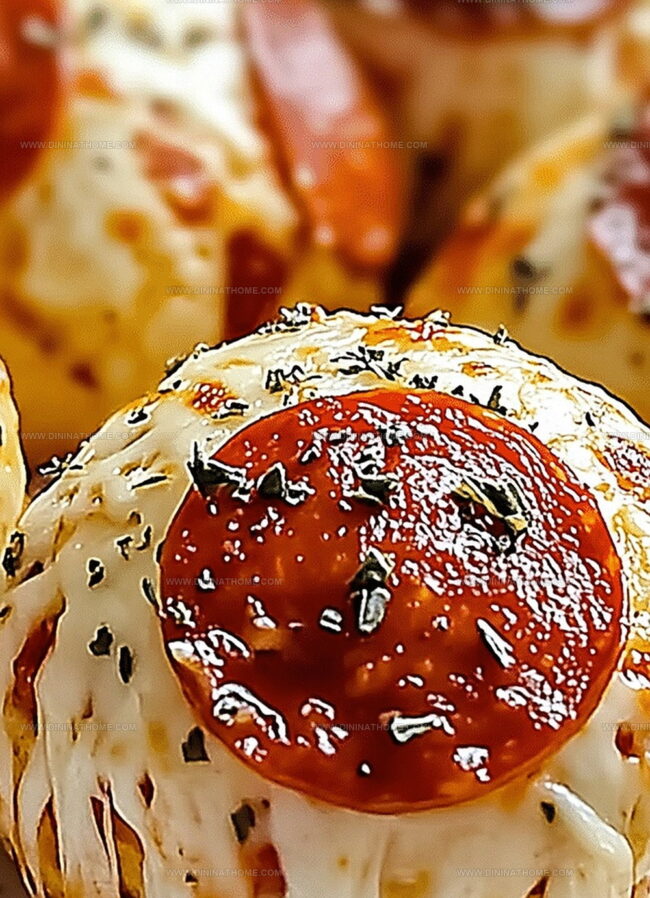
Crispy golden exteriors give way to melty cheese and savory pepperoni hidden inside each perfect morsel.
Soft dough wrapped around zesty ingredients creates a handheld delight that screams comfort food.
Minimal effort yields maximum satisfaction with this crowd-pleasing appetizer that disappears faster than you can plate them.
Pizzeria-style satisfaction meets homemade charm in these bite-sized parcels of pure deliciousness.
Quick to assemble and even quicker to devour, these little bombs will become your new go-to snack for movie nights or casual gatherings.
You won’t be able to resist popping these addictive morsels straight from the baking sheet.
Why You Should Try Pepperoni Pizza Bombs
Pepperoni Pizza Bombs Ingredient Breakdown
Pizza Base:Filling Ingredients:Seasoning and Topping:Pepperoni Pizza Bombs – How to Prepare
Step 1: Prepare Baking Surface
Warm up your oven to 375°F.
Cover a baking sheet with parchment paper to prevent sticking and ensure easy cleanup.
Step 2: Create Pizza Filling Pockets
Take each biscuit dough and gently press it flat.
In the center of each dough, place:Step 3: Shape Into Delightful Bombs
Carefully fold the edges of the dough over the filling.
Pinch and seal the edges completely to create a perfect round ball.
Make sure no filling peeks out.
Step 4: Add Flavorful Coating
Position the pizza bombs seam-side down on the prepared baking sheet.
Generously brush the tops with melted butter.
Sprinkle garlic powder and Italian seasoning over each bomb for an extra burst of flavor.
Step 5: Bake To Golden Perfection
Place the baking sheet in the preheated oven.
Bake for 12-15 minutes until the bombs turn a beautiful golden brown color.
The exterior should be crispy and the inside melty and warm.
Step 6: Serve And Enjoy
Remove from oven and let cool slightly.
Serve the pizza bombs with a side of marinara sauce for dipping.
Best enjoyed immediately while warm and gooey.
Pepperoni Pizza Bombs With Easy Rolling and Filling Secrets
Warm Pizza Bombs For A Melty Reheat
What Matches Pepperoni Pizza Bombs
Pepperoni Pizza Bombs with Cheesy Fillings
FAQs
These are delicious bite-sized pastries filled with pepperoni and melted mozzarella cheese, wrapped in biscuit dough and baked until golden brown.
Yes, you can substitute mozzarella with cheddar, provolone, or any melting cheese you prefer for a personalized flavor.
Absolutely! These are perfect for kids’ parties, quick snacks, or lunch box treats. Most children love the combination of cheese and pepperoni.
Add red pepper flakes inside the bombs or sprinkle some on top before baking to give them an extra kick of heat.
Print
Pepperoni Pizza Bombs Recipe
- Total Time: 25 minutes
- Yield: 8 1x
Description
Pepperoni pizza bombs merge classic Italian flavors into irresistible handheld bites bursting with cheesy goodness. Crispy golden exteriors give way to melted mozzarella and zesty pepperoni, creating a quick snack you’ll crave again and again.
Ingredients
Main Ingredients:
- 1 can refrigerated biscuit dough
- 20 pepperoni slices
- 1 cup (240 milliliters) shredded mozzarella cheese
Seasonings:
- 1 teaspoon garlic powder
- 1 teaspoon Italian seasoning
Finishing Ingredients:
- 2 tablespoons (30 milliliters) butter, melted
Instructions
- Prepare the baking surface by laying parchment paper on a sheet pan and heating the oven to 375°F (190°C).
- Gently press each biscuit dough piece into a thin circular shape, creating a wide surface area.
- Position two pepperoni slices directly in the center of the flattened dough, ensuring they are evenly spaced.
- Place a generous dollop of mozzarella cheese atop the pepperoni, centering it precisely.
- Carefully gather the edges of the dough, pulling them toward the center and pinching them together to create a secure, complete seal.
- Arrange the formed dough balls on the prepared baking sheet with the sealed side facing downward to prevent unraveling during baking.
- Using a pastry brush, coat the exterior of each dough ball with melted butter for a rich, golden finish.
- Sprinkle a blend of garlic powder and Italian seasoning over the buttered surface, ensuring even distribution.
- Transfer the baking sheet to the preheated oven and bake for 12-15 minutes until the pizza bombs achieve a deep, appetizing golden-brown color.
- Remove from the oven and allow to cool slightly before serving alongside warm marinara sauce for dipping.
Notes
- Seal edges tightly to prevent cheese from leaking during baking, ensuring a perfect, intact pizza bomb every time.
- Experiment with different fillings like cooked sausage, bacon bits, or different cheese varieties to create your personalized pizza bomb experience.
- For a gluten-free version, swap regular biscuit dough with gluten-free biscuit mix or use cauliflower dough as a low-carb alternative.
- Allow pizza bombs to cool slightly before serving to prevent molten cheese burns and let the flavors meld together for maximum deliciousness.
- Prep Time: 10 minutes
- Cook Time: 15 minutes
- Category: Snacks, Appetizer
- Method: Baking
- Cuisine: Italian
Nutrition
- Serving Size: 8
- Calories: 200
- Sugar: 1 g
- Sodium: 400 mg
- Fat: 10 g
- Saturated Fat: 5 g
- Unsaturated Fat: 4 g
- Trans Fat: 0 g
- Carbohydrates: 22 g
- Fiber: 1 g
- Protein: 7 g
- Cholesterol: 20 mg
James Walker
Lead Recipe Developer & Culinary Educator
Expertise
Southern Cuisine & Farm-to-Table Cooking, Recipe Development & Testing, Culinary Education & Instruction
Education
School: Auguste Escoffier School of Culinary Arts
Program: Diploma in Culinary Arts and Operations
Focus: Comprehensive training in classical and modern culinary techniques, kitchen operations, and farm-to-table practices.
James didn’t learn cooking from a TV show, he learned it from busy kitchens, family gatherings, and long afternoons spent testing recipes the hard way.
After training at the Auguste Escoffier School of Culinary Arts, he brought his love for real, down-to-earth food to every dish he makes.
At Dining At Home, James loves building recipes that feel familiar but still have something special, like adding a twist to a classic or making a slow Sunday dinner feel brand new.
When he’s not in the kitchen, you’ll probably find him swapping garden tips at the farmers’ market or teaching his daughter how to flip pancakes without a mess (almost).