
Dreamy Peanut Butter Meltaways Recipe: Sweet Bliss in Every Bite
Sweet memories often drift through my kitchen when I whip up these delectable peanut butter meltaways that practically dance on your tongue.
Childhood comfort wraps around each delicate bite like a warm embrace.
Smooth chocolate and creamy peanut butter create magic in just a few simple steps.
Minimal ingredients promise maximum satisfaction for anyone seeking a quick dessert solution.
Little culinary skills are required to craft these irresistible treats that melt instantly.
Small confections like these can turn an ordinary afternoon into something spectacular.
Let’s embark on a delightful journey of creating these irresistible morsels that will surprise and delight everyone who tastes them.
Peanut Butter Meltaways That Just Melt in Your Mouth
Peanut Butter Meltaways – What Goes In
Chocolate Components:Filling Component:Serving Components:Peanut Butter Meltaway Instructions That Keep It Smooth
Step 1: Melting Chocolate Magic
Place dark and white chocolate wafers in a microwave-safe bowl.
Heat in 30-second intervals, stirring between each interval until smooth and completely melted.
Use gentle heating to prevent chocolate from burning.
Step 2: Blending Creamy Goodness
Pour peanut butter into the melted chocolate mixture.
Stir thoroughly until ingredients are:Step 3: Creating Bite-Sized Delights
Transfer the chocolate-peanut butter mixture into mini cupcake liners.
Use a piping bag or spoon to fill each liner evenly, ensuring neat and consistent portions.
Step 4: Quick Chill and Set
Place the filled cupcake liners on a cookie sheet.
Put the sheet in the freezer for 5-10 minutes until the candies become firm and set.
Step 5: Storing Your Tasty Treats
Remove meltaways from the freezer and transfer to an airtight container.
Store in the refrigerator to maintain their perfect texture and prevent melting.
These delectable treats will stay fresh for up to two weeks.
Creamy Meltaway Tips for Peanut Butter Lovers
Save Peanut Butter Meltaways Properly
What Tastes Great with Peanut Butter Meltaways
Peanut Butter Meltaways’ Other Versions
FAQs
Dark chocolate wafers work perfectly, providing a rich, deep flavor that complements the creamy peanut butter. Look for high-quality chocolate wafers that melt smoothly.
Creamy, processed peanut butter works best for this recipe. Natural peanut butter might separate or create a different texture, so stick with a smooth, standard peanut butter brand for consistent results.
Mini cupcake holders and a basic baking sheet are essential. A piping bag or ziplock bag with a corner cut off helps create neat, uniform meltaways. A double boiler or microwave works for melting chocolate.
Melt the chocolate slowly and gently, either using a double boiler or microwave in short 15-second intervals, stirring between each interval. Avoid direct high heat and keep moisture away from the chocolate.
Print
Peanut Butter Meltaways Recipe
- Total Time: 10 minutes
- Yield: 20 1x
Description
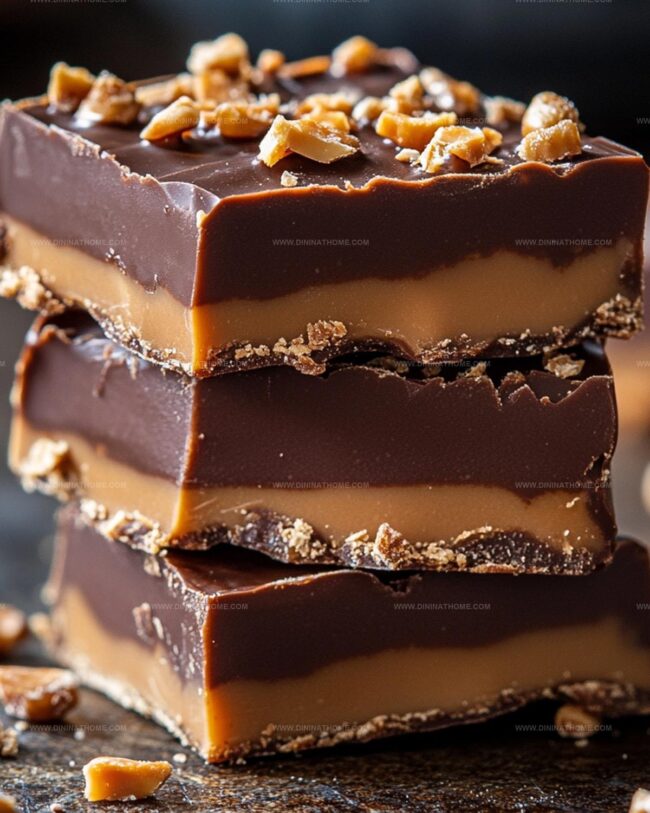
Sweet peanut butter meltaways deliver a delightful chocolate-coated confection that melts seamlessly on your palate. Rich creamy centers nestled in smooth chocolate create an irresistible treat promising pure indulgence with each delicate bite.
Ingredients
Main Ingredients:
- 10 ounces (283 grams) peanut butter
- 10 ounces (283 grams) dark chocolate wafers
- 10 ounces (283 grams) white chocolate wafers
Instructions
- Create a double boiler by placing a heat-safe bowl over a pot of simmering water, ensuring the bottom of the bowl doesn’t touch the water.
- Gently melt dark and white chocolate wafers together, stirring continuously until smooth and fully incorporated.
- Remove the chocolate mixture from heat and fold in creamy peanut butter, mixing until the texture becomes uniform and glossy.
- Arrange mini cupcake liners on a clean baking sheet, preparing them for the chocolate mixture.
- Using a piping bag or small spoon, carefully fill each cupcake liner with the chocolate-peanut butter blend, ensuring even distribution.
- Transfer the baking sheet to the freezer and chill for 7-8 minutes, or until the candies become firm and set.
- Once solidified, transfer the meltaways to an airtight container and store in the refrigerator to maintain their texture and prevent melting.
Notes
- Temper chocolate carefully to prevent seizing by using a double boiler or microwave in short bursts, stirring frequently to maintain smooth consistency.
- Choose high-quality chocolate wafers with at least 60% cocoa content for richer flavor and better melting properties.
- For gluten-free option, verify chocolate and peanut butter brands are certified gluten-free.
- Experiment with different nut butters like almond or cashew for unique flavor variations if peanut allergies are a concern.
- Prep Time: 5 minutes
- Cook Time: 5 minutes
- Category: Desserts, Snacks
- Method: Freezing
- Cuisine: American
Nutrition
- Serving Size: 20
- Calories: 220
- Sugar: 16 g
- Sodium: 50 mg
- Fat: 12 g
- Saturated Fat: 4 g
- Unsaturated Fat: 8 g
- Trans Fat: 0 g
- Carbohydrates: 24 g
- Fiber: 1 g
- Protein: 4 g
- Cholesterol: 0 mg
James Walker
Lead Recipe Developer & Culinary Educator
Expertise
Southern Cuisine & Farm-to-Table Cooking, Recipe Development & Testing, Culinary Education & Instruction
Education
School: Auguste Escoffier School of Culinary Arts
Program: Diploma in Culinary Arts and Operations
Focus: Comprehensive training in classical and modern culinary techniques, kitchen operations, and farm-to-table practices.
James didn’t learn cooking from a TV show, he learned it from busy kitchens, family gatherings, and long afternoons spent testing recipes the hard way.
After training at the Auguste Escoffier School of Culinary Arts, he brought his love for real, down-to-earth food to every dish he makes.
At Dining At Home, James loves building recipes that feel familiar but still have something special, like adding a twist to a classic or making a slow Sunday dinner feel brand new.
When he’s not in the kitchen, you’ll probably find him swapping garden tips at the farmers’ market or teaching his daughter how to flip pancakes without a mess (almost).