
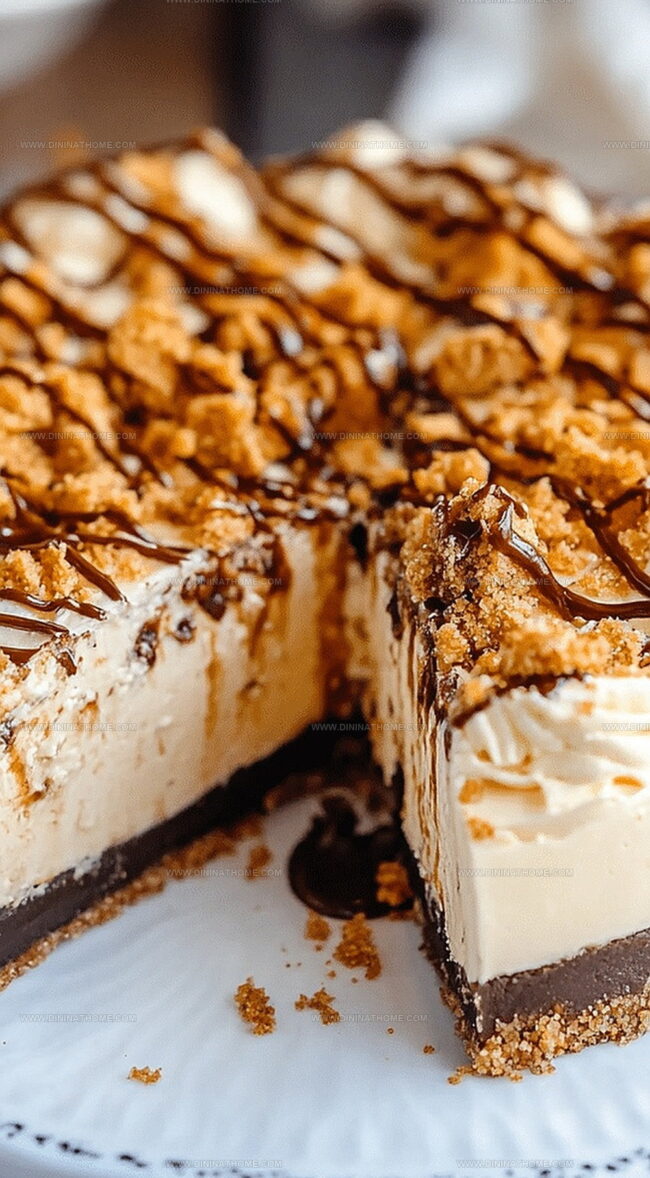
The Dreamiest Peanut Butter Butterfinger Cheesecake Recipe Ever
My latest obsession combines rich peanut butter butterfinger cheesecake with decadent dessert magic.
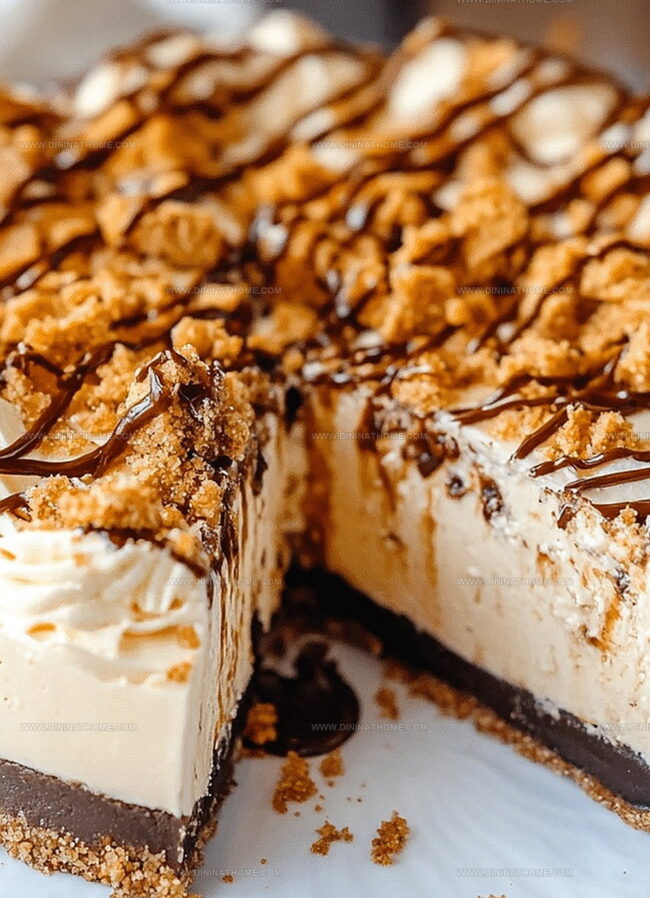
Smooth cream cheese mingles with crunchy candy pieces for an irresistible treat.
Sweet memories of childhood favorites dance through each creamy bite.
Unexpected texture contrasts make this dessert stand out from typical options.
Candied peanut butter chunks add delightful crunch to silky filling.
Spectacular layers promise pure indulgence for anyone seeking ultimate comfort.
Savor every incredible slice and let deliciousness take center stage.
Peanut Butter Butterfinger Cheesecake Satisfies Every Sweet Tooth
Peanut Butter Butterfinger Cheesecake Layers
Crust Ingredients:Filling Ingredients:Topping Ingredients:Butterfinger Peanut Butter Cheesecake Steps
Step 1: Crushing the Chocolate Cookie Base
Preheat your oven to a cozy 325°F.
Grab your chocolate cookies and crush them into fine crumbs.
Melt some butter and mix it thoroughly with the cookie crumbs.
Press this delightful mixture firmly into the bottom of a springform pan.
Pop it in the oven and bake for 10 minutes, then set aside to cool completely.
Step 2: Whipping Up the Creamy Filling
Grab a large mixing bowl and start beating cream cheese and sugar until they become silky smooth.
Introduce peanut butter and blend until perfectly combined.
Crack eggs one by one, mixing carefully after each addition.
Stir in sour cream and vanilla extract until the mixture looks irresistibly creamy.
Fold in chopped Butterfinger pieces:Step 3: Building the Cheesecake Masterpiece
Pour the luscious peanut butter cheesecake filling over the cooled crust.
Use a spatula to create a perfectly smooth top, ensuring an even surface.
Step 4: Baking to Perfection
Place the springform pan inside a larger roasting pan.
Fill the roasting pan with hot water, reaching halfway up the sides of the springform pan.
Slide into the oven and bake for 60-70 minutes.
You’ll know it’s ready when the center is set but still has a gentle jiggle.
Step 5: Cooling and Garnishing
Turn off the oven and crack the door open.
Let the cheesecake cool inside for one hour.
Transfer to the refrigerator and chill for at least 4 hours.
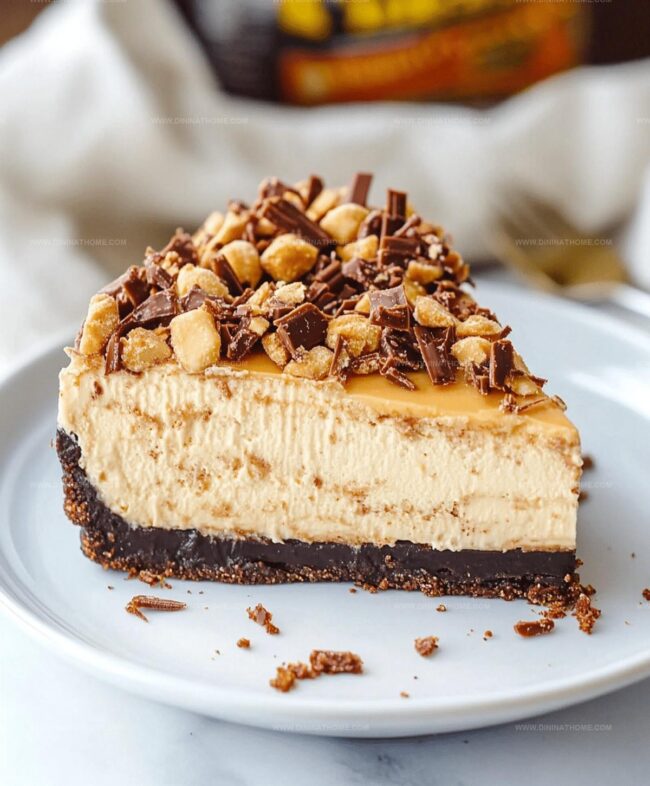
Before serving, sprinkle with additional Butterfinger pieces and add a dollop of whipped cream if desired.
What Makes A Butterfinger Cheesecake Truly Pro
Butterfinger Cheesecake With Peanut Butter Proper Storage Guide
Peanut Butter Cheesecake Pairings
Peanut Butter Butterfinger Cheesecake Ideas
FAQs
Yes, graham crackers or Oreo cookies work well as alternatives to chocolate cookie crumbs.
Use a water bath during baking, avoid overmixing the batter, and let the cheesecake cool slowly in the oven to prevent temperature shock.
Absolutely! You can prepare the cheesecake up to 3 days in advance and store it covered in the refrigerator.
Yes, you can freeze the cheesecake for up to 1 month. Wrap it tightly in plastic wrap and aluminum foil before freezing.
Print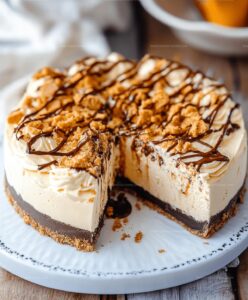
Peanut Butter Butterfinger Cheesecake Recipe
- Total Time: 1 hour 40 minutes
- Yield: 12 1x
Description
Creamy peanut butter butterfinger cheesecake delivers indulgent layers of rich flavor and crunchy candy excitement. Sweet and salty notes dance perfectly, promising a dessert that satisfies deep chocolate and peanut butter cravings with each delectable slice.
Ingredients
Main Ingredients:
- 24 ounces cream cheese, softened
- 1 cup creamy peanut butter
- 3 large eggs
Crust and Candy Ingredients:
- 2 cups chocolate cookie crumbs
- 1.5 cups chopped Butterfinger candy bars
- 0.5 cup chopped Butterfinger candy bars
- 0.5 cup melted butter
Other Ingredients:
- 1 cup granulated sugar
- 1 cup sour cream
- 1 teaspoon vanilla extract
- Whipped cream (optional)
Instructions
- Craft a chocolate cookie foundation by pulverizing cookies into fine crumbs, then blend with melted butter. Press the mixture firmly into the base of a springform pan, creating an even layer that will support the rich filling.
- In a spacious mixing bowl, whip cream cheese until velvety smooth, gradually incorporating sugar. Introduce creamy peanut butter and blend thoroughly, ensuring no lumps remain.
- Incorporate eggs individually, gently folding each into the mixture to maintain a silky texture. Blend in sour cream and vanilla extract, stirring until the filling achieves a uniform consistency.
- Gently fold chopped Butterfinger pieces throughout the cheesecake batter, distributing the candy evenly to guarantee a delightful crunch in every bite.
- Transfer the luscious filling into the prepared crust, using a spatula to create a perfectly level surface that promises an elegant presentation.
- Prepare a water bath by placing the springform pan inside a larger roasting pan. Carefully pour hot water halfway up the pan’s exterior, which helps prevent cracking and ensures even baking.
- Slide the cheesecake into a preheated 325°F oven, allowing it to bake until the center maintains a subtle wobble while appearing mostly set, approximately 60-70 minutes.
- Once baking completes, turn off the oven and slightly open the door, permitting the cheesecake to cool gradually and prevent sudden temperature shifts.
- After an hour, transfer the cheesecake to the refrigerator and chill for a minimum of 4 hours, allowing it to firm and develop its rich flavor profile.
- Before serving, garnish the top with additional crushed Butterfinger pieces and optional billowy whipped cream for a decadent finishing touch.
Notes
- Use room temperature ingredients to ensure smooth, lump-free cheesecake filling and prevent cracking.
- Crush Butterfinger bars finely to distribute candy pieces evenly throughout the creamy mixture.
- Wrap the springform pan with aluminum foil before placing in water bath to prevent water seepage and potential soggy crust.
- Replace chocolate cookie crumbs with gluten-free graham crackers or almond flour-based crust.
- Prep Time: 30 minutes
- Cook Time: 70 minutes
- Category: Desserts
- Method: Baking
- Cuisine: American
Nutrition
- Serving Size: 12
- Calories: 490
- Sugar: 32 g
- Sodium: 400 mg
- Fat: 34 g
- Saturated Fat: 14 g
- Unsaturated Fat: 16 g
- Trans Fat: 0 g
- Carbohydrates: 40 g
- Fiber: 2 g
- Protein: 9 g
- Cholesterol: 85 mg
Emily Harper
Nutrition Consultant & Recipe Analyst
Expertise
Healthy Recipe Modification, Nutritional Analysis & Meal Planning, Global Cuisine & Dietary Adaptations
Education
School: French Pastry School, Chicago, IL
Program: L’Art de la Pâtisserie
Focus: Intensive training in traditional French pastry techniques, baking theory, and confectionery arts.
Emily’s journey started in a pastry kitchen but took a detour into the world of health and flavor science.
Graduating from the French Pastry School and studying nutrition opened her eyes to a new mission: making healthy food taste like something you’d actually crave.
At Dining At Home, Emily’s the go-to for smart, feel-good recipes that don’t trade flavor for nutrition.
She’s all about adding a fresh spin on old favorites and finding small ways to make everyday meals a little brighter.
Outside of the kitchen, Emily is most at home walking forest trails, testing plant-based recipes, or sharing a picnic under a wide-open sky.