Heavenly No-Bake Oreo Balls Recipe: Bite-Sized Sweet Magic
Sweet dreams converge when these irresistible oreo balls dance on your taste buds.
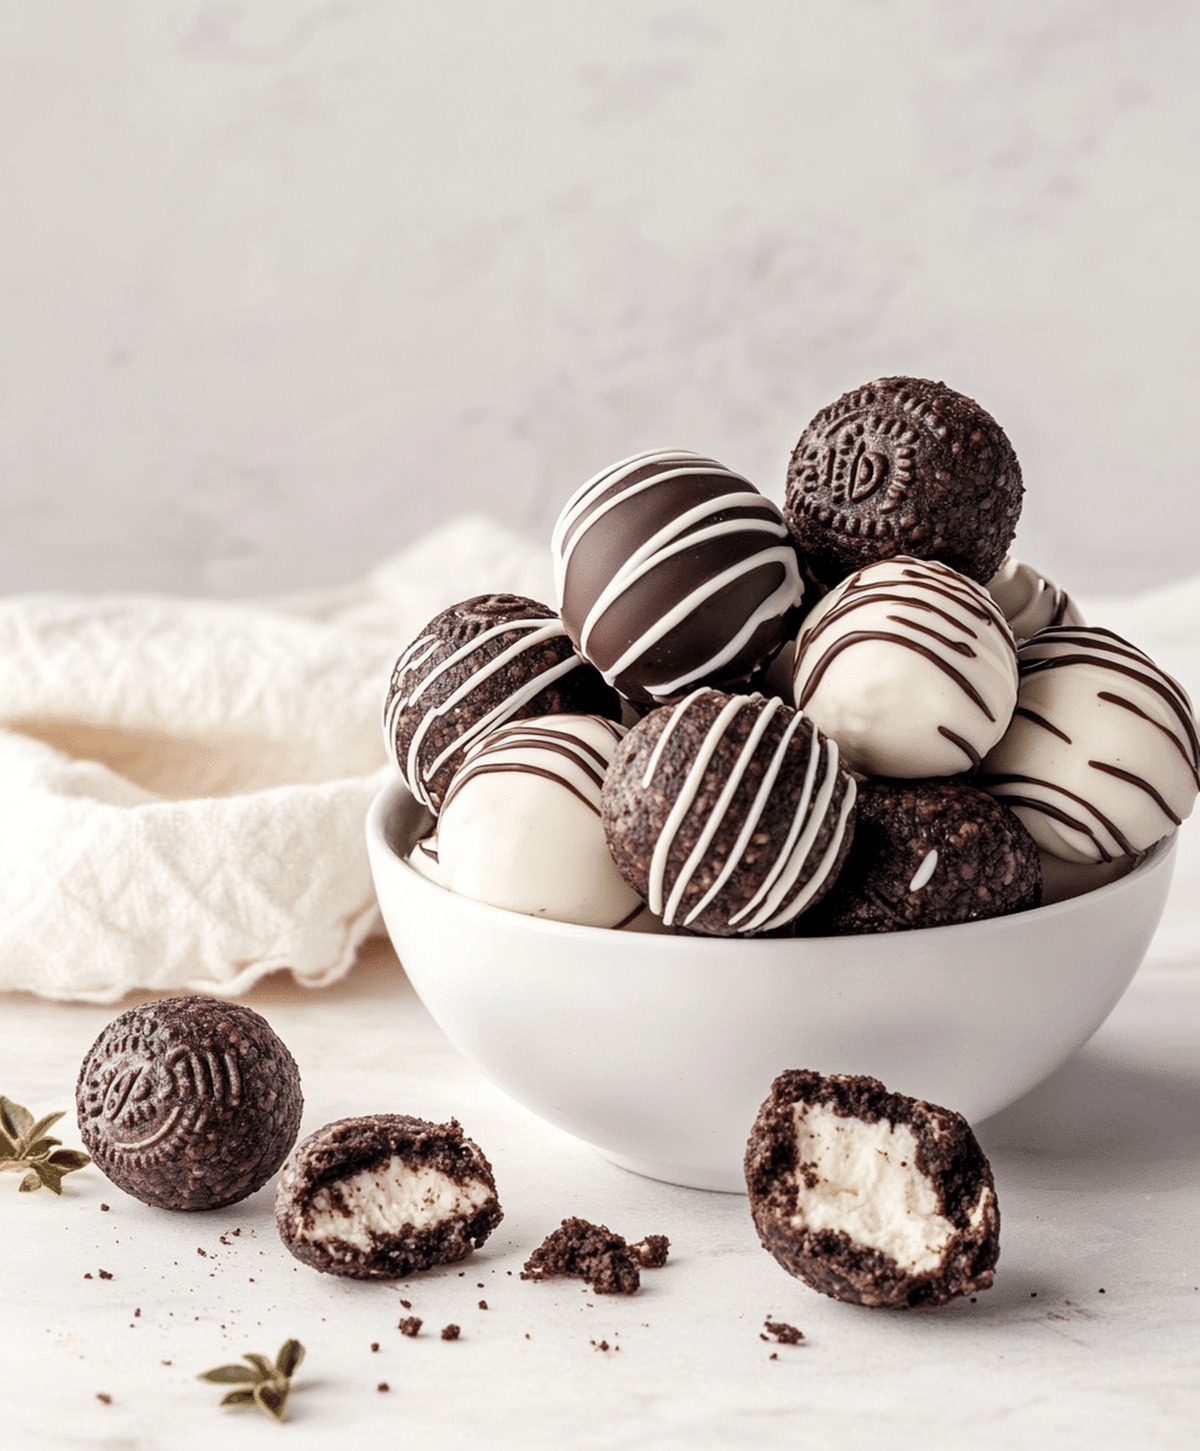
Chocolate-coated spheres of pure bliss emerge from simple kitchen magic.
Crushing cookies becomes an art form with minimal ingredients and maximum satisfaction.
Creamy centers blend perfectly with rich chocolate coating in every single bite.
These no-bake treats promise delightful moments of indulgence without complicated preparation.
Quick assembly means you can whip up a batch faster than a sugar craving hits.
Delectable little morsels await your culinary adventure – let’s get rolling!
Why Oreo Balls Are A No-Bake Favorite

Quickly Conquer Dessert: A No-Bake Sweet Sensation that Rocks
What You Need To Make Oreo Balls
Cookies Base:Binding Ingredient:Coating Ingredient:Simple Steps To Create Oreo Balls
Step 1: Pulverize Oreo Cookies
Grab your Oreo cookies and transform them into a fine, sandy texture.
You can use a food processor for quick work or place the cookies in a sturdy ziplock bag and crush them with a rolling pin.
Aim for a consistent, powdery crumb that will blend smoothly.
Step 2: Create Creamy Truffle Base
In a spacious mixing bowl, combine the crushed Oreo crumbs with softened cream cheese.
Mix thoroughly until the ingredients merge into a uniform, silky mixture.
The consistency should be easy to mold and hold together perfectly.
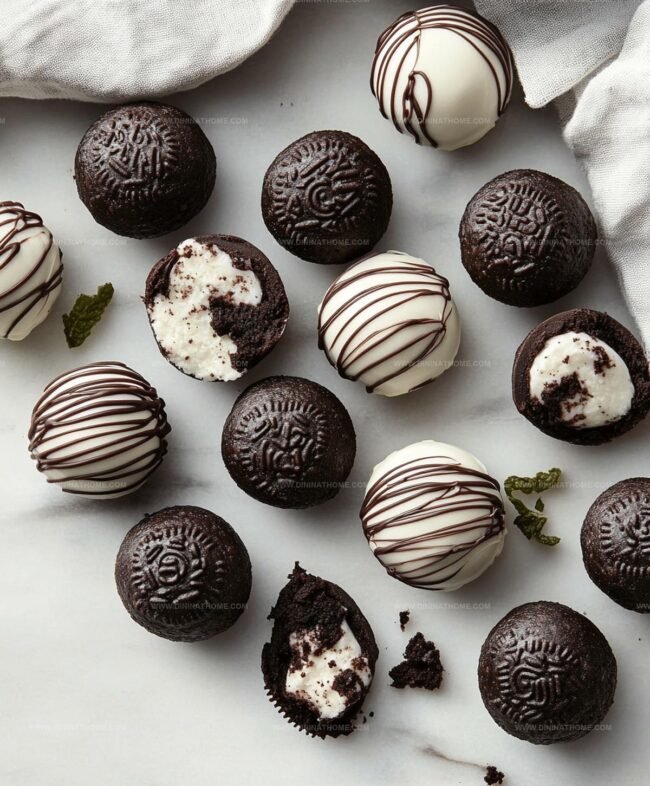
Step 3: Shape Delightful Spheres
Using your hands, roll the Oreo and cream cheese mixture into small, uniform balls.
Each truffle should be about the size of a golf ball.
Arrange these delectable spheres on a parchment-lined baking sheet, ensuring they’re not touching.
Step 4: Chill and Set
Place the baking sheet with the Oreo balls into the freezer.
Let them firm up for approximately 15 minutes.
This cooling period will help the truffles maintain their shape during the chocolate dipping process.
Step 5: Chocolate Dipping Extravaganza
Melt your chocolate using a double boiler or microwave.
Carefully dip each chilled Oreo ball into the melted chocolate, ensuring complete coverage.
Use a fork to lift and drain excess chocolate, then return the coated truffle to the parchment-lined sheet.
Step 6: Final Chocolate Transformation
Allow the chocolate coating to harden at room temperature or quickly set in the refrigerator.
Once the chocolate has completely solidified, your Oreo truffles are ready to be devoured or stored in an airtight container in the refrigerator.
Helpful Tricks For Perfect Oreo Balls

Storing And Reheating Oreo Balls The Right Way

What Goes Well With Oreo Balls
Fun Flavor Ideas For Oreo Balls
Questions And Answers About Making Oreo Balls
Not at all! They’re super easy and require only three main ingredients: Oreo cookies, cream cheese, and chocolate. Even beginner bakers can master this recipe quickly.
Absolutely! You can use white chocolate, milk chocolate, dark chocolate, or even colored candy melts to create different looks and flavors. Just melt them carefully and dip your Oreo balls smoothly.
When stored in an airtight container in the refrigerator, Oreo Balls can last up to 1-2 weeks. They’re best enjoyed chilled and maintain their delicious texture when properly refrigerated.
No special equipment is needed. You can crush Oreos with a rolling pin or food processor, and use a regular mixing bowl and baking sheet. Basic kitchen tools work perfectly for this recipe.
Print
Oreo Balls Recipe
- Total Time: 20 minutes
- Yield: 24 1x
Description
Chocolate-dipped Oreo Balls deliver pure indulgence with crushed cookies and cream cheese, blended into irresistible bite-sized treats. Creamy, rich morsels will delight you with their simple yet luxurious flavor profile.
Ingredients
Main Ingredients:
- 1 package Oreo cookies (about 36 cookies)
- 8 ounces (226 grams) cream cheese, softened
Coating:
- 12 ounces (340 grams) chocolate (white or dark), melted
Instructions
- Transform Oreo cookies into fine, uniform crumbs using a food processor or by sealing them in a sturdy ziplock bag and crushing with a rolling pin.
- Blend the pulverized Oreos with softened cream cheese in a spacious mixing bowl, stirring until the mixture achieves a consistent, smooth texture.
- Gently form the creamy mixture into uniform, bite-sized spheres approximately one inch in diameter, carefully positioning each on a parchment-paper-covered baking tray.
- Transfer the tray to the freezer, allowing the Oreo balls to chill and solidify for roughly 15 minutes, which enhances their structural integrity.
- Prepare melted chocolate for coating, then delicately immerse each chilled Oreo ball, ensuring complete and even coverage using a dipping fork or spoon.
- Carefully return the chocolate-enrobed balls to the parchment-lined tray, permitting the chocolate shell to set and harden at room temperature.
- Once the chocolate coating has completely solidified, transfer the Oreo balls to an airtight container and refrigerate until ready to serve, maintaining their optimal texture and flavor.
Notes
- Customize the texture by adjusting the cookie crumb size for smoother or chunkier Oreo balls.
- Use a small cookie scoop for uniform ball sizes, ensuring consistent shape and even coating.
- Experiment with different chocolate varieties like white, dark, or milk chocolate for unique flavor profiles.
- Keep Oreo balls chilled to maintain their structure and prevent chocolate from melting too quickly.
- Prep Time: 20 minutes
- Cook Time: 0 minutes
- Category: Desserts, Snacks
- Method: Rolling
- Cuisine: American
Nutrition
- Serving Size: 24
- Calories: 150
- Sugar: 12 g
- Sodium: 90 mg
- Fat: 8 g
- Saturated Fat: 4.5 g
- Unsaturated Fat: 3.5 g
- Trans Fat: 0 g
- Carbohydrates: 20 g
- Fiber: 1 g
- Protein: 2 g
- Cholesterol: 10 mg
James Walker
Lead Recipe Developer & Culinary Educator
Expertise
Southern Cuisine & Farm-to-Table Cooking, Recipe Development & Testing, Culinary Education & Instruction
Education
School: Auguste Escoffier School of Culinary Arts
Program: Diploma in Culinary Arts and Operations
Focus: Comprehensive training in classical and modern culinary techniques, kitchen operations, and farm-to-table practices.
James didn’t learn cooking from a TV show, he learned it from busy kitchens, family gatherings, and long afternoons spent testing recipes the hard way.
After training at the Auguste Escoffier School of Culinary Arts, he brought his love for real, down-to-earth food to every dish he makes.
At Dining At Home, James loves building recipes that feel familiar but still have something special, like adding a twist to a classic or making a slow Sunday dinner feel brand new.
When he’s not in the kitchen, you’ll probably find him swapping garden tips at the farmers’ market or teaching his daughter how to flip pancakes without a mess (almost).