
The Classic Old Fashioned Pancakes Recipe Everyone Adores
Pancakes have always been a cherished breakfast classic that holds nostalgic memories for many.
My grandmother’s secret old fashioned pancakes recipe brings back warm childhood mornings of laughter and comfort.
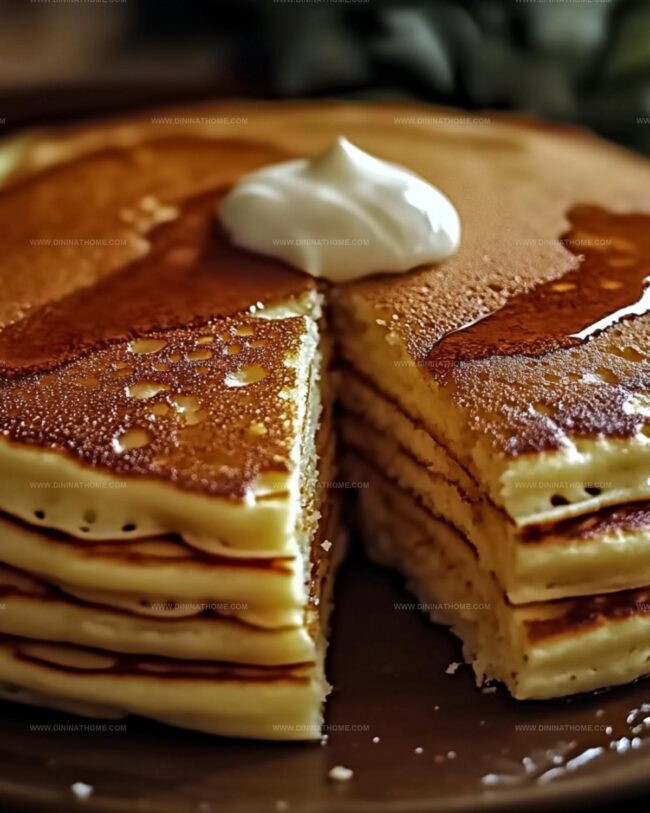
Fluffy and light, these pancakes carry a traditional charm that modern versions often miss.
Simple ingredients like buttermilk and fresh eggs create a delightful texture you’ll absolutely love.
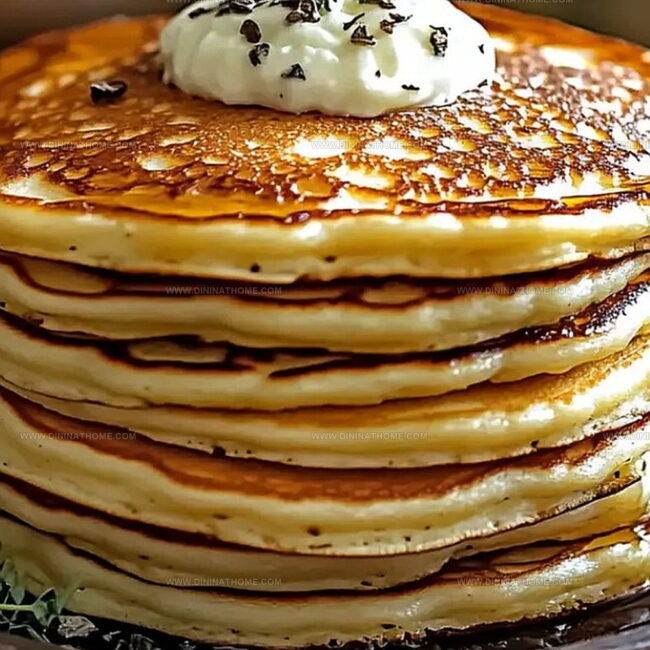
Crispy edges and soft centers make these pancakes a true breakfast delight that never goes out of style.
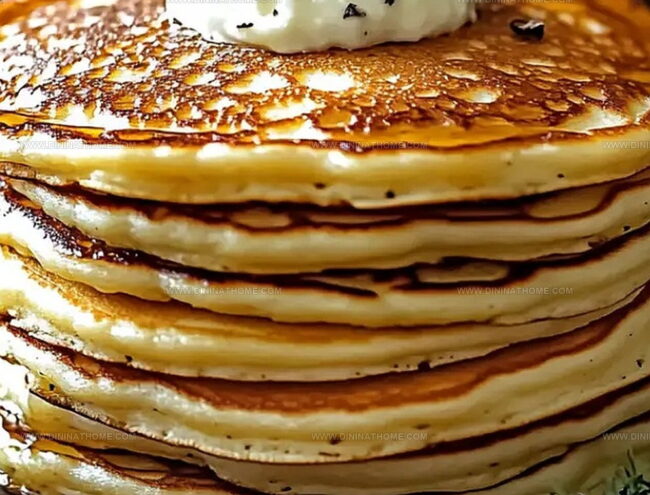
Weekend mornings feel magical when golden pancakes stack high on your plate.
Whip up this timeless recipe and savor every delicious bite of pure breakfast happiness.
Old-Fashioned Pancakes That Never Go Out of Style
Ingredients You’ll Need for Old Fashioned Pancakes
Dry Ingredients:Wet Ingredients:Cooking Ingredients:Optional Toppings:Old-Fashioned Pancake Steps for Fluffy Results
Step 1: Whisk Dry Ingredients
Grab a spacious mixing bowl and whisk together flour, baking powder, sugar, and salt until everything is beautifully blended and free of lumps.
Step 2: Blend Wet Components
In a separate bowl, crack the egg and whisk it until smooth.
Pour in milk, melted butter, and vanilla extract.
Stir until the mixture looks creamy and consistent.
Step 3: Create Pancake Batter
Gently pour wet ingredients into dry ingredients.
Use a light touch when mixing – stop stirring as soon as ingredients are combined.
A few small lumps are perfect and will help create tender pancakes.
Step 4: Prepare Cooking Surface
Heat a griddle or non-stick skillet over medium temperature.
Lightly brush surface with cooking oil or butter to prevent sticking.
Step 5: Cook Golden Pancakes
Scoop batter onto hot surface using a measuring cup or ladle.
Watch for tiny bubbles to form across the pancake’s surface – this signals it’s time to flip.
Cook until each side turns a gorgeous golden brown color.
Step 6: Plate and Garnish
Transfer pancakes to a warm plate.
Top with delightful options like:Serve immediately and enjoy your homemade breakfast delight!
Fluffy Pancake Tips Passed Down the Old-Fashioned Way
Gently fold wet and dry ingredients together, leaving small lumps for fluffy pancakes.
Use medium heat to ensure golden-brown surfaces without burning the pancake centers.
Add vanilla extract or a pinch of cinnamon to enhance the pancake’s classic taste profile.
Sprinkle water drops on the surface – if they sizzle and dance, the griddle is perfectly heated.
Substitute all-purpose flour with gluten-free flour or whole wheat flour for alternative versions.
Save Old Fashioned Pancakes for Later
Perfect Companions for Old-Fashioned Pancakes
Old Fashioned Pancakes Batter Add-Ins
FAQs
Yes, you can prepare the batter the night before and store it in the refrigerator. Cover the bowl with plastic wrap and mix briefly before cooking to redistribute the ingredients.
No problem! You can skip the vanilla extract or substitute it with almond extract, or add a pinch of cinnamon for extra flavor. The pancakes will still taste delicious.
Look for small bubbles forming on the surface of the pancake and the edges starting to look dry. This typically takes about 2-3 minutes on medium heat. Once you see these signs, it’s time to flip.
You can substitute up to half the all-purpose flour with whole wheat flour. Using 100% whole wheat flour might make the pancakes denser, so a blend works best for a lighter texture.
Print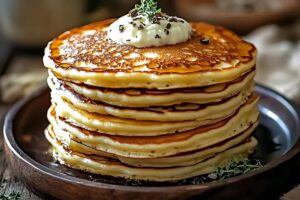
Old Fashioned Pancakes Recipe
- Total Time: 25 minutes
- Yield: 4 1x
Description
Fluffy old fashioned pancakes deliver classic breakfast comfort with golden edges and tender centers. Families gather around the griddle, savoring nostalgic flavors that connect generations through simple, delightful morning traditions.
Ingredients
Main Ingredients:
- 1 1/2 cups (375 ml) all-purpose flour
- 1 1/4 cups (310 ml) milk
- 1 egg
- 3 tablespoons (45 ml) melted butter
Leavening and Seasoning:
- 3 1/2 teaspoons (17.5 ml) baking powder
- 1 tablespoon (15 ml) sugar
- 1/2 teaspoon (2.5 ml) salt
Optional Flavor:
- 1 teaspoon (5 ml) vanilla extract
Instructions
- Sift the flour, baking powder, sugar, and salt into a spacious mixing vessel, ensuring a uniform blend of dry components.
- Whisk the egg in a separate container, then incorporate milk, melted butter, and vanilla extract, blending until a smooth liquid mixture forms.
- Gently fold the liquid ingredients into the dry mixture, stirring with minimal agitation – a few textural irregularities are perfectly acceptable and desirable.
- Warm a lightly greased griddle or non-stick pan over medium-low temperature, creating an ideal cooking surface.
- Ladle approximately ¼ cup of batter onto the heated surface for each pancake, allowing sufficient space between portions.
- Monitor the pancake’s surface for emerging bubbles, which signal the optimal moment to execute a precise flip.
- Continue cooking the reverse side until achieving a golden-brown complexion, indicating a perfectly prepared pancake.
- Transfer the completed pancakes to a serving platter, keeping them warm if preparing multiple batches.
- Embellish with classic accompaniments such as pure maple syrup, freshly picked berries, or a delicate butter medallion for enhanced enjoyment.
Notes
- Add a splash of buttermilk or sour cream to the batter for extra tanginess and fluffier texture.
- Separate egg whites and whip them before folding into the batter for incredibly light pancakes.
- Rest the batter for 5-10 minutes before cooking to allow flour to absorb liquid and prevent tough pancakes.
- For gluten-free version, substitute all-purpose flour with almond or oat flour and add xanthan gum for binding.
- Prep Time: 5 minutes
- Cook Time: 20 minutes
- Category: Breakfast, Snacks, Desserts
- Method: Frying
- Cuisine: American
Nutrition
- Serving Size: 4
- Calories: 225
- Sugar: 2 g
- Sodium: 295 mg
- Fat: 9 g
- Saturated Fat: 5 g
- Unsaturated Fat: 4 g
- Trans Fat: 0 g
- Carbohydrates: 31 g
- Fiber: 1 g
- Protein: 6 g
- Cholesterol: 37 mg
James Walker
Lead Recipe Developer & Culinary Educator
Expertise
Southern Cuisine & Farm-to-Table Cooking, Recipe Development & Testing, Culinary Education & Instruction
Education
School: Auguste Escoffier School of Culinary Arts
Program: Diploma in Culinary Arts and Operations
Focus: Comprehensive training in classical and modern culinary techniques, kitchen operations, and farm-to-table practices.
James didn’t learn cooking from a TV show, he learned it from busy kitchens, family gatherings, and long afternoons spent testing recipes the hard way.
After training at the Auguste Escoffier School of Culinary Arts, he brought his love for real, down-to-earth food to every dish he makes.
At Dining At Home, James loves building recipes that feel familiar but still have something special, like adding a twist to a classic or making a slow Sunday dinner feel brand new.
When he’s not in the kitchen, you’ll probably find him swapping garden tips at the farmers’ market or teaching his daughter how to flip pancakes without a mess (almost).