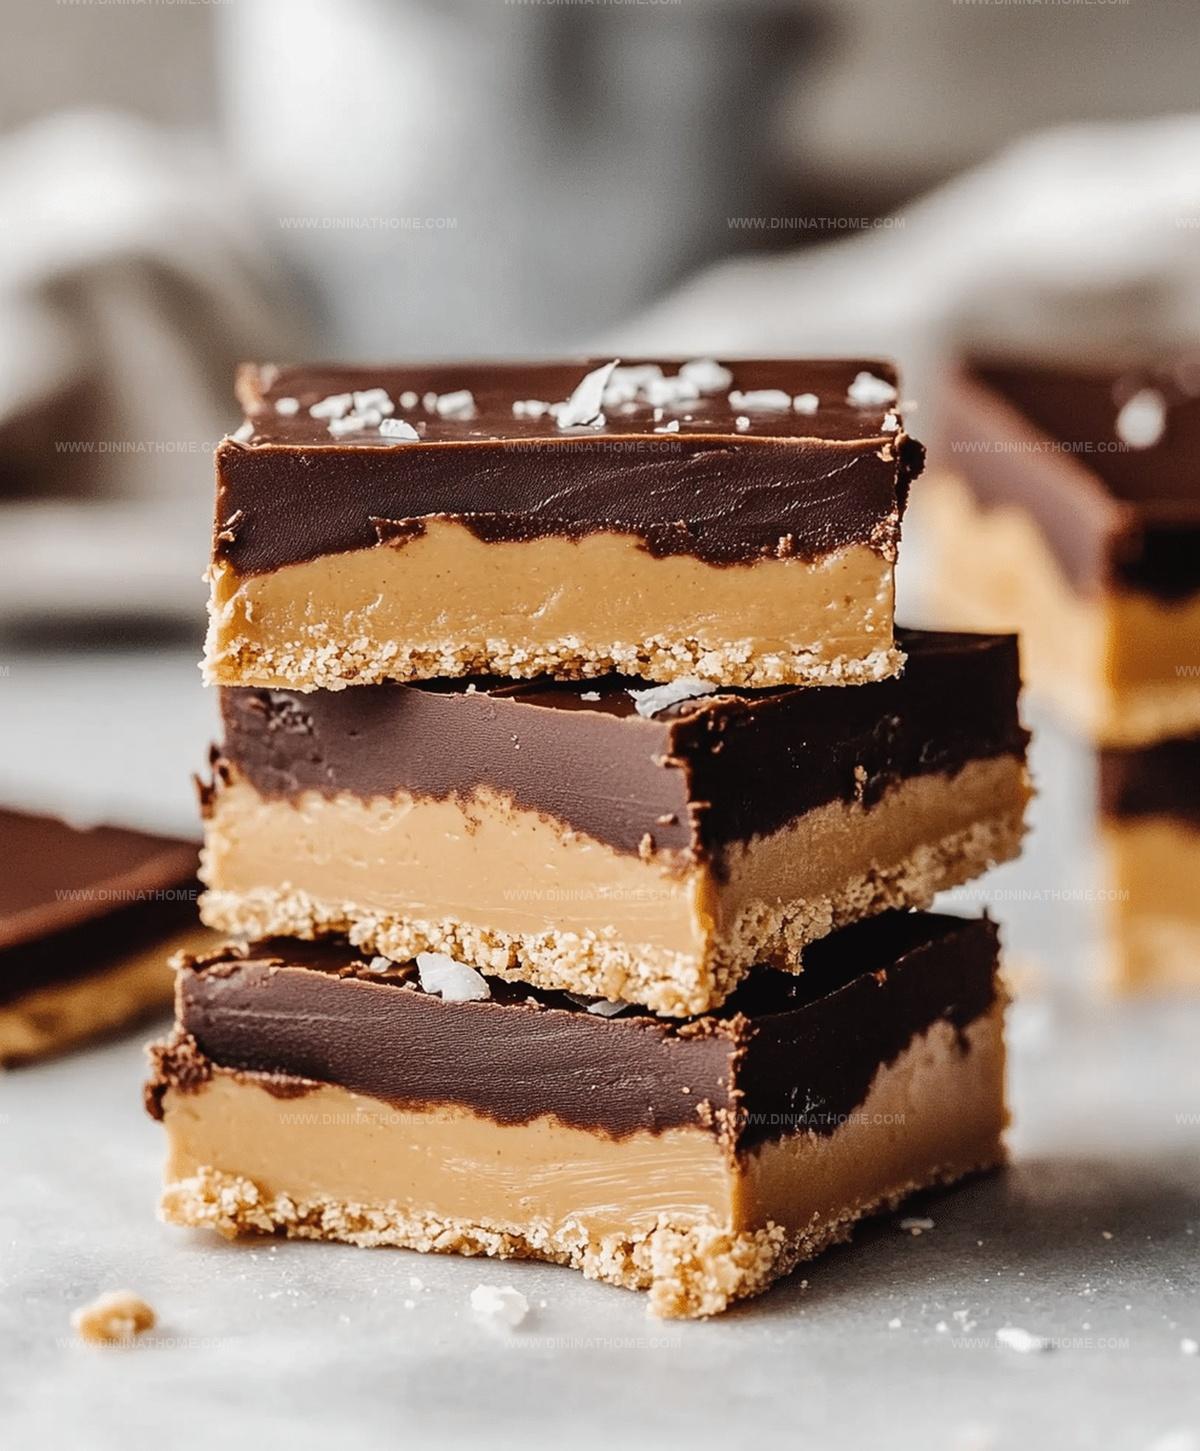
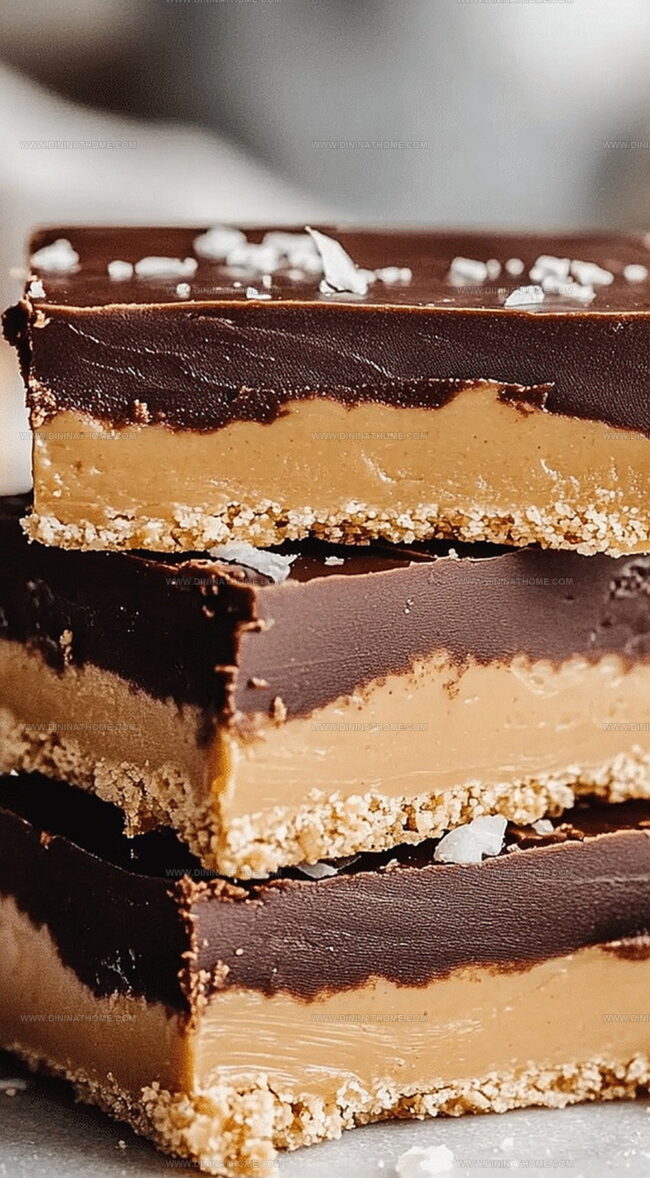
Quick No-bake Peanut Butter Buckeye Bars Recipe for Snacking Joy
Crafting delectable no-bake peanut butter buckeye bars always sparks joy in my kitchen!
Sweet chocolatey layers melt together effortlessly without turning on the oven.
Rich peanut butter creates a smooth, dreamy foundation for these irresistible treats.
Minimal ingredients mean maximum satisfaction for anyone craving something decadent.
Chocolate and peanut butter form an unbeatable combination that never disappoints dessert lovers.
Quick assembly makes these bars perfect for spontaneous snack cravings.
She will fall in love with how simple yet impressive these bars taste.
Indulge in this creamy, no-fuss dessert that promises pure bliss in every single bite.
Peanut Butter Buckeye Bars That Satisfy Instantly
Peanut Butter Buckeye Bar Ingredients
Base Ingredients:Flavor Enhancers:Chocolate Coating:Peanut Butter Buckeye Bars No-Bake Sequence

Step 1: Whip Up Creamy Peanut Butter Base
Grab a mixing bowl and combine the following ingredients:Stir everything together until the mixture becomes smooth and well-blended.
The consistency should be thick and easily spreadable.
Step 2: Create Smooth Peanut Butter Layer
Take a 9×13-inch baking pan and line it with parchment paper.
Transfer the peanut butter mixture into the pan.
Use a spatula or the back of a spoon to press the mixture down, creating an even and compact layer that covers the entire bottom of the pan.
Step 3: Craft Decadent Chocolate Topping
In a microwave-safe bowl, combine:Melt the ingredients in short intervals, stirring between each, until the mixture is completely smooth and glossy.
Pour the melted chocolate over the peanut butter layer, using a spatula to spread it evenly from edge to edge.
Step 4: Chill and Set
Place the pan in the refrigerator.
Let the bars cool and set for about an hour.
The chocolate should become firm and the layers should solidify completely.
Step 5: Slice and Serve
Remove the pan from the refrigerator.
Using the parchment paper, lift the entire block out of the pan.
Slice into squares or rectangular bars.
Serve chilled and enjoy these delectable no-bake treats!
Peanut Butter Buckeye Bars – No-Bake Tips That Keep Shape
Chill Peanut Butter Buckeye Bars Securely
Sips & Bites for Buckeye Bars
No-Bake Buckeye Bars with Peanut Butter Twists
FAQs
A classic no-bake dessert inspired by buckeye candies, featuring a creamy peanut butter base topped with chocolate, named after the Ohio state tree’s nut which they resemble.
Yes, but choose a stable brand with less oil separation. Stir thoroughly before using to ensure smooth consistency and proper binding of ingredients.
Let the bars sit at room temperature for 5-10 minutes before cutting. Use a sharp knife and clean the blade between cuts for smooth, clean slices.
Not automatically. Use gluten-free graham crackers or graham cracker crumbs to make the recipe completely gluten-free. Always check ingredient labels carefully.
Print
No-bake Peanut Butter Buckeye Bars Recipe
- Total Time: 15 minutes
- Yield: 12 1x
Description
Indulgent no-bake peanut butter buckeye bars blend creamy chocolate and rich peanut butter into a delightful Ohio-inspired dessert. Sweet flavors and silky textures invite chocolate and peanut butter lovers to savor this simple, irresistible treat.
Ingredients
Main Ingredients:
- 2 cups graham cracker crumbs
- 1 cup creamy peanut butter
- 1 1/2 cups semisweet chocolate chips
- 1/2 cup unsalted butter, melted
Sweeteners and Flavoring:
- 2 cups powdered sugar
- 1 teaspoon vanilla extract
Additional Ingredients:
- 2 tablespoons coconut oil (or butter)
Instructions
- Combine creamy peanut butter with melted butter, vanilla extract, powdered sugar, and crushed graham crackers in a mixing bowl, stirring until the mixture transforms into a uniform, velvety consistency.
- Transfer the blended peanut butter mixture into a parchment-lined 9×13-inch pan, using a spatula or clean hands to distribute and compact the layer evenly across the bottom.
- Gently melt chocolate chips together with coconut oil in a microwave or double boiler, stirring periodically until the mixture achieves a silky, glossy appearance.
- Carefully pour the molten chocolate over the peanut butter base, using a spatula to ensure complete and smooth coverage across the entire surface.
- Place the pan in the refrigerator and allow the bars to set and solidify for approximately 60-75 minutes, or until the chocolate layer becomes completely firm.
- Remove from refrigerator, lift the bars out using the parchment paper edges, and slice into precise rectangular portions using a sharp knife.
- Serve chilled and enjoy the decadent, no-bake treat immediately or store in an airtight container for later indulgence.
Notes
- Swap graham cracker crumbs with gluten-free alternatives like almond flour or crushed gluten-free cookies for a celiac-friendly version.
- Use dark chocolate chips for a richer, slightly less sweet chocolate coating that pairs beautifully with the peanut butter.
- Ensure ingredients are at room temperature for smoother mixing and easier blending of the peanut butter base.
- Store bars in an airtight container in the refrigerator for up to a week, allowing the flavors to meld and texture to stay perfect.
- Prep Time: 15 minutes
- Cook Time: 0 minutes
- Category: Desserts, Snacks
- Method: None
- Cuisine: American
Nutrition
- Serving Size: 12
- Calories: 260
- Sugar: 20g
- Sodium: 50mg
- Fat: 16g
- Saturated Fat: 7g
- Unsaturated Fat: 9g
- Trans Fat: 0g
- Carbohydrates: 28g
- Fiber: 1g
- Protein: 5g
- Cholesterol: 5mg
James Walker
Lead Recipe Developer & Culinary Educator
Expertise
Southern Cuisine & Farm-to-Table Cooking, Recipe Development & Testing, Culinary Education & Instruction
Education
School: Auguste Escoffier School of Culinary Arts
Program: Diploma in Culinary Arts and Operations
Focus: Comprehensive training in classical and modern culinary techniques, kitchen operations, and farm-to-table practices.
James didn’t learn cooking from a TV show, he learned it from busy kitchens, family gatherings, and long afternoons spent testing recipes the hard way.
After training at the Auguste Escoffier School of Culinary Arts, he brought his love for real, down-to-earth food to every dish he makes.
At Dining At Home, James loves building recipes that feel familiar but still have something special, like adding a twist to a classic or making a slow Sunday dinner feel brand new.
When he’s not in the kitchen, you’ll probably find him swapping garden tips at the farmers’ market or teaching his daughter how to flip pancakes without a mess (almost).