
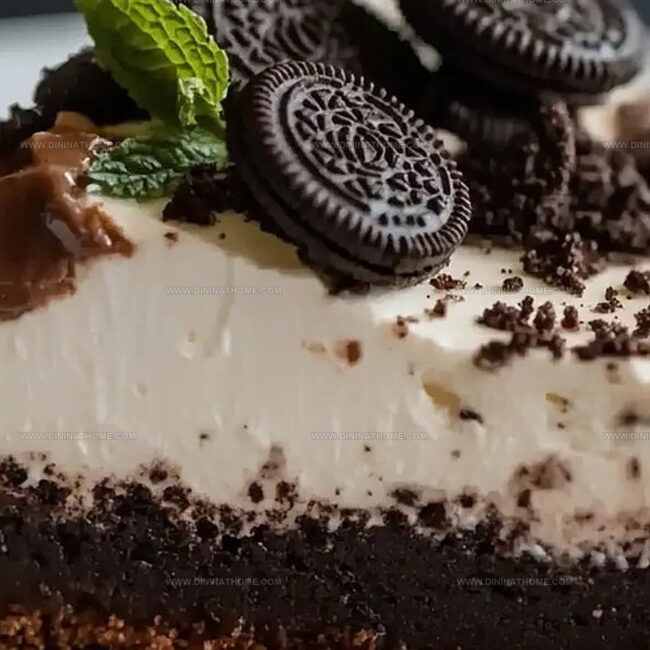
The Dreamy No-Bake Oreo Mud Pie Recipe That Steals Hearts
Some folks absolutely adore the creamy magic of a no-bake oreo mud pie that brings instant dessert happiness.
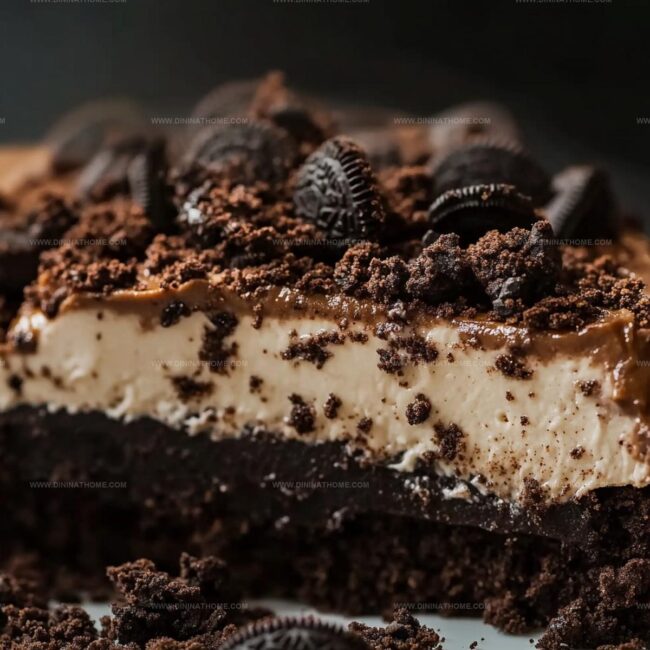
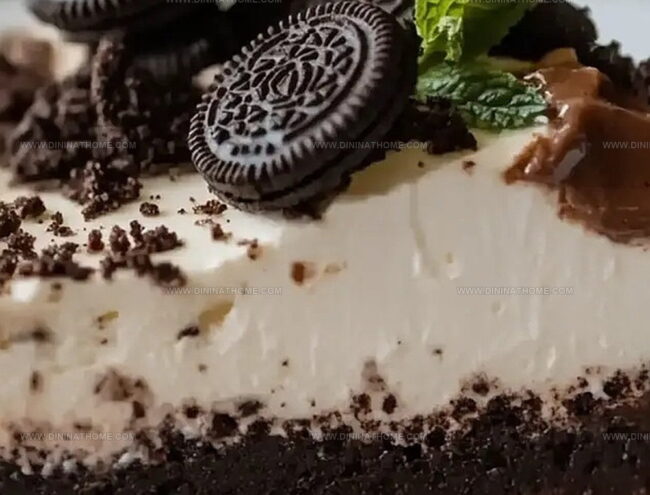
Chocolate cookie crusts create delightful foundations for sweet adventures.
Cool whipped layers promise decadent textures that melt smoothly across your palate.
Minimal kitchen effort means maximum dessert satisfaction for anyone craving something indulgent.
Refrigeration does the hard work while you relax and anticipate a spectacular treat.
Rich chocolate and silky cream combine in ways that feel like pure dessert poetry.
Grab a spoon and prepare to experience pure bliss in every single bite.
Oreo Mud Pie That’s Always A Hit With Guests
Quick and Easy Treat: Zero Oven Time Needed
Minimal Ingredient Magic: Whip Up with Pantry Staples
Crowd-Pleasing Dessert: Guaranteed Chocolate Lover’s Dream
Flexible Preparation: Make Ahead and Chill
No-Bake Oreo Mud Pie – What You’ll Use
Base and Crust:Filling Ingredients:Topping and Garnish:No-Bake Oreo Mud Pie Assembly in Layers
Step 1: Crush Oreo Cookies
Grab a package of Oreo cookies and transform them into fine crumbs.
You can use a food processor for quick work or place the cookies in a sealed plastic bag and crush them with a rolling pin.
Mash those cookies until they become a sandy texture that’ll form the perfect base for your delicious pie.
Step 2: Create Crust Foundation
Mix the Oreo crumbs with melted butter until the mixture looks like wet sand.
Press this delightful combination firmly into the bottom of a pie dish, creating an even layer that will serve as your pie’s delicious foundation.
Pop the crust into the refrigerator and let it chill and set for about 30 minutes.
Step 3: Whip Creamy Filling
In a large mixing bowl, blend cream cheese until smooth and silky.
Add powdered sugar and optional peanut butter, continuing to mix until the texture becomes light and fluffy.
Slowly incorporate heavy cream and whipped topping, beating until the mixture becomes wonderfully creamy and soft.
Step 4: Layer and Decorate
Carefully pour the luscious filling over the chilled Oreo crust, spreading it evenly with a spatula.
Drizzle hot fudge sauce across the top, creating beautiful swirls using the back of a spoon for a gorgeous marbled effect.
Step 5: Chill and Set
Place the pie in the refrigerator and let it rest for at least 3 hours.
This cooling time allows the pie to firm up and develop those amazing flavors.
Step 6: Garnish and Serve
Before serving, sprinkle additional crushed Oreo cookies on top for extra crunch and visual appeal.
Slice and enjoy your decadent, no-bake dessert!
Pie Prep Tips for a No-Bake Oreo Mud Delight
Chill No-Bake Oreo Mud Pie
Perfect Matches for No-Bake Oreo Mud Pie
No-Bake Oreo Pie Style Options
FAQs
Yes, the No-Bake Oreo Mud Pie is vegetarian-friendly. It contains dairy products like cream cheese and heavy cream, but no meat ingredients.
Absolutely! You can crush Oreos in a sealed plastic bag using a rolling pin or the bottom of a heavy skillet. This method works just as well for creating fine cookie crumbs.
The No-Bake Oreo Mud Pie can be stored in the refrigerator for up to 5 days. Keep it covered with plastic wrap to maintain its texture and prevent it from absorbing other food odors.
You can use gluten-free chocolate sandwich cookies instead of regular Oreos to create a gluten-free version of this dessert. Just ensure all other ingredients are also gluten-free.
Print
No-Bake Oreo Mud Pie Recipe
- Total Time: 20 minutes
- Yield: 8 1x
Description
Creamy no-bake oreo mud pie delivers a chocolate lover’s dream with its irresistible layers of crushed cookies and silky filling. Cool and indulgent dessert promises sweet satisfaction without heating up the kitchen, making you crave each delightful spoonful.
Ingredients
Pie Base:
- 1 package (about 24) Oreo cookies
- 1/4 cup (60 ml) melted butter
Cream Filling:
- 8 ounces (226 grams) cream cheese, softened
- 1 cup (120 grams) powdered sugar
- 1/2 cup (120 ml) heavy whipping cream
- 2 cups (480 ml) whipped topping (like Cool Whip)
- 1/2 cup (128 grams) peanut butter (optional)
Topping:
- 1 cup (240 ml) hot fudge sauce
- 1/4 cup (30 grams) crushed Oreos (for topping)
Instructions
- Transform a package of Oreo cookies into fine, uniform crumbs using a food processor or by placing them in a sealed plastic bag and crushing with a rolling pin.
- Incorporate melted butter into the cookie crumbs, ensuring a thorough and consistent mixture that will hold together when pressed.
- Firmly compact the buttery crumb mixture into the bottom and sides of a pie dish, creating a solid, even base. Chill in the refrigerator for half an hour to solidify the crust.
- In a spacious mixing bowl, whip cream cheese until silky and smooth, gradually blending in powdered sugar and optional peanut butter for added depth of flavor.
- Gently fold heavy cream and whipped topping into the cream cheese mixture, creating a light, airy filling with a luxurious texture.
- Carefully spread the creamy filling over the chilled Oreo crust, ensuring an even distribution across the entire surface.
- Artfully drizzle hot fudge sauce over the filling, using a spoon to create gentle swirls that add visual appeal and extra richness.
- Refrigerate the pie for a minimum of three hours, allowing the filling to set completely and develop a firm, sliceable consistency.
- Just before serving, garnish the pie with additional crushed Oreo cookies, providing a delightful crunch and enhancing the dessert’s visual presentation.
Notes
- Crush Oreos finely for a smooth, compact crust that holds together perfectly and provides a delightful texture.
- Use melted butter at room temperature to ensure even mixing with cookie crumbs and prevent clumping.
- Beat cream cheese mixture slowly to avoid air bubbles, creating a silky-smooth filling that sets beautifully.
- Swap peanut butter with other spreads like Nutella or caramel sauce for unique taste profiles that complement the Oreo base.
- Prep Time: 20 minutes
- Cook Time: 0 minutes
- Category: Desserts
- Method: Chilling
- Cuisine: American
Nutrition
- Serving Size: 8
- Calories: 360
- Sugar: 27 g
- Sodium: 220 mg
- Fat: 24 g
- Saturated Fat: 12 g
- Unsaturated Fat: 10 g
- Trans Fat: 0 g
- Carbohydrates: 36 g
- Fiber: 1 g
- Protein: 4 g
- Cholesterol: 30 mg
James Walker
Lead Recipe Developer & Culinary Educator
Expertise
Southern Cuisine & Farm-to-Table Cooking, Recipe Development & Testing, Culinary Education & Instruction
Education
School: Auguste Escoffier School of Culinary Arts
Program: Diploma in Culinary Arts and Operations
Focus: Comprehensive training in classical and modern culinary techniques, kitchen operations, and farm-to-table practices.
James didn’t learn cooking from a TV show, he learned it from busy kitchens, family gatherings, and long afternoons spent testing recipes the hard way.
After training at the Auguste Escoffier School of Culinary Arts, he brought his love for real, down-to-earth food to every dish he makes.
At Dining At Home, James loves building recipes that feel familiar but still have something special, like adding a twist to a classic or making a slow Sunday dinner feel brand new.
When he’s not in the kitchen, you’ll probably find him swapping garden tips at the farmers’ market or teaching his daughter how to flip pancakes without a mess (almost).