Quick No-Bake Cheesecake Jars Recipe: Simple Joy in Every Spoon
Sweet memories dance around this no-bake cheesecake jars delight that promises pure indulgence.
Creamy layers beckon with delectable charm and minimal kitchen effort.
Dessert enthusiasts will adore how simple ingredients combine into something magical.
Silky smooth textures melt perfectly on your tongue, creating instant happiness.
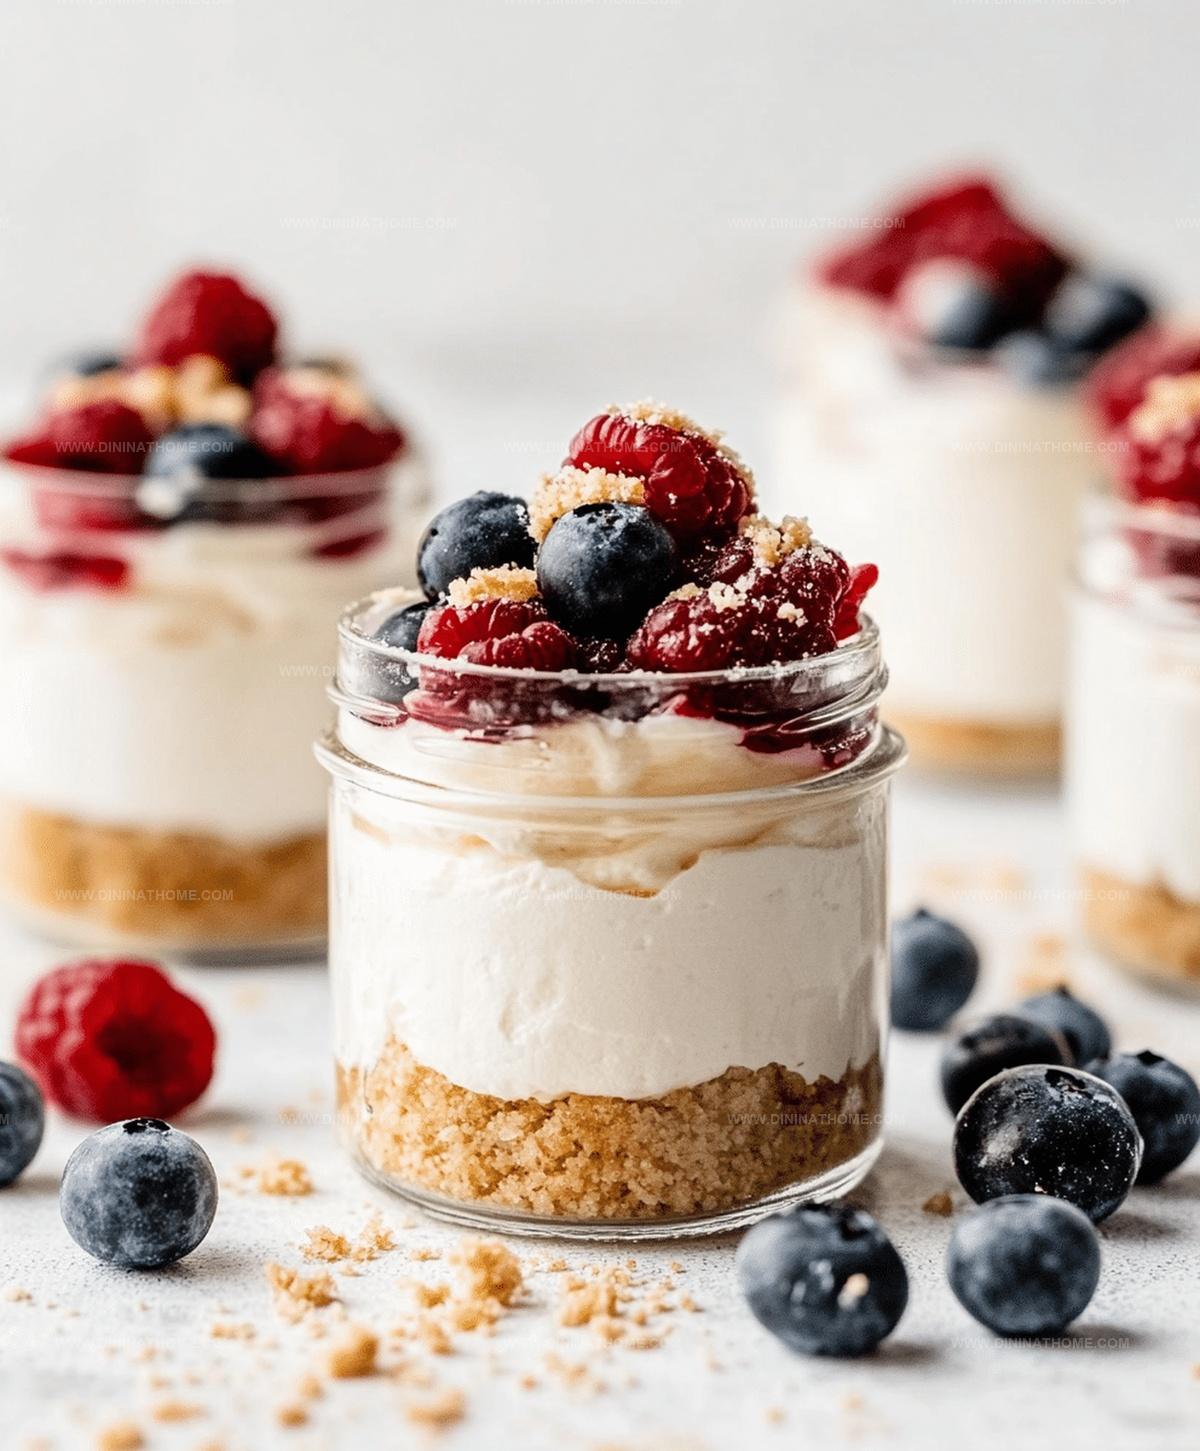
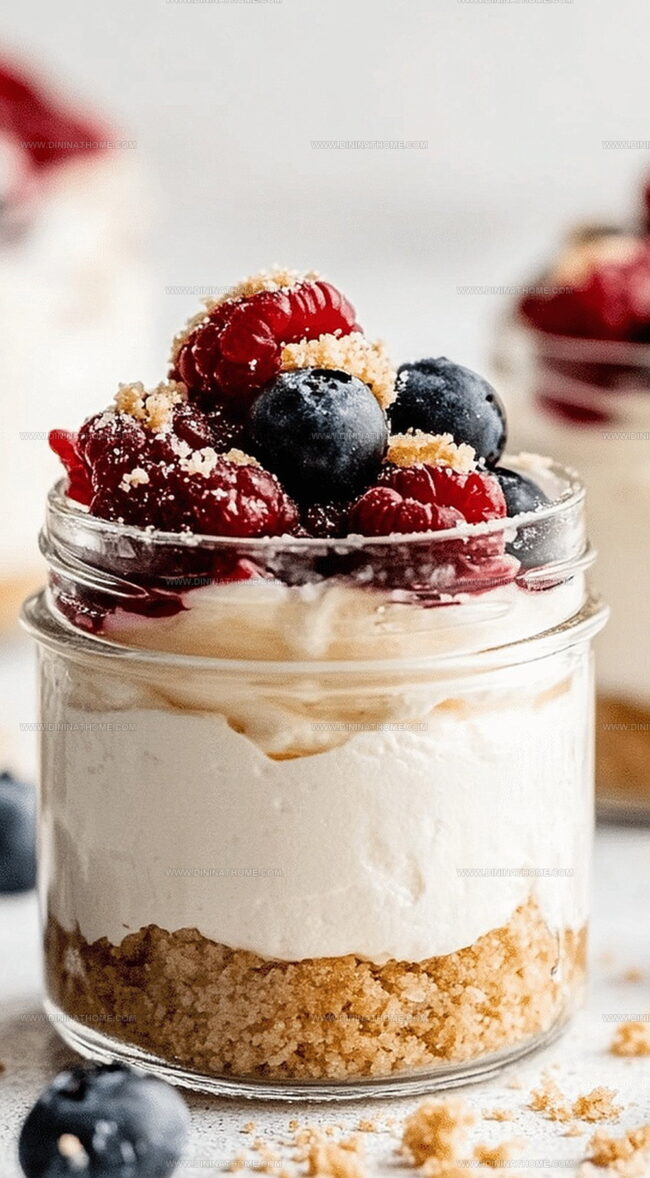
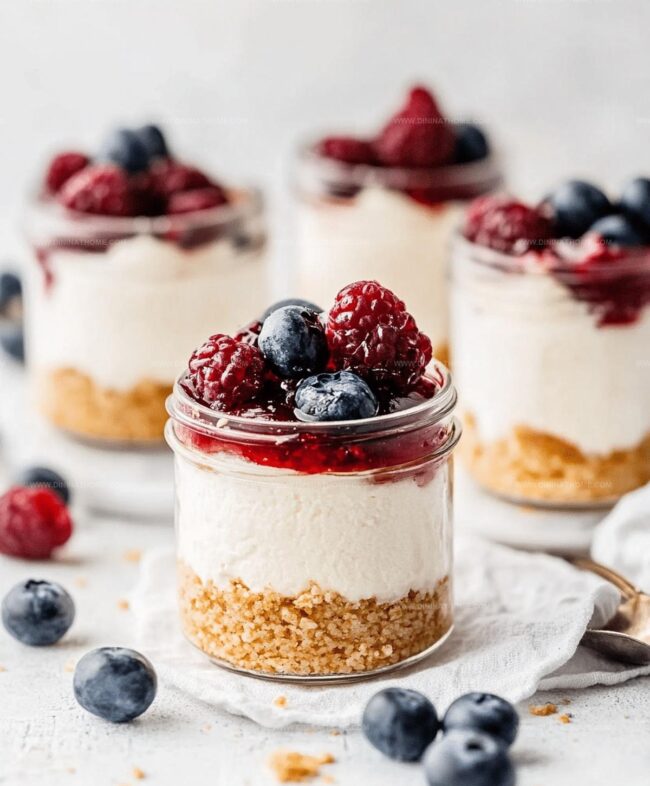
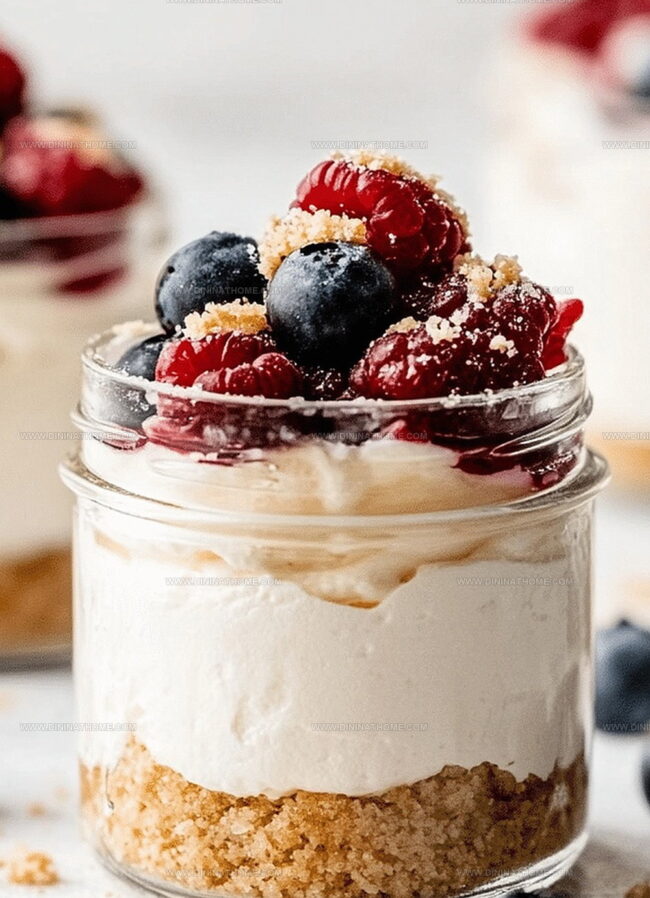
Mason jars become elegant vessels for this delightful treat that feels both sophisticated and playful.
Colorful fruit toppings add vibrant personality to each dreamy spoonful.
Summer gatherings just found their most irresistible finale with these gorgeous individual desserts.
No-Bake Cheesecake Jars Offer Creamy, Quick-To-Make Delight
What Fills A Cheesecake Jar No-Bake Style
Crust Base:Cream Cheese Filling:Topping and Garnish:Cheesecake Jars No-Bake Directions
Step 1: Crush and Mix Crust
Grab your graham crackers and crush them into fine crumbs using a food processor or rolling pin.
In a mixing bowl, combine:Stir everything together until the mixture looks like wet sand.
Press the crust mixture firmly into the bottom of small mason jars or glass containers, creating an even layer.
Step 2: Whip Creamy Cheesecake Filling
In a large mixing bowl, use an electric mixer to blend:Beat these ingredients until they become smooth and fluffy.
Gently fold in whipped cream, making sure to keep the mixture light and airy.
Step 3: Layer and Fill Jars
Carefully spoon the creamy cheesecake filling over the graham cracker crust in each jar.
Use a spatula to spread the filling evenly and create a smooth surface.
Step 4: Chill and Decorate
Place the jars in the refrigerator for at least 2 hours to allow the cheesecake to set and become firm.
Before serving, add your favorite toppings like:Serve chilled and enjoy your delightful dessert!
No-Bake Cheesecake Jars With Pro-Level Finesse
Cheesecake Jars (No-Bake) Storage And Chill Advice
Accompaniments for Cheesecake Jars
No-Bake Cheesecake Jar Styles
FAQs
You’ll need graham crackers, butter, sugar, cream cheese, powdered sugar, vanilla extract, and whipped cream. Optional toppings include fresh berries or chocolate sauce.
You’ll want small jars or glasses, a mixing bowl, and an electric mixer or whisk. The recipe is simple and doesn’t require any complicated kitchen tools.
These jars can be kept in the refrigerator for 3-4 days when stored in an airtight container. The texture remains creamy and delicious throughout this time.
Absolutely! These are perfect for making in advance. You can prepare them up to 2 days before serving, which makes them great for parties or gatherings.
Print
No-Bake Cheesecake Jars Recipe
- Total Time: 15 minutes
- Yield: 4 1x
Description
Creamy no-bake cheesecake jars blend silky cream cheese with graham cracker crust for an irresistible dessert. Perfectly portioned and chilled, these individual treats offer a luxurious escape that satisfies sweet cravings with minimal effort.
Ingredients
Main Ingredients:
- 1 (225 grams) package cream cheese, softened
- 1/2 cup (120 milliliters) heavy cream
- 1/4 cup (60 milliliters) sour cream
Crust Ingredients:
- 1 1/2 cups (180 grams) graham cracker crumbs
- 1/4 cup (60 milliliters) unsalted butter, melted
Sweeteners and Flavoring:
- 2 tablespoons (25 grams) granulated sugar
- 1 teaspoon (5 milliliters) vanilla extract
Instructions
- Crush graham crackers into fine crumbs, then thoroughly blend with melted butter and sugar until mixture resembles wet sand with consistent texture.
- Gently press the cracker mixture into the bottom of each glass jar, creating a compact and even base layer that will serve as the crust foundation.
- Using an electric mixer, whip cream cheese until completely smooth and free of lumps, gradually incorporating powdered sugar and vanilla extract.
- Carefully fold whipped cream into the cream cheese mixture, ensuring a light and airy consistency without deflating the volume.
- Delicately spoon the creamy cheesecake filling over the prepared graham cracker crust, using a spatula to distribute evenly and create a smooth surface.
- Place filled jars in the refrigerator and allow them to chill for minimum two hours, which will help the filling set and develop a perfect texture.
- Prior to serving, enhance the dessert with optional garnishes such as fresh seasonal berries, fruit compote, chocolate drizzle, or a sprinkle of crushed graham crackers for added visual appeal and texture.
Notes
- Swap graham crackers with gluten-free alternatives like almond flour or crushed gluten-free cookies for celiac or gluten-sensitive diets.
- Use low-fat cream cheese and whipped cream to reduce overall calorie content without compromising taste.
- Experiment with different flavor extracts like almond, lemon, or coconut to create unique variations of the classic cheesecake.
- Prepare jars in advance and store in the refrigerator for up to 3 days, making them perfect for meal prep or last-minute dessert options.
- Prep Time: 15 minutes
- Cook Time: 0 minutes
- Category: Desserts, Snacks
- Method: Chilling
- Cuisine: American
Nutrition
- Serving Size: 4
- Calories: 293
- Sugar: 5 g
- Sodium: 75 mg
- Fat: 18 g
- Saturated Fat: 10 g
- Unsaturated Fat: 8 g
- Trans Fat: 0 g
- Carbohydrates: 30 g
- Fiber: 1 g
- Protein: 3 g
- Cholesterol: 31 mg
Emily Harper
Nutrition Consultant & Recipe Analyst
Expertise
Healthy Recipe Modification, Nutritional Analysis & Meal Planning, Global Cuisine & Dietary Adaptations
Education
School: French Pastry School, Chicago, IL
Program: L’Art de la Pâtisserie
Focus: Intensive training in traditional French pastry techniques, baking theory, and confectionery arts.
Emily’s journey started in a pastry kitchen but took a detour into the world of health and flavor science.
Graduating from the French Pastry School and studying nutrition opened her eyes to a new mission: making healthy food taste like something you’d actually crave.
At Dining At Home, Emily’s the go-to for smart, feel-good recipes that don’t trade flavor for nutrition.
She’s all about adding a fresh spin on old favorites and finding small ways to make everyday meals a little brighter.
Outside of the kitchen, Emily is most at home walking forest trails, testing plant-based recipes, or sharing a picnic under a wide-open sky.