The Irresistible No Bake Oreo Cheesecake Recipe for Sweet Lovers
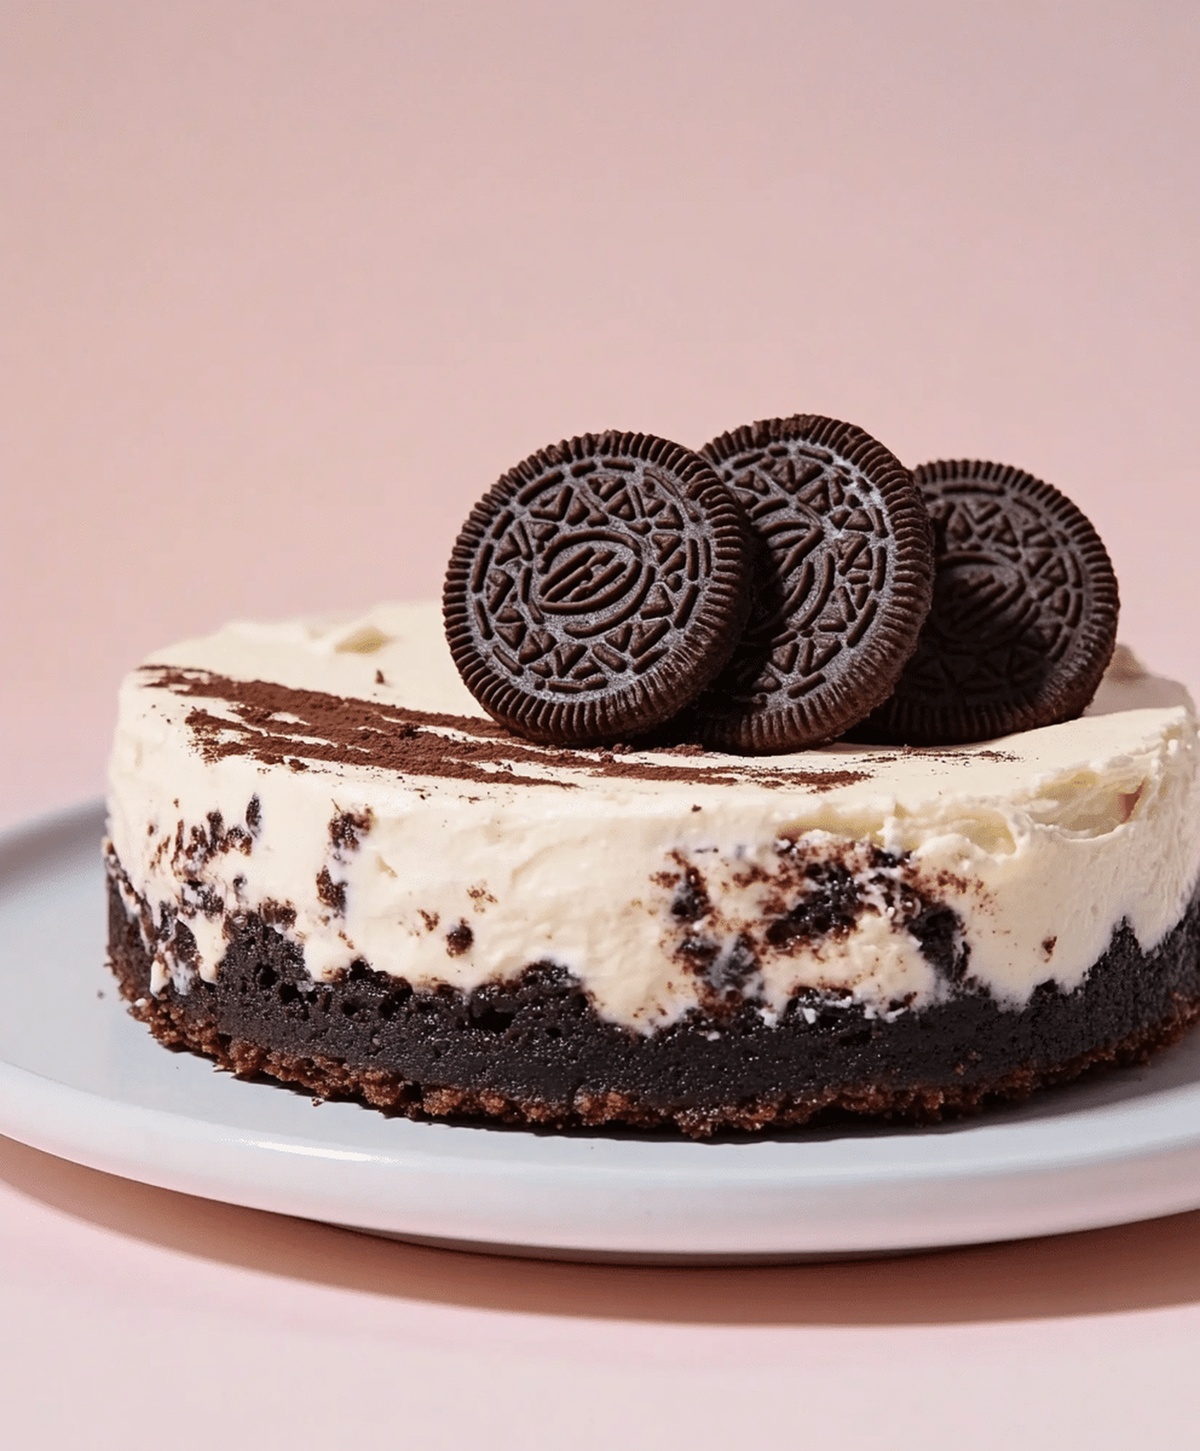
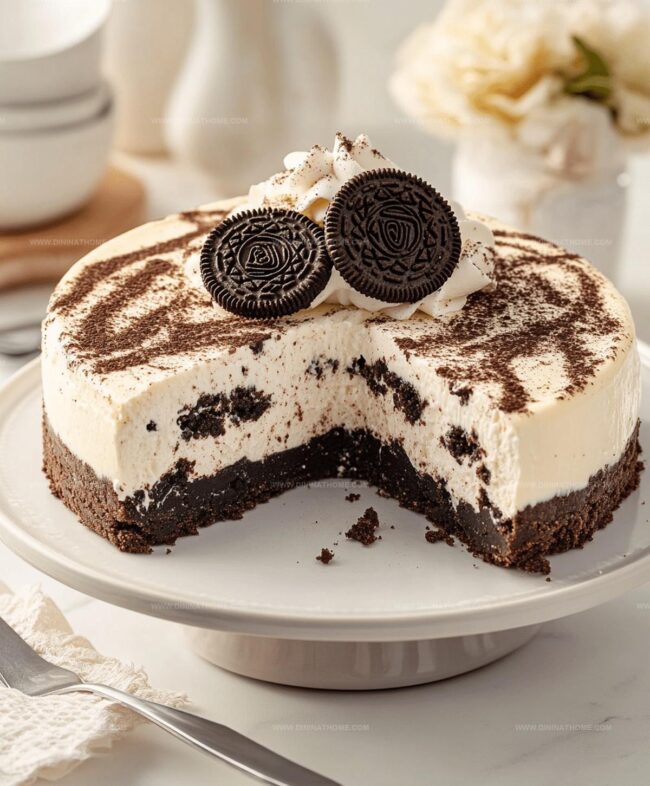
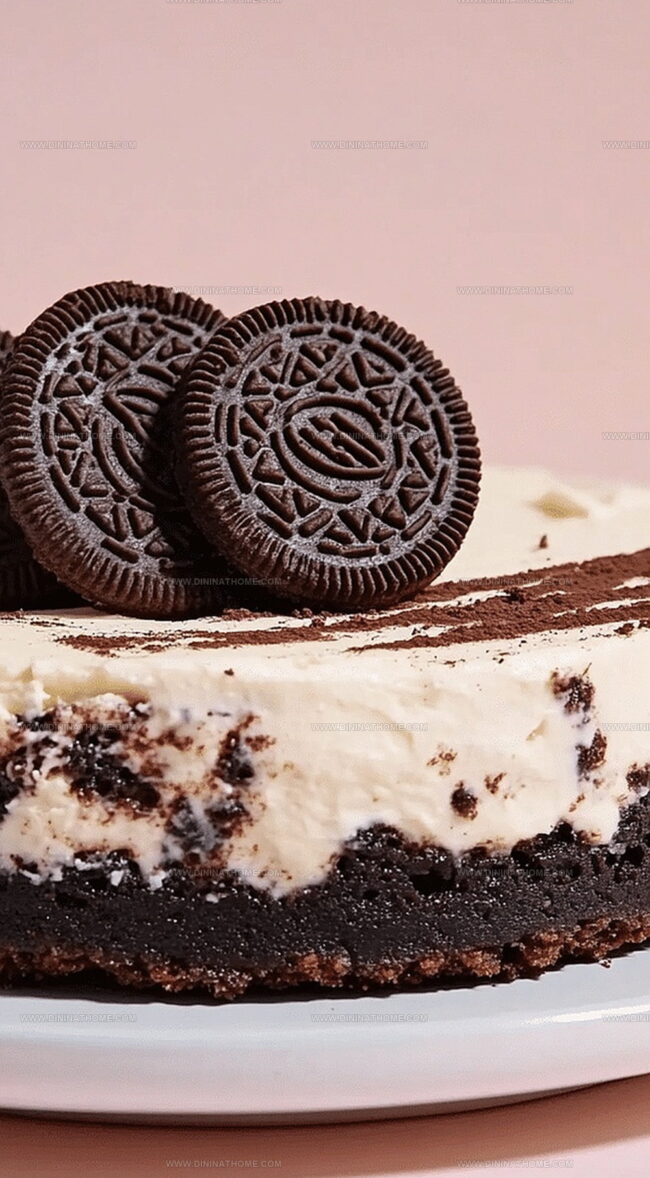
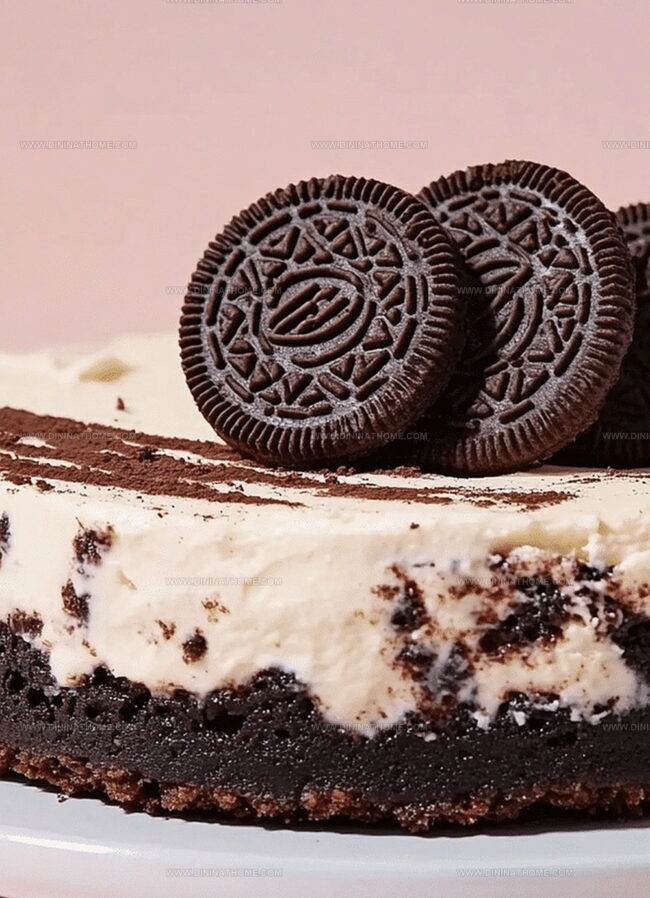
Creamy dreams come true with this irresistible no bake oreo cheesecake that promises pure dessert magic.
Chocolate cookie crumbs create a delectable foundation for smooth, rich layers of cheesecake goodness.
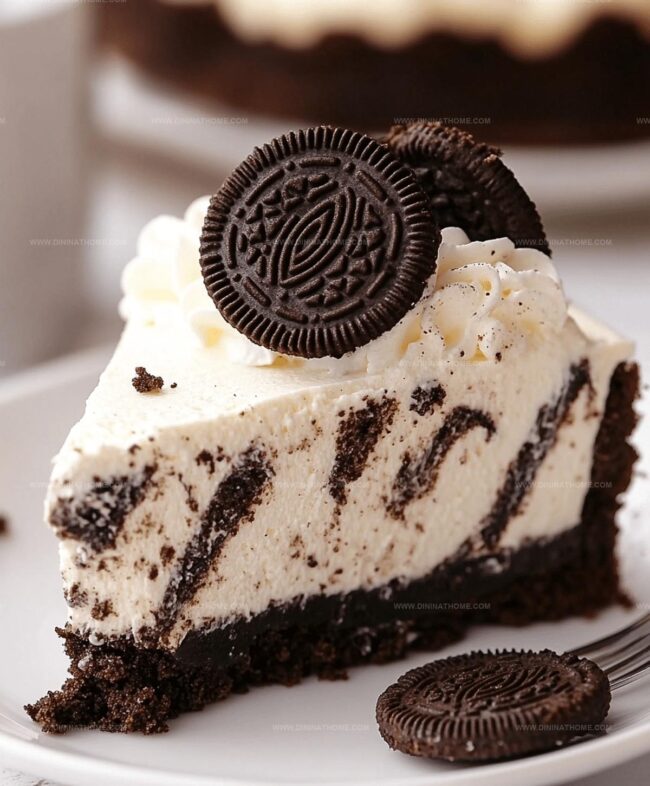
Every single bite delivers a perfect balance between crunchy and silky textures.
Cool and decadent, this dessert requires zero oven time and minimal kitchen effort.
Oreo lovers will swoon over the intense chocolate flavor and velvety cream cheese blend.
Minimal ingredients and simple steps mean you can whip up this showstopping treat in minutes.
One slice will have everyone begging for your secret recipe.
Why You’ll Keep Craving No Bake Oreo Cheesecake
Quickest Crowd-Pleaser: This no-bake Oreo cheesecake delivers maximum flavor with minimal kitchen effort, perfect for busy home cooks who want delicious desserts without complicated steps.
Zero Oven Drama: Skip the baking stress completely – no preheating, no temperature monitoring, just simple mixing and chilling, making this recipe incredibly beginner-friendly and foolproof.
Chill-Out Convenience: Prepare this dessert ahead of time and let the refrigerator do the hard work. The 4-hour (or overnight) chilling period means you can make it in advance for parties, potlucks, or family gatherings.
Instant Crowd-Pleaser: Oreo cookies transform a classic cheesecake into a nostalgic treat that appeals to both kids and adults, guaranteeing smiles and second helpings at any celebration or casual dessert moment.
What Goes Into A No Bake Oreo Cheesecake
Crust Ingredients:Filling Ingredients:Topping Ingredients:Instructions To Prepare No Bake Oreo Cheesecake
Step 1: Create Chocolatey Base
Crush Oreo cookies into fine crumbs using a food processor or rolling pin.
Mix cookie crumbs with melted butter until the texture resembles wet sand.
Press the mixture firmly into the bottom of a springform pan, creating an even layer.
Use the back of a spoon to compact the crust tightly.
Place the pan in the refrigerator to firm up for 15 minutes.
Step 2: Whip Creamy Filling
In a large mixing bowl, beat cream cheese until completely smooth and free of lumps.
Add powdered sugar and vanilla extract, continuing to mix until the mixture becomes light and fluffy.
In a separate bowl, whip heavy cream until stiff peaks form.
Gently fold the whipped cream into the cream cheese mixture using a spatula.
Carefully fold in additional crushed Oreo cookies, distributing them evenly throughout the filling.
Step 3: Layer and Smooth
Transfer the creamy Oreo filling onto the chilled crust.
Use a spatula to spread the mixture evenly, ensuring a smooth and level surface.
Tap the pan gently on the counter to release any air bubbles trapped in the filling.
Step 4: Chill and Set
Cover the cheesecake with plastic wrap and refrigerate for at least 6 hours, preferably overnight.
This allows the cheesecake to set completely and develop a rich, creamy texture.
Step 5: Decorate and Serve
Before serving, remove the cheesecake from the springform pan.
Garnish with:Slice with a clean, sharp knife and serve chilled.
Enjoy the decadent, creamy dessert with friends and family.
Expert Tips For A Creamy Oreo Cheesecake
Store And Reheat Your No Bake Cheesecake Right
Great Pairings For Oreo Cheesecake Dessert
Creative Variations For No Bake Oreo Cheesecake
FAQs
Yes, Oreos are the key ingredient that gives this cheesecake its signature flavor and texture. Both the crust and filling use crushed Oreo cookies.
While you can use low-fat cream cheese, full-fat cream cheese provides a richer, creamier texture that works best for this no-bake cheesecake.
Ensure you chill the cheesecake for the full 4 hours or overnight. This allows the filling to set properly and achieve the right consistency.
You can use a regular cake pan lined with parchment paper, but a springform pan makes removing the cheesecake much easier and cleaner.
Print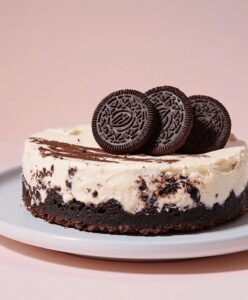
No Bake Oreo Cheesecake Recipe
- Total Time: 20 minutes
- Yield: 8 1x
Description
Creamy no bake oreo cheesecake brings delightful layers of chocolate cookie crunch and smooth cream cheese bliss. Rich dessert lovers will savor each indulgent bite of this simple, classic treat that delivers maximum flavor with minimal kitchen effort.
Ingredients
Main Ingredients:
- 16 ounces (453 grams) cream cheese, softened
- 24 Oreo cookies, crushed (for crust)
- 12 Oreo cookies, crushed (for filling)
- 1 12 cups (360 milliliters) heavy whipping cream, whipped
Sugar and Flavoring:
- 1 cup (120 grams) powdered sugar
- 1 teaspoon vanilla extract
Binding and Preparation:
- 4 tablespoons (57 grams) unsalted butter, melted
Optional Topping:
- Whipped cream
- Extra Oreo crumbs
- Whole Oreos
Instructions
- Crush Oreo cookies into fine crumbs, ensuring no large chunks remain, then blend thoroughly with melted butter to create a uniform, moist crust mixture.
- Press the cookie-butter blend evenly and compactly into the bottom of a springform pan, using the back of a spoon or flat-bottomed glass to create a solid, level base.
- Refrigerate the crust for 10 minutes to help it solidify and prevent crumbling when adding the filling.
- Using an electric mixer, whip cream cheese until velvety and free of lumps, gradually incorporating powdered sugar and vanilla extract for a silky, sweet foundation.
- Separately whip heavy cream until it forms soft, stable peaks, creating a light and airy texture.
- Gently fold the whipped cream into the cream cheese mixture, maintaining the delicate airiness while ensuring complete integration.
- Roughly chop additional Oreo cookies and fold them into the creamy mixture, distributing the cookie pieces evenly throughout the filling.
- Transfer the filling onto the chilled crust, using a spatula to spread it smoothly and eliminate any air pockets.
- Refrigerate the cheesecake for a minimum of 4 hours, preferably overnight, allowing the dessert to set completely and develop a rich, creamy consistency.
- Before serving, garnish with a sprinkle of Oreo crumbs or whole cookies, and optionally add a dollop of whipped cream for extra indulgence.
Notes
- Use a flat-bottomed measuring cup or glass to press the Oreo crust evenly and firmly for a compact, stable base that prevents crumbling when serving.
- Ensure cream cheese is completely softened at room temperature to achieve a silky-smooth filling without lumps.
- Fold whipped cream gently into the cream cheese mixture to maintain its light, airy texture and prevent deflating the mixture.
- This cheesecake actually tastes better when chilled overnight, allowing flavors to meld and develop a richer, more intense taste.
- Prep Time: 20 minutes
- Cook Time: 0 minutes
- Category: Desserts
- Method: Chilling
- Cuisine: American
Nutrition
- Serving Size: 8
- Calories: 350
- Sugar: 21 g
- Sodium: 200 mg
- Fat: 25 g
- Saturated Fat: 15 g
- Unsaturated Fat: 8 g
- Trans Fat: 0 g
- Carbohydrates: 31 g
- Fiber: 1 g
- Protein: 4 g
- Cholesterol: 80 mg

James Walker
Lead Recipe Developer & Culinary Educator
Expertise
Southern Cuisine & Farm-to-Table Cooking, Recipe Development & Testing, Culinary Education & Instruction
Education
School: Auguste Escoffier School of Culinary Arts
Program: Diploma in Culinary Arts and Operations
Focus: Comprehensive training in classical and modern culinary techniques, kitchen operations, and farm-to-table practices.
James didn’t learn cooking from a TV show, he learned it from busy kitchens, family gatherings, and long afternoons spent testing recipes the hard way.
After training at the Auguste Escoffier School of Culinary Arts, he brought his love for real, down-to-earth food to every dish he makes.
At Dining At Home, James loves building recipes that feel familiar but still have something special, like adding a twist to a classic or making a slow Sunday dinner feel brand new.
When he’s not in the kitchen, you’ll probably find him swapping garden tips at the farmers’ market or teaching his daughter how to flip pancakes without a mess (almost).