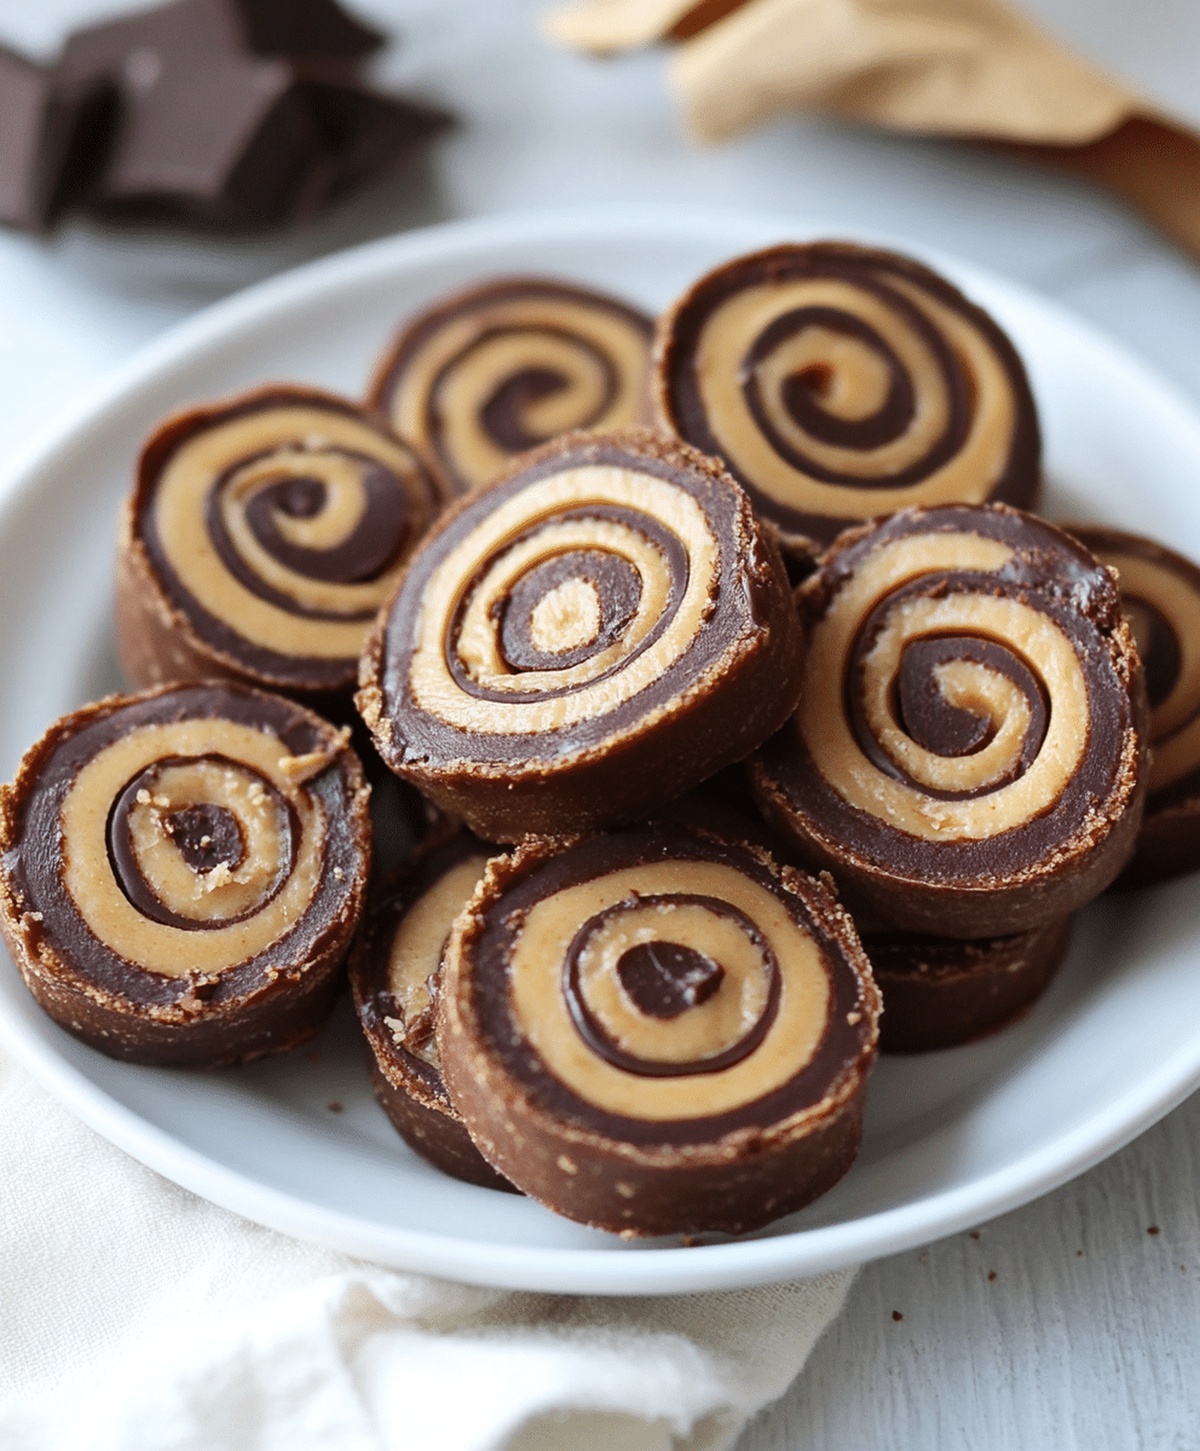
The Easiest No Bake Chocolate Peanut Butter Pinwheels Recipe Ever
Life gets sweeter with these no bake chocolate peanut butter pinwheels dancing across my kitchen counter.
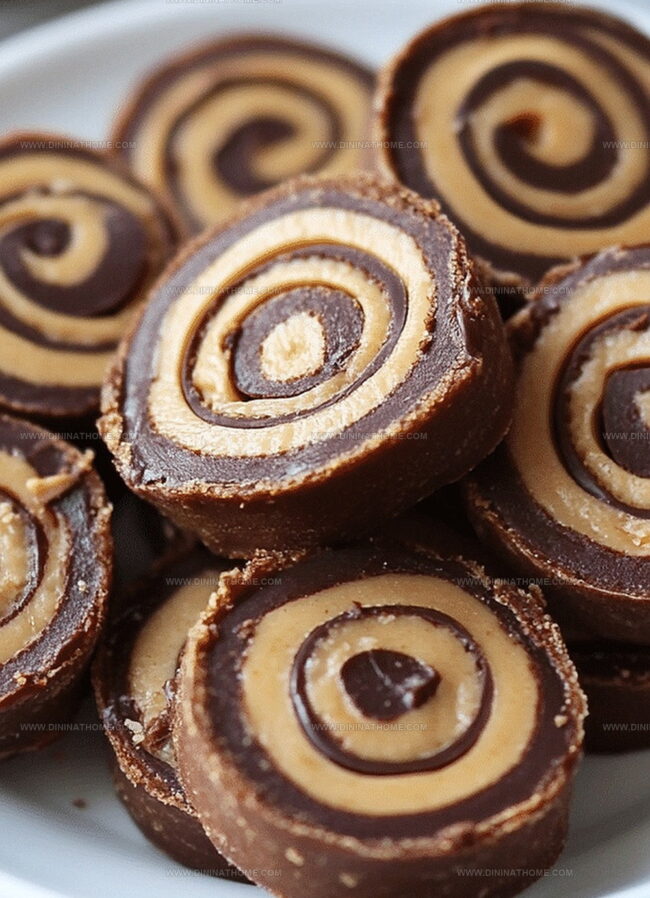
Sweet magic happens when rich cocoa meets creamy peanut butter in one spectacular dessert.
Crisp layers swirl together like delicious artwork waiting to delight everyone.
Minimal effort brings maximum pleasure in this simple yet stunning treat.
Chilled and ready in minutes, these pinwheels promise pure indulgence without turning on a single stove burner.
Chocolate and peanut butter create a match made in dessert heaven that you won’t be able to resist.
Grab a plate and prepare for pure bliss with every single bite.
No Bake Chocolate Peanut Butter Pinwheels Popularity
Peanut Butter Pinwheels No-Bake Setup
Base Ingredients:Liquid Ingredients:No-Bake Pinwheels Prep Guide
Step 1: Create Chocolatey Base Mixture
In a spacious mixing bowl, combine powdered sugar and cocoa powder.
Gradually introduce milk while stirring until a smooth, flexible dough forms.
The consistency should be pliable but not too wet.
Stir carefully to prevent lumps and ensure even blending.
Step 2: Roll Out Chocolate Dough
Place a large sheet of parchment paper on your work surface.
Transfer the chocolate dough onto the paper.
Cover with another parchment sheet and use a rolling pin to flatten the dough into a neat rectangular shape.
Aim for an even thickness throughout.
Step 3: Spread Creamy Peanut Butter Layer
Remove the top parchment sheet carefully.
Use a spatula or butter knife to spread a generous, even layer of peanut butter across the entire chocolate dough surface.
Ensure complete coverage from edge to edge.
Step 4: Craft Pinwheel Log
Starting from the longer side of the rectangle, begin rolling the dough tightly into a compact log.
Use the bottom parchment paper to help guide and support the rolling process.
Press gently to maintain a consistent shape.
Step 5: Chill and Set
Wrap the rolled log in plastic wrap or parchment paper.
Place in the refrigerator for 1-2 hours.
The chilling time allows the log to firm up and makes slicing easier.
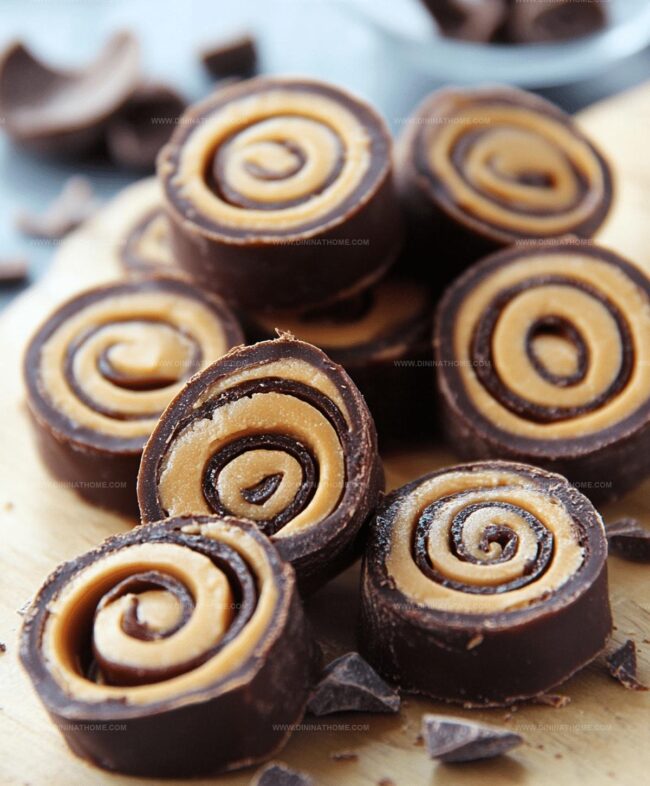
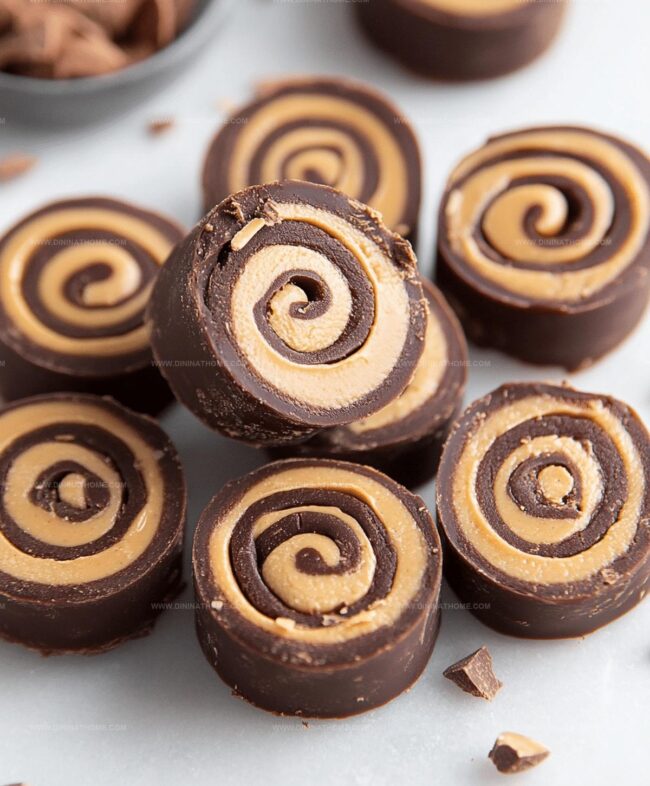
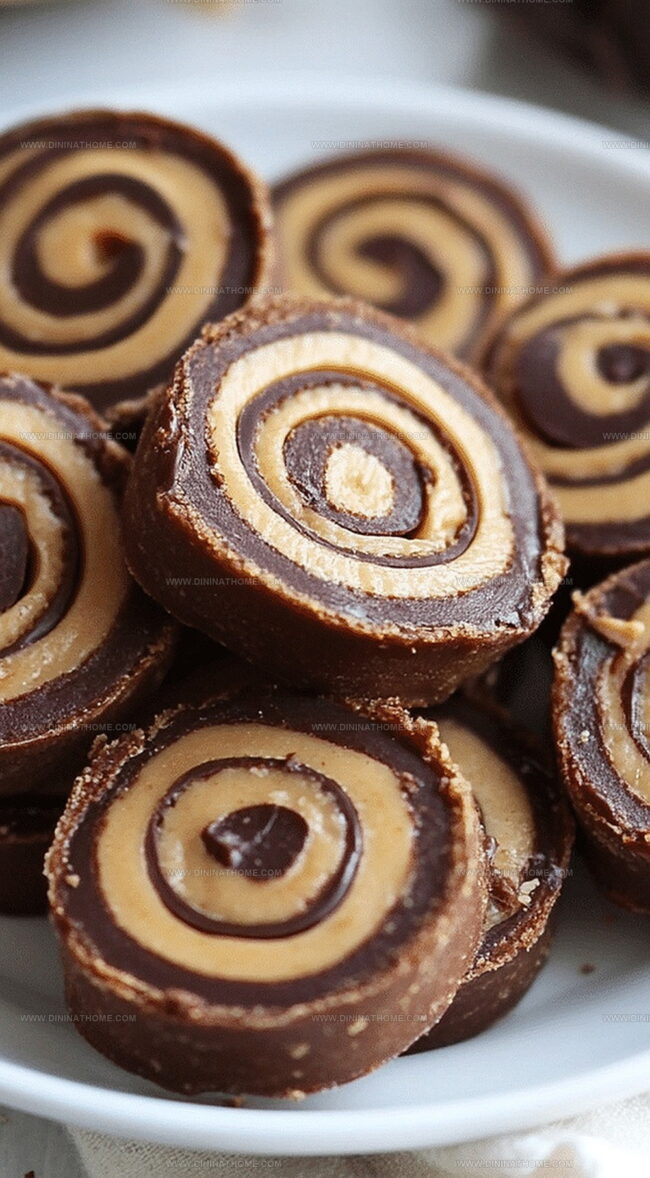
Step 6: Slice and Serve
Remove the chilled log from the refrigerator.
Using a sharp knife, slice into thin pinwheel rounds.
Arrange on a serving plate and enjoy these delightful no-bake treats immediately.
Chocolate Peanut Butter Pinwheels That Roll and Slice Easily
Chill Chocolate Pinwheels And Reheat As Needed
Pairing Suggestions for Chocolate Peanut Butter Pinwheels
Peanut Butter Pinwheels (No-Bake) with Fun Sweet Spins
FAQs
Use parchment paper on both sides and lightly dust with powdered sugar to help prevent sticking and make rolling easier.
It’s best to use creamy, smooth peanut butter that isn’t too runny. Natural peanut butter might make the rolling process more challenging due to its inconsistent texture.
Add milk gradually, just a few drops at a time, and mix thoroughly until you achieve a smooth, pliable consistency that holds together well.
Roll the dough to about 1/4 inch thickness, ensuring it’s even and rectangular so the pinwheels will slice neatly and have a consistent appearance.
Print
No Bake Chocolate Peanut Butter Pinwheels Recipe
- Total Time: 15 minutes
- Yield: 8 1x
Description
Chocolate peanut butter pinwheels deliver a delightful swirl of creamy indulgence without firing up the oven. Rich layers of sweet chocolate and nutty peanut butter roll together into irresistible spirals you cannot resist.
Ingredients
Main Ingredients:
- 1 cup peanut butter
- 1 1/2 cups powdered sugar
- 1/2 cup unsweetened cocoa powder
Liquid and Flavoring Ingredients:
- 3 tablespoons milk (or as needed)
- 1 teaspoon vanilla extract
Instructions
- Craft a silky chocolate base by whisking powdered sugar and cocoa powder, gradually incorporating milk until a smooth, malleable consistency develops.
- Place the prepared mixture between parchment sheets and carefully roll into a precise rectangular shape, ensuring an even thickness.
- Liberally spread a layer of creamy peanut butter across the entire chocolate surface, leaving a slight margin around the edges.
- Utilize the parchment paper as a guide to tightly roll the dough into a compact cylindrical form, applying gentle, consistent pressure.
- Transfer the rolled log to the refrigerator and allow it to solidify and set for approximately 90-120 minutes, ensuring maximum structural integrity.
- Remove the chilled log from the refrigerator and slice into elegant pinwheel discs using a sharp knife, creating uniform medallions with distinct chocolate and peanut butter layers.
- Arrange the pinwheels on a serving platter, presenting a delightful no-bake treat ready for immediate enjoyment.
Notes
- Chill the parchment paper before rolling to help dough maintain shape and prevent sticking.
- For dairy-free version, substitute milk with almond milk or coconut milk for a creamy alternative.
- Control sweetness by adjusting powdered sugar quantity, ensuring balanced chocolate and peanut butter flavor profile.
- Experiment with different nut butters like almond or cashew butter for unique taste variations.
- Prep Time: 15 minutes
- Cook Time: 0 minutes
- Category: Snacks, Desserts
- Method: Rolling
- Cuisine: American
Nutrition
- Serving Size: 8
- Calories: 305
- Sugar: 30 g
- Sodium: 90 mg
- Fat: 17 g
- Saturated Fat: 3 g
- Unsaturated Fat: 14 g
- Trans Fat: 0 g
- Carbohydrates: 37 g
- Fiber: 1 g
- Protein: 6 g
- Cholesterol: 0 mg
James Walker
Lead Recipe Developer & Culinary Educator
Expertise
Southern Cuisine & Farm-to-Table Cooking, Recipe Development & Testing, Culinary Education & Instruction
Education
School: Auguste Escoffier School of Culinary Arts
Program: Diploma in Culinary Arts and Operations
Focus: Comprehensive training in classical and modern culinary techniques, kitchen operations, and farm-to-table practices.
James didn’t learn cooking from a TV show, he learned it from busy kitchens, family gatherings, and long afternoons spent testing recipes the hard way.
After training at the Auguste Escoffier School of Culinary Arts, he brought his love for real, down-to-earth food to every dish he makes.
At Dining At Home, James loves building recipes that feel familiar but still have something special, like adding a twist to a classic or making a slow Sunday dinner feel brand new.
When he’s not in the kitchen, you’ll probably find him swapping garden tips at the farmers’ market or teaching his daughter how to flip pancakes without a mess (almost).