Fluffy Homemade Naan Bread Recipe: Bake Like a Pro Today
Crafting homemade naan bread might seem intimidating, but this simple technique will change your kitchen game forever.
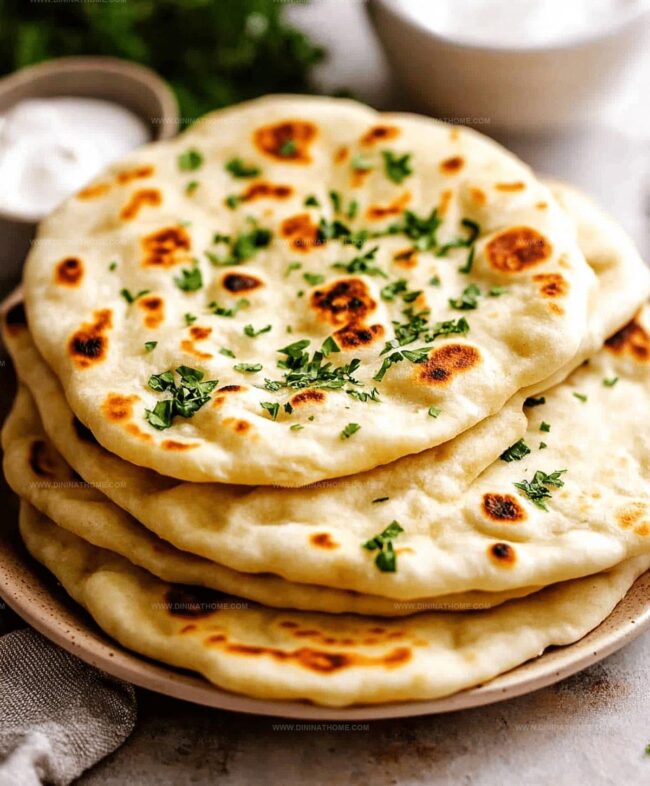
Soft, pillowy dough emerges from basic pantry ingredients most home cooks already possess.
Warm Indian traditions blend seamlessly with modern cooking approaches in this straightforward recipe.
Culinary magic happens when flour, yogurt, and a touch of creativity come together.
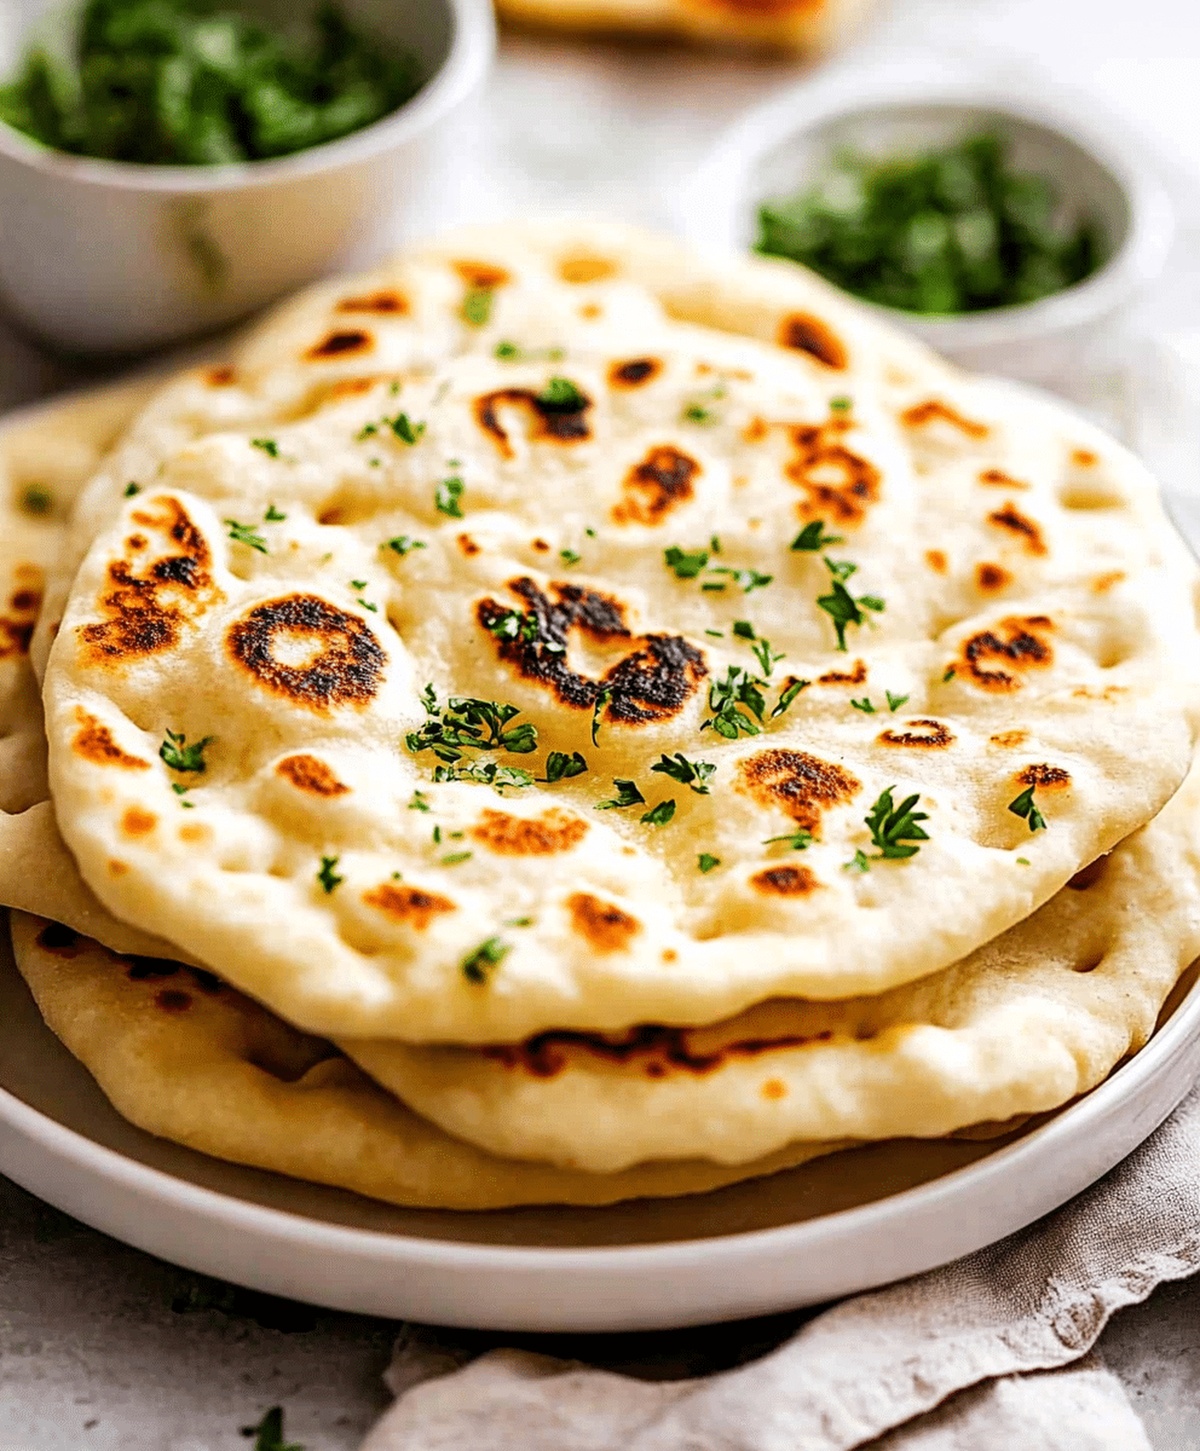
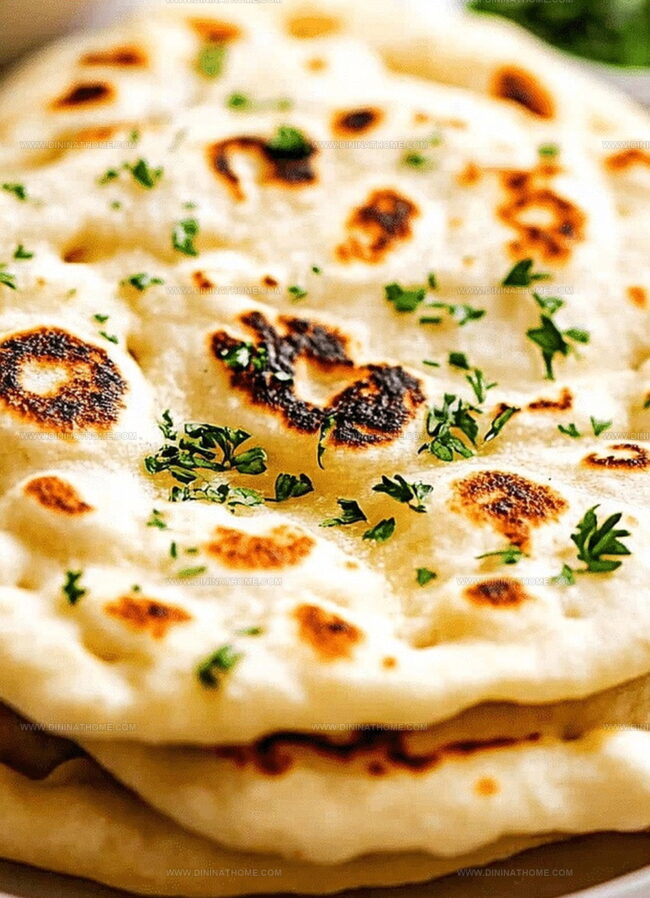
Each piece promises a golden, slightly charred exterior that whispers authentic flavor stories.
Crisp edges and tender centers make this bread irresistible alongside curries, stews, or as a standalone snack.
Why You’ll Enjoy Naan Bread Easy Recipe
Easy Naan Bread Ingredient Details
Leavening Agents:Wet Ingredients:Dry Ingredients:Naan Bread Easy Cooking Guide
Step 1: Activate the Yeast
Mix active dry yeast and sugar in warm water.
Watch the mixture transform into a frothy, bubbly solution that signals the yeast is ready for action.
Let it sit quietly for 5-10 minutes until it becomes wonderfully foamy.
Step 2: Create the Wet Mixture
Whisk in plain yogurt, olive oil, and a fresh egg.
Blend these ingredients until they form a smooth, creamy mixture that will give your naan its signature soft texture.
Step 3: Form the Dough
Gradually incorporate all-purpose flour and salt into the wet ingredients.
Knead the dough enthusiastically on a clean surface for 8-10 minutes.
The goal is a silky-smooth dough that springs back when touched.
Step 4: Let the Dough Rise
Transfer the dough to a lightly greased bowl.
Cover with a clean kitchen towel and let it rest in a warm spot.
Allow the dough to rise and double in size, which typically takes 1-1.5 hours.
Step 5: Shape the Naan
Punch down the risen dough and divide it into equal portions.
Roll each piece into thin, oval-shaped rounds using a rolling pin.
Aim for a uniform thickness to ensure even cooking.
Step 6: Cook the Naan
Heat a heavy skillet or cast-iron pan over medium-high heat.
Cook each naan bread for 1-2 minutes per side.
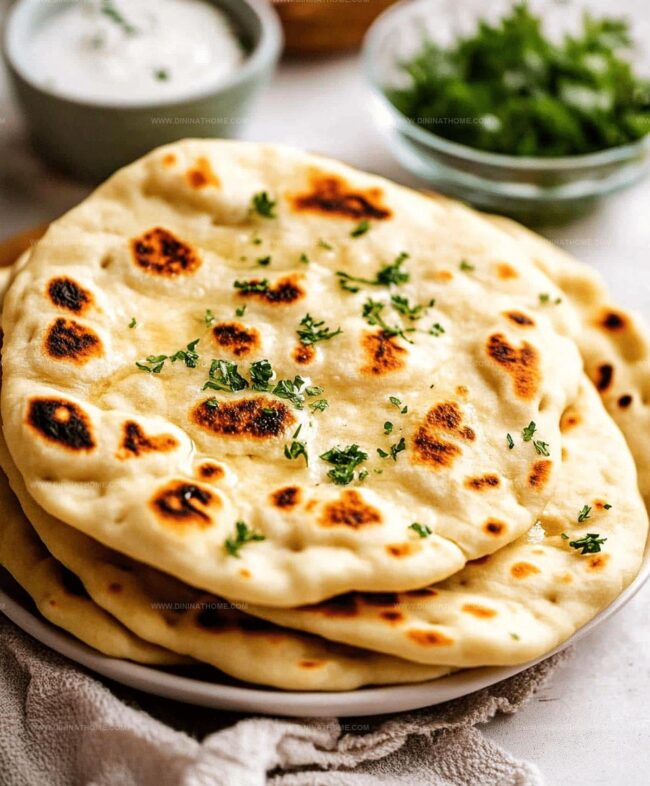
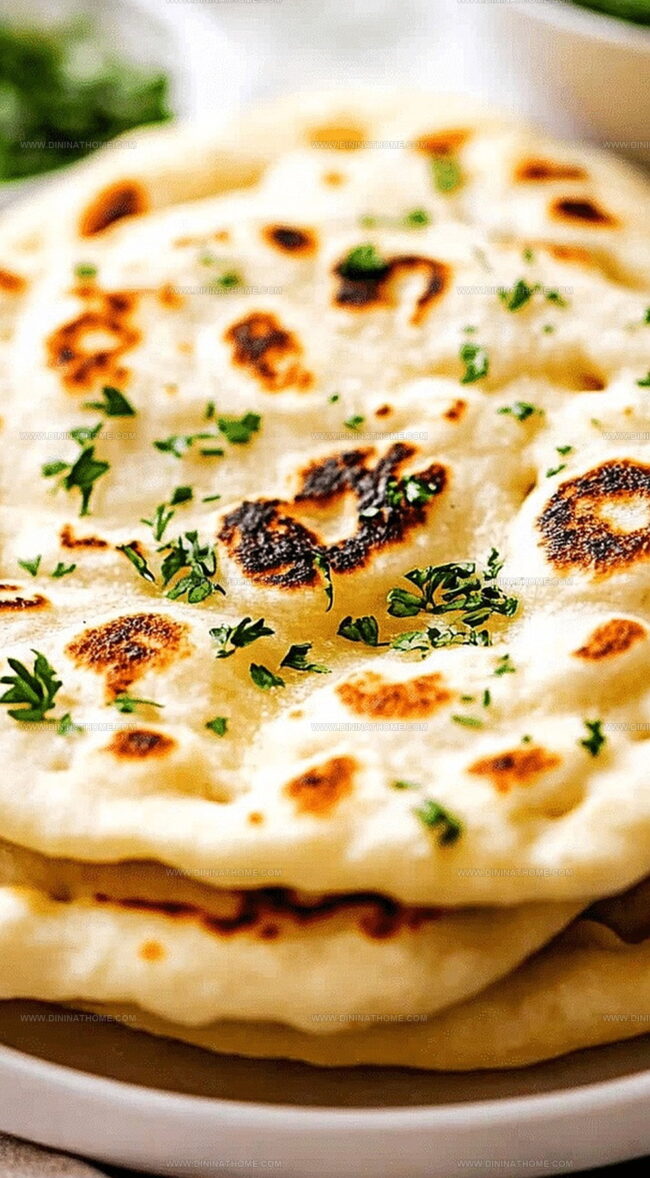
Look for golden-brown spots and delightful bubbles forming on the surface.
Step 7: Finish and Serve
Brush the freshly cooked naan with melted butter for extra richness.
Serve immediately while warm and enjoy the heavenly aroma and soft texture of your homemade bread.
Naan Bread Made Easy With Soft Dough Techniques
Warm Naan Bread For A Quick Bite
Serving Suggestions for Naan Bread Easy Recipe
Naan Bread Made Easy with Soft Interior Options
FAQs
Kneading develops gluten, which creates the stretchy, soft texture that makes naan bread deliciously tender and helps it rise properly.
While a skillet is traditional, you can use a griddle, cast-iron pan, or even a grill to cook naan bread, but ensure the surface is very hot for proper cooking.
The yeast is ready when it becomes foamy and bubbly after 5-10 minutes in warm water, indicating it’s alive and ready to help the dough rise.
Yes, this rising time allows the yeast to develop flavor and create air pockets, making the naan bread light, soft, and more delicious.
Print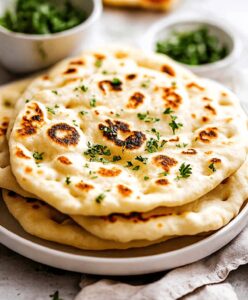
Naan Bread Easy Recipe
- Total Time: 1 hour 30 minutes
- Yield: 4 1x
Description
Homemade naan bread brings warmth from Indian kitchens straight to your table. Pillowy, golden rounds complement curries perfectly and invite you to savor authentic flavors with minimal effort.
Ingredients
Main Ingredients:
- 3 1/2 cups all-purpose flour
- 1 large egg
- 1 cup warm water
Leavening and Flavor Enhancers:
- 2 1/4 teaspoons active dry yeast
- 2 tablespoons sugar
- 1 teaspoon salt
Liquid and Oil Ingredients:
- 3 tablespoons plain yogurt
- 3 tablespoons olive oil or melted butter
- 2 tablespoons melted butter (for brushing)
Instructions
- Activate the yeast by combining it with sugar in warm water, allowing the mixture to bloom and become frothy for optimal fermentation.
- Incorporate yogurt, olive oil, and egg into the yeast mixture, whisking thoroughly to create a uniform liquid base.
- Gradually fold in flour and salt, transforming the liquid into a cohesive, pliable dough through gentle kneading until achieving a smooth, elastic texture.
- Transfer the dough to a lightly oiled container, cover with a damp cloth, and let it rest in a warm environment, allowing it to expand and develop complex flavors.
- Punch down the risen dough and divide it into uniform portions, then gently stretch and roll each piece into thin, oblong shapes.
- Preheat a heavy skillet or griddle to medium-high temperature, creating an ideal surface for rapid, even cooking.
- Place each naan on the hot surface, watching for characteristic bubbles and golden-brown spots to develop, then flip to cook the opposite side.
- Enhance the bread’s richness by brushing freshly cooked naan with melted butter, creating a glossy, aromatic finish.
- Serve immediately while warm to preserve the naan’s soft, pillowy texture and maximize flavor enjoyment.
Notes
- Activate yeast perfectly by ensuring water temperature is between 100-110°F, which helps activate without killing the delicate microorganisms.
- Substitute dairy yogurt with coconut or almond yogurt for a vegan-friendly version that maintains similar moisture and texture.
- Experiment with whole wheat flour or gluten-free flour blends to accommodate different dietary preferences while keeping the classic naan structure.
- Store leftover naan in an airtight container and reheat on a skillet with a light brush of olive oil to restore its soft, pillowy texture.
- Prep Time: 1 hour 15 minutes
- Cook Time: 15 minutes
- Category: Lunch, Dinner, Appetizer
- Method: Frying
- Cuisine: Indian
Nutrition
- Serving Size: 4
- Calories: 280
- Sugar: 2 g
- Sodium: 200 mg
- Fat: 10 g
- Saturated Fat: 3 g
- Unsaturated Fat: 7 g
- Trans Fat: 0 g
- Carbohydrates: 40 g
- Fiber: 1 g
- Protein: 8 g
- Cholesterol: 30 mg
James Walker
Lead Recipe Developer & Culinary Educator
Expertise
Southern Cuisine & Farm-to-Table Cooking, Recipe Development & Testing, Culinary Education & Instruction
Education
School: Auguste Escoffier School of Culinary Arts
Program: Diploma in Culinary Arts and Operations
Focus: Comprehensive training in classical and modern culinary techniques, kitchen operations, and farm-to-table practices.
James didn’t learn cooking from a TV show, he learned it from busy kitchens, family gatherings, and long afternoons spent testing recipes the hard way.
After training at the Auguste Escoffier School of Culinary Arts, he brought his love for real, down-to-earth food to every dish he makes.
At Dining At Home, James loves building recipes that feel familiar but still have something special, like adding a twist to a classic or making a slow Sunday dinner feel brand new.
When he’s not in the kitchen, you’ll probably find him swapping garden tips at the farmers’ market or teaching his daughter how to flip pancakes without a mess (almost).