The Juiciest Mini Sliders Recipe for Your Next Gathering
Tiny burger magic happens when mini sliders become the star of casual dining adventures.
Packed with flavor, these petite sandwiches create instant excitement at any gathering.
Small yet mighty, these delectable bites deliver maximum taste in compact form.
Friends will buzz with anticipation when miniature burgers arrive on the plate.
Unexpected combinations and creative toppings make each slider a delightful culinary surprise.
Perfecting these bite-sized wonders requires simple techniques and quality ingredients.
Experiment boldly, and you’ll master the art of crafting irresistible mini sliders that steal the show.
Mini Sliders You’ll Keep Coming Back To

Mini Sliders Ingredient Setup
Main Protein:Binding and Flavor Enhancers:Bread and Cheese:Optional Toppings:Finishing Touch:Mini Sliders Quick Cooking Route
Step 1: Warm Up the Oven
Crank your oven to a toasty 375°F, getting it ready for the burger magic about to happen.
Step 2: Create Flavorful Burger Mixture
In a mixing bowl, combine:Gently blend ingredients and shape into 12 adorable mini patties.
Step 3: Sear the Burger Patties
Fire up a skillet over medium heat.
Cook each patty for 2-3 minutes per side, developing a beautiful golden-brown exterior while keeping the inside slightly undercooked.
Step 4: Assemble the Mini Burger Base
Arrange slider bun bottoms on a baking sheet.
Place a seared patty on each bun, crown with a slice of cheese, and top with the other half of the bun.
Step 5: Butter and Bake
Brush melted butter over the bun tops.
Slide the baking sheet into the preheated oven and bake for 10-12 minutes until the cheese melts and buns turn a delightful golden color.
Step 6: Add Final Touches
Customize your mini burgers with fresh toppings like crisp lettuce, juicy tomato slices, or tangy pickles.
Serve hot and enjoy!
Mini Sliders That Bake Evenly and Stack Neatly
Keep Mini Sliders Moist When Reheating
Best Bites Beside Mini Sliders
Mini Sliders in Fun Flavor and Bun Styles
FAQs
Choose ground beef with 80/20 lean to fat ratio. This ensures juicy, flavorful patties that won’t dry out during cooking.
Yes, you can make patties up to 24 hours ahead. Cover and refrigerate them, separating layers with parchment paper to prevent sticking.
Don’t overcook the patties. Sear them quickly in the skillet to lock in juices, then finish cooking in the oven. This method helps maintain moisture and tenderness.
Crushed crackers, rolled oats, or panko breadcrumbs work perfectly as substitutes. They help hold the meat mixture together and add subtle texture.
Print
Mini Sliders Recipe
- Total Time: 30 minutes
- Yield: 12 1x
Description
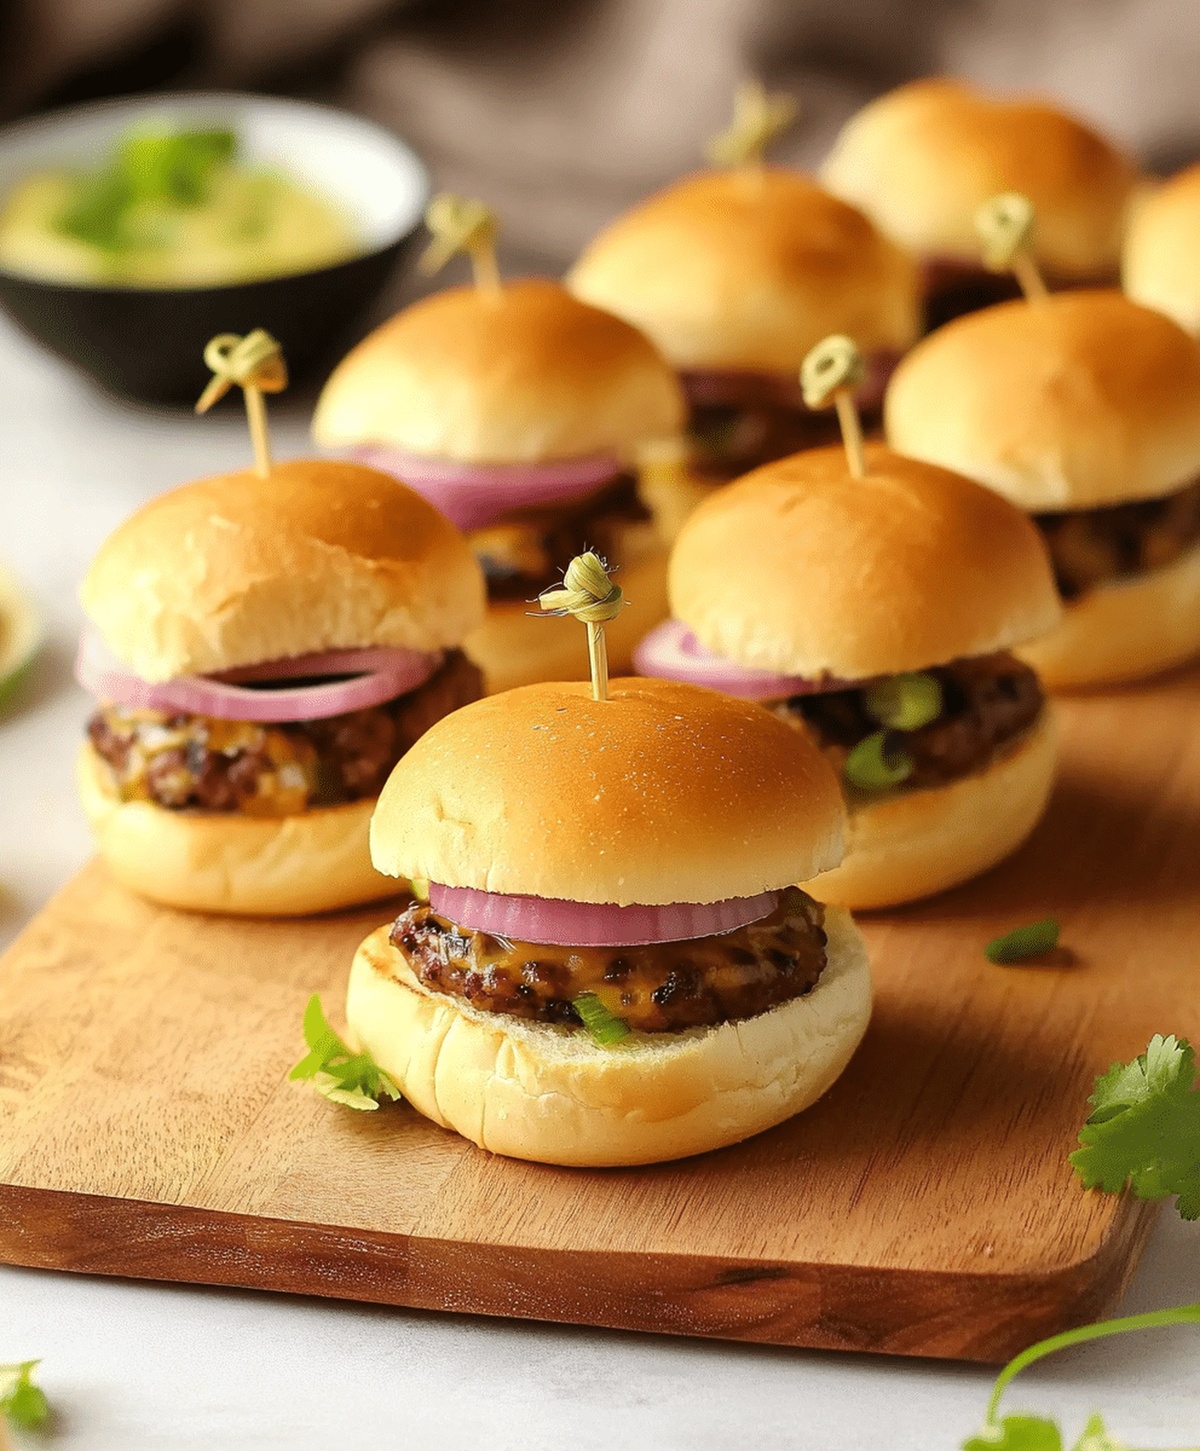
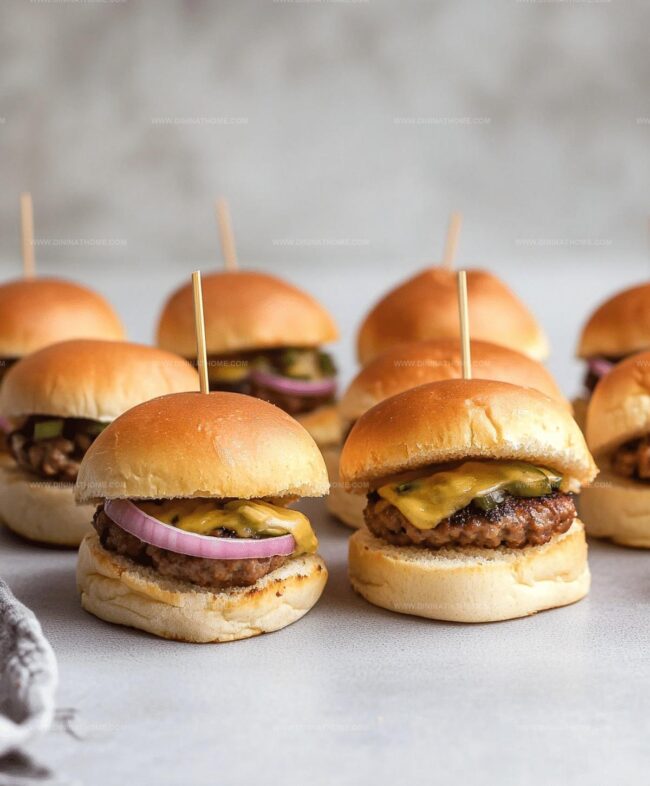
Savor mini sliders that pack big flavor into bite-sized perfection. Delicate beef patties nestled in soft buns deliver a delightful culinary experience you’ll crave at every gathering.
Ingredients
Meat:
- 1 pound (1 lb) ground beef
Binding and Flavor Enhancers:
- 1/4 cup breadcrumbs
- 1 egg
- 1 tablespoon Worcestershire sauce
- 1 teaspoon garlic powder
- 1/2 teaspoon salt
- 1/2 teaspoon black pepper
Bread and Cheese:
- 12 mini slider buns
- 6 slices cheddar cheese (cut in half)
Optional Toppings:
- lettuce
- tomato slices
- pickles
- onions
Finishing Ingredient:
- 2 tablespoons butter (melted)
Instructions
- Craft uniformly sized meat patties by combining ground beef with breadcrumbs, egg, Worcestershire sauce, garlic powder, salt, and pepper in a mixing bowl.
- Create compact mini patties, ensuring consistent shape and thickness for even cooking.
- Warm a skillet over medium heat and sear patties for approximately 2-3 minutes per side, developing a golden-brown exterior while maintaining a slightly undercooked interior.
- Arrange slider bun bottoms on a prepared baking sheet, positioning a partially cooked patty on each base.
- Layer cheese slices directly atop each meat patty, then crown with corresponding bun tops.
- Generously brush melted butter across the bun surfaces to encourage golden, crispy edges.
- Transfer the assembled sliders into a preheated 375°F (190°C) oven and bake for 10-12 minutes, allowing cheese to melt completely and buns to achieve a delicate toast.
- After removing from oven, personalize sliders with optional garnishes like crisp lettuce, ripe tomato slices, or tangy pickle rounds.
- Serve immediately while warm and cheese remains luxuriously melted.
Notes
- Swap ground beef for lean turkey or plant-based alternatives to reduce fat and accommodate different dietary preferences.
- Experiment with various cheese types like cheddar, Swiss, or pepper jack to create unique flavor profiles for your sliders.
- Prep patties ahead of time and freeze them for quick weeknight meals, ensuring each patty is separated by parchment paper to prevent sticking.
- Toast buns slightly longer for a crispier texture, watching carefully to avoid burning and achieve that perfect golden-brown color.
- Prep Time: 10 minutes
- Cook Time: 20 minutes
- Category: Lunch, Dinner, Appetizer, Snacks
- Method: Baking
- Cuisine: American
Nutrition
- Serving Size: 12
- Calories: 220
- Sugar: 1 g
- Sodium: 400 mg
- Fat: 10 g
- Saturated Fat: 4 g
- Unsaturated Fat: 5 g
- Trans Fat: 0 g
- Carbohydrates: 20 g
- Fiber: 1 g
- Protein: 12 g
- Cholesterol: 40 mg
James Walker
Lead Recipe Developer & Culinary Educator
Expertise
Southern Cuisine & Farm-to-Table Cooking, Recipe Development & Testing, Culinary Education & Instruction
Education
School: Auguste Escoffier School of Culinary Arts
Program: Diploma in Culinary Arts and Operations
Focus: Comprehensive training in classical and modern culinary techniques, kitchen operations, and farm-to-table practices.
James didn’t learn cooking from a TV show, he learned it from busy kitchens, family gatherings, and long afternoons spent testing recipes the hard way.
After training at the Auguste Escoffier School of Culinary Arts, he brought his love for real, down-to-earth food to every dish he makes.
At Dining At Home, James loves building recipes that feel familiar but still have something special, like adding a twist to a classic or making a slow Sunday dinner feel brand new.
When he’s not in the kitchen, you’ll probably find him swapping garden tips at the farmers’ market or teaching his daughter how to flip pancakes without a mess (almost).