
Easy Homemade Magnolia Bakery’s Banana Pudding Recipe
Memories of sweet southern comfort swirl around this magnolia bakery banana pudding.
Creamy layers whisper nostalgic tales of childhood desserts.
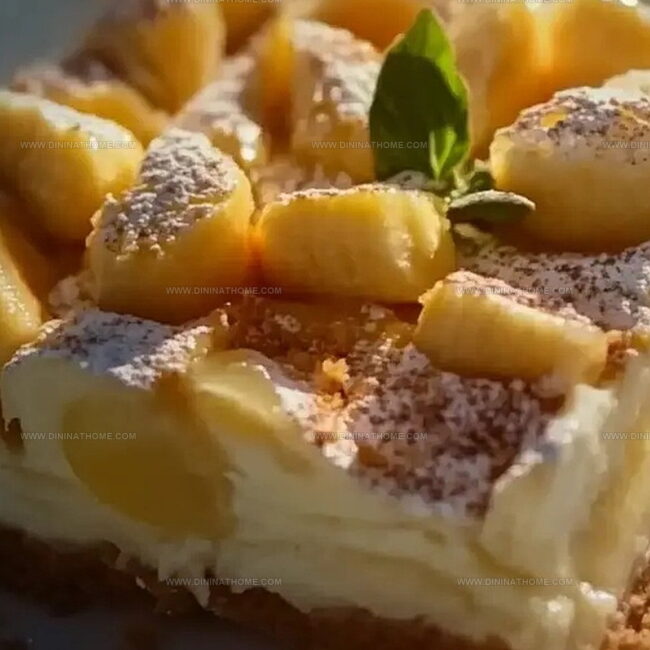
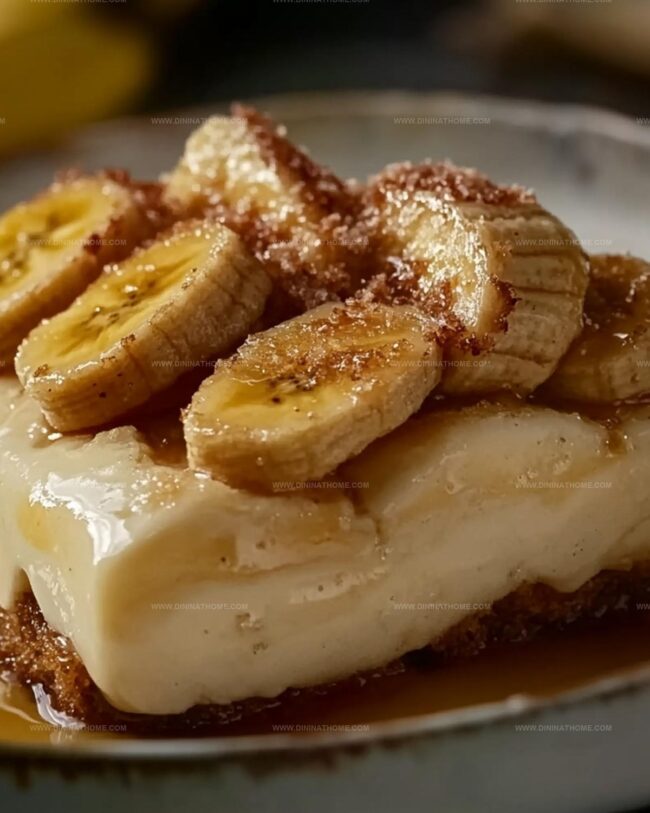
Bananas nestled between pillowy clouds of vanilla custard create pure magic.
Soft vanilla wafers add delightful crunch to each spoonful.
Delicate and indulgent, this classic treat promises to delight everyone at the table.
Simple ingredients combine into something extraordinary, making you feel like a dessert genius.
You’ll fall in love with every silky, rich bite of this iconic New York bakery’s most beloved recipe.
Banana Pudding That Brings Magnolia Bakery’s Charm Home
Magnolia Bakery’s Banana Pudding Recipe Full Ingredient List
Pudding Base Ingredients:Whipped Cream Ingredients:Layering Ingredients:Magnolia Banana Pudding Layering Instructions
Step 1: Craft the Creamy Pudding Base
Grab a spacious mixing bowl and whisk together sweetened condensed milk and cold water until silky smooth.
Sprinkle in the instant vanilla pudding mix and whisk energetically for about a minute.
Gradually pour in milk, continuing to whisk until the mixture becomes perfectly blended and velvety.
Seal the bowl and let it chill in the refrigerator for at least 3 hours or overnight to set into a luscious pudding.
Step 2: Whip Up Cloudlike Cream
In a separate large bowl, combine:Whip the mixture with enthusiasm until it forms beautiful, sturdy peaks.
Adjust the whipped cream’s texture to your personal preference, creating a light and airy consistency.
Step 3: Marry the Pudding and Cream
Once the pudding has set, gently fold in the whipped cream in quarters.
Blend carefully to maintain the airy texture, creating a luxurious and smooth mixture.
Step 4: Build Delicious Layers
In a serving dish, create mouthwatering layers of:Repeat the layering process until all ingredients are used.
Crown the dessert with a final generous layer of whipped pudding.
Step 5: Chill and Let Flavors Dance
Cover the dessert and refrigerate for a minimum of 4 hours.
This resting time allows the flavors to mingle and the wafers to soften, transforming the dessert into a heavenly treat.
Classic Pudding Tips from Magnolia Bakery Experts
Select bananas with brown spots for maximum sweetness and deeper flavor, ensuring your pudding tastes rich and naturally sweet.
Create even layers by placing banana slices and wafers carefully, guaranteeing each spoonful contains a perfect balance of creamy pudding, fruit, and crunch.
Toss banana slices in a bit of lemon juice to slow oxidation and maintain their fresh, bright appearance in the dessert.
Control pudding thickness by adjusting whipped cream folding – less cream means denser pudding, more cream creates a lighter, airier consistency.
Prepare this dessert 1-2 days in advance, allowing flavors to develop and wafers to soften beautifully in the refrigerator for an even more delicious result.
Reheat Magnolia Bakery’s Banana Pudding
Drinks to Enjoy with Banana Pudding
Magnolia Banana Pudding New Ideas
FAQs
No, the instant pudding mix is crucial for achieving the classic Magnolia Bakery texture and setting properly. The mix contains stabilizers that help create the signature consistency.
Use yellow bananas with just a few brown spots. Overly ripe bananas will be too mushy, while green bananas won’t provide enough sweetness and flavor.
Yes, you can substitute Nilla wafers with gluten-free vanilla wafers or graham crackers. Ensure all other ingredients are gluten-free certified.
Absolutely! This banana pudding tastes best when made 1-2 days ahead, allowing the flavors to blend and wafers to soften. Just keep it refrigerated and covered until serving.
Print
Magnolia Bakerys Banana Pudding Recipe
- Total Time: 20 minutes
- Yield: 8 1x
Description
Magnolia Bakery’s legendary Banana Pudding delights with creamy layers of vanilla custard, fresh bananas, and vanilla wafers. Sweet New York nostalgia awaits when you indulge in this classic dessert that promises pure comfort and irresistible charm.
Ingredients
Pudding Base:
- 12–13 ounces (340–370 grams) sweetened condensed milk
- 3/4 cup cold milk
- 3/4 cup cold water
- 1 box (3.4 ounces/96 grams) instant vanilla pudding mix
Whipped Cream:
- 3 cups heavy cream
- 1 tablespoon vanilla extract or paste
- 1/2 teaspoon salt
Assembly Ingredients:
- 4 cups ripe bananas (thinly sliced)
- 1 box Nilla wafers
Instructions
- Create a silky pudding base by whisking sweetened condensed milk with cold water, ensuring no lumps remain. Incorporate instant vanilla pudding mix vigorously for one minute until completely integrated.
- Gradually introduce milk, continuing to whisk until the mixture transforms into a smooth, creamy consistency. Seal the pudding and allow it to rest and set in the refrigerator for a minimum of three hours.
- Prepare a luxurious whipped cream by combining heavy cream with vanilla extract and a hint of salt. Whip the mixture until it develops sturdy, elegant peaks that hold their shape effortlessly.
- Delicately merge the chilled pudding with the whipped cream, folding gently to maintain the light, airy texture. Incorporate the cream in quarter portions to ensure even distribution.
- Select a clear serving vessel to showcase the dessert’s beautiful layers. Construct alternating strata of velvety pudding mixture, ripe banana slices, and crisp Nilla wafers, creating a visually appealing and texturally diverse composition.
- Complete the final layer with a generous spread of the creamy pudding mixture, ensuring all components are elegantly covered.
- Refrigerate the assembled dessert for a minimum of four hours, allowing the flavors to harmonize and the wafers to soften, transforming the dish into a sublime, cohesive delicacy.
Notes
- Choose bananas that are ripe but not overly brown to ensure the best flavor and texture in your pudding.
- Chill your mixing bowl and whisk before whipping cream for faster, fluffier results that hold their shape beautifully.
- Create even layers by using a clear dish to showcase the beautiful banana pudding and ensure each spoonful has perfect proportions.
- This dessert tastes even better when prepared a day in advance, allowing flavors to develop and wafers to soften delightfully.
- Prep Time: 20 minutes
- Cook Time: 0 minutes
- Category: Desserts
- Method: Chilling
- Cuisine: American
Nutrition
- Serving Size: 8
- Calories: 450
- Sugar: 32 g
- Sodium: 150 mg
- Fat: 25 g
- Saturated Fat: 15 g
- Unsaturated Fat: 10 g
- Trans Fat: 0 g
- Carbohydrates: 52 g
- Fiber: 2 g
- Protein: 6 g
- Cholesterol: 90 mg
James Walker
Lead Recipe Developer & Culinary Educator
Expertise
Southern Cuisine & Farm-to-Table Cooking, Recipe Development & Testing, Culinary Education & Instruction
Education
School: Auguste Escoffier School of Culinary Arts
Program: Diploma in Culinary Arts and Operations
Focus: Comprehensive training in classical and modern culinary techniques, kitchen operations, and farm-to-table practices.
James didn’t learn cooking from a TV show, he learned it from busy kitchens, family gatherings, and long afternoons spent testing recipes the hard way.
After training at the Auguste Escoffier School of Culinary Arts, he brought his love for real, down-to-earth food to every dish he makes.
At Dining At Home, James loves building recipes that feel familiar but still have something special, like adding a twist to a classic or making a slow Sunday dinner feel brand new.
When he’s not in the kitchen, you’ll probably find him swapping garden tips at the farmers’ market or teaching his daughter how to flip pancakes without a mess (almost).