
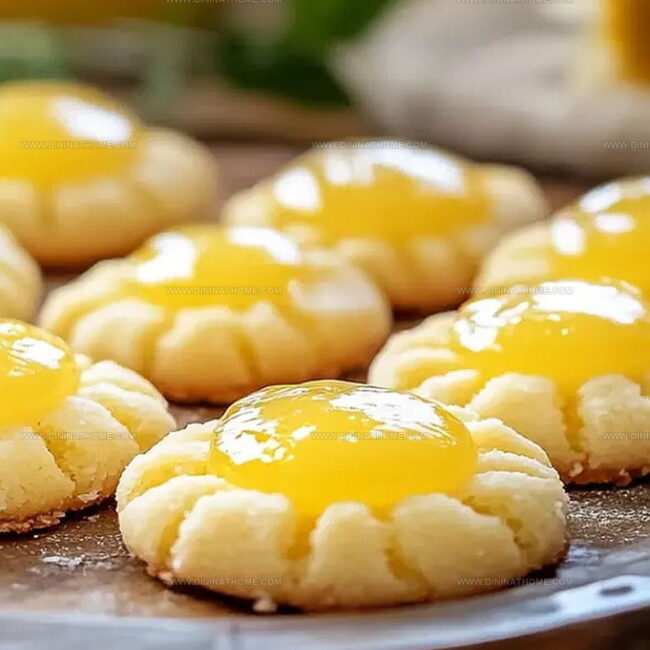
Sweet Tangy Lemon Curd Thumbprint Cookies Recipe
A buttery shortbread cookie with zesty lemon curd creates magic in every single bite.
Soft crumbles melt deliciously against tangy bright spreads.
Sweet dough cradles creamy sunshine-colored filling perfectly.
Delicate cookies whisper elegant dessert vibes with minimal effort.
Quick preparation means minimal kitchen time and maximum flavor impact.
Crumbly texture meets silky smooth centers for an irresistible treat.
Bake these little gems and watch everyone ask for seconds.
What Sets Lemon Curd Thumbprint Cookies Apart
Craft Delightful Treats: Quick and Easy Lemon Curd Thumbprint Cookies
What’s in Lemon Curd Thumbprint Cookies
Cookie Dry Ingredients:Wet Ingredients:Lemon Curd Ingredients:Coating and Finishing:How to Make Lemon Curd Thumbprint Cookies

Step 1: Whip Up Tangy Lemon Curd
In a glass bowl, blend sugar, egg yolks, and lemon juice until silky smooth.
Position the bowl over a pot of gently simmering water, creating a double boiler.
Stir continuously with a wooden spoon or rubber spatula for about 10 minutes, watching the mixture transform and thicken.
Once the curd reaches a creamy consistency, remove from heat and strain through a fine mesh sieve into a clean bowl.
Fold in butter and lemon zest, then set aside to cool completely.
Step 2: Mix Cookie Dough Base
Crank up the oven to 350℉ and line two baking sheets with parchment paper.
In a large mixing bowl, whisk together:In a separate bowl, blend:Pour wet ingredients into dry ingredients, stirring until fully incorporated.
Step 3: Shape Delightful Cookies
Grab a cookie scoop and portion out the dough.
Roll each portion into perfect little balls.
Give each ball a luxurious roll in powdered sugar, then place them 2 inches apart on prepared baking sheets.
Step 4: Bake and Fill
Slide the baking sheets into the oven and bake for 12 minutes.
The cookies should be set but still soft on top.
Immediately after removing from the oven, use the back of a rounded measuring spoon to create a cozy indentation in each cookie’s center.
Carefully fill each well with a generous dollop of the prepared lemon curd.
Step 5: Cool and Enjoy
Allow cookies to cool completely, letting the lemon curd set.
The result?
Irresistibly tangy, melt-in-your-mouth thumbprint cookies that burst with bright, citrusy flavor.
Thumbprint Cookie Tips for Perfect Lemon Curd
Store Lemon Curd Thumbprint Cookies
Suggestions for Lemon Curd Thumbprints
Pair Zesty Lemon Thumbprint Cookies with:Lemon Thumbprint Cookies Filling Twists
FAQs
Cook the lemon curd over a double boiler, stirring constantly until it thickens enough to coat the back of a spoon. Strain it through a fine mesh sieve to remove any lumps, and let it cool completely before adding to the cookies.
Yes, you can prepare the lemon curd up to 5 days in advance. Store it in an airtight container in the refrigerator until you’re ready to fill the thumbprint cookies.
If the dough feels too soft, refrigerate it for 15-20 minutes before rolling. This will help firm up the dough and make it easier to handle and shape into balls.
The cookies are done when they are set around the edges but still soft on top. They should look slightly underbaked, as they will continue to firm up as they cool.
Print
Lemon Curd Thumbprint Cookies Recipe
- Total Time: 42 minutes
- Yield: 24 1x
Description
Delightful lemon curd thumbprint cookies bring sunshine to classic butter cookies with a zesty twist. Tangy citrus centers nestled in buttery rounds create a perfect balance of sweet and bright flavors you’ll crave with afternoon tea.
Ingredients
Lemon Curd:
Citrus and Main Ingredients:
- 1/2 cup (120 grams) granulated sugar
- 1/4 cup (60 milliliters) lemon juice
- 2 teaspoons lemon zest
Protein and Fat Ingredients:
- 4 large egg yolks, room temperature
- 3 tablespoons (45 grams) salted butter, sliced, room temperature
Cookies:
Dry Ingredients:
- 1 5/8 cups (205 grams) all-purpose flour
- 1/2 cup (100 grams) granulated sugar
- 3/4 teaspoon baking powder
- 1/3 teaspoon baking soda
- 3/4 teaspoon lemon zest
Wet and Binding Ingredients:
- 1 large egg, room temperature
- 1 large egg yolk, room temperature
- 3 tablespoons (45 milliliters) vegetable oil
- 2 1/2 tablespoons (37.5 milliliters) lemon juice
- 1/4 teaspoon vanilla extract
Coating:
- 1/2 cup (60 grams) powdered sugar
Instructions
- Craft a silky mixture by whisking egg yolks, sugar, and lemon juice until uniformly blended in a glass bowl.
- Create a makeshift double boiler by positioning the bowl atop a pot with gently simmering water.
- Continuously stir the mixture with a wooden utensil, maintaining a consistent motion for approximately 10 minutes until the consistency transforms into a thick, custard-like texture.
- Carefully transfer the hot mixture through a fine mesh strainer into a clean container, eliminating any potential lumps.
- Incorporate softened butter and fragrant lemon zest, then allow the lemon curd to cool and set at room temperature.
- Prepare baking sheets by lining them with parchment paper and warming the oven to 350℉.
- Combine dry ingredients in a spacious mixing bowl, blending flour, sugar, baking powder, baking soda, and lemon zest until evenly distributed.
- In a separate vessel, whisk together liquid components including egg, egg yolk, vegetable oil, lemon juice, and vanilla extract.
- Merge wet and dry ingredients, stirring until a cohesive dough forms.
- Utilize a cookie scoop to portion consistent dough balls, rolling each in powdered sugar.
- Arrange cookie spheres on prepared sheets, maintaining sufficient spacing between each.
- Bake for 12 minutes, watching for set edges while preserving a soft center.
- Immediately after removing from the oven, create delicate indentations using the rounded back of a measuring spoon.
- Generously fill each cookie depression with prepared lemon curd.
Notes
- Chill dough for 30 minutes before rolling to prevent sticky hands and ensure easier shaping.
- Use fresh lemon juice and zest for the most vibrant, bright citrus flavor in both cookie and curd.
- For gluten-free version, substitute all-purpose flour with almond or gluten-free blend, maintaining same measurement.
- Lemon curd can be prepared days ahead and stored in refrigerator, saving prep time on baking day.
- Prep Time: 30 minutes
- Cook Time: 12 minutes
- Category: Desserts, Snacks
- Method: Baking
- Cuisine: American
Nutrition
- Serving Size: 24
- Calories: 137
- Sugar: 8 g
- Sodium: 37 mg
- Fat: 5 g
- Saturated Fat: 2 g
- Unsaturated Fat: 3 g
- Trans Fat: 0 g
- Carbohydrates: 20 g
- Fiber: 0.5 g
- Protein: 2 g
- Cholesterol: 32 mg
James Walker
Lead Recipe Developer & Culinary Educator
Expertise
Southern Cuisine & Farm-to-Table Cooking, Recipe Development & Testing, Culinary Education & Instruction
Education
School: Auguste Escoffier School of Culinary Arts
Program: Diploma in Culinary Arts and Operations
Focus: Comprehensive training in classical and modern culinary techniques, kitchen operations, and farm-to-table practices.
James didn’t learn cooking from a TV show, he learned it from busy kitchens, family gatherings, and long afternoons spent testing recipes the hard way.
After training at the Auguste Escoffier School of Culinary Arts, he brought his love for real, down-to-earth food to every dish he makes.
At Dining At Home, James loves building recipes that feel familiar but still have something special, like adding a twist to a classic or making a slow Sunday dinner feel brand new.
When he’s not in the kitchen, you’ll probably find him swapping garden tips at the farmers’ market or teaching his daughter how to flip pancakes without a mess (almost).