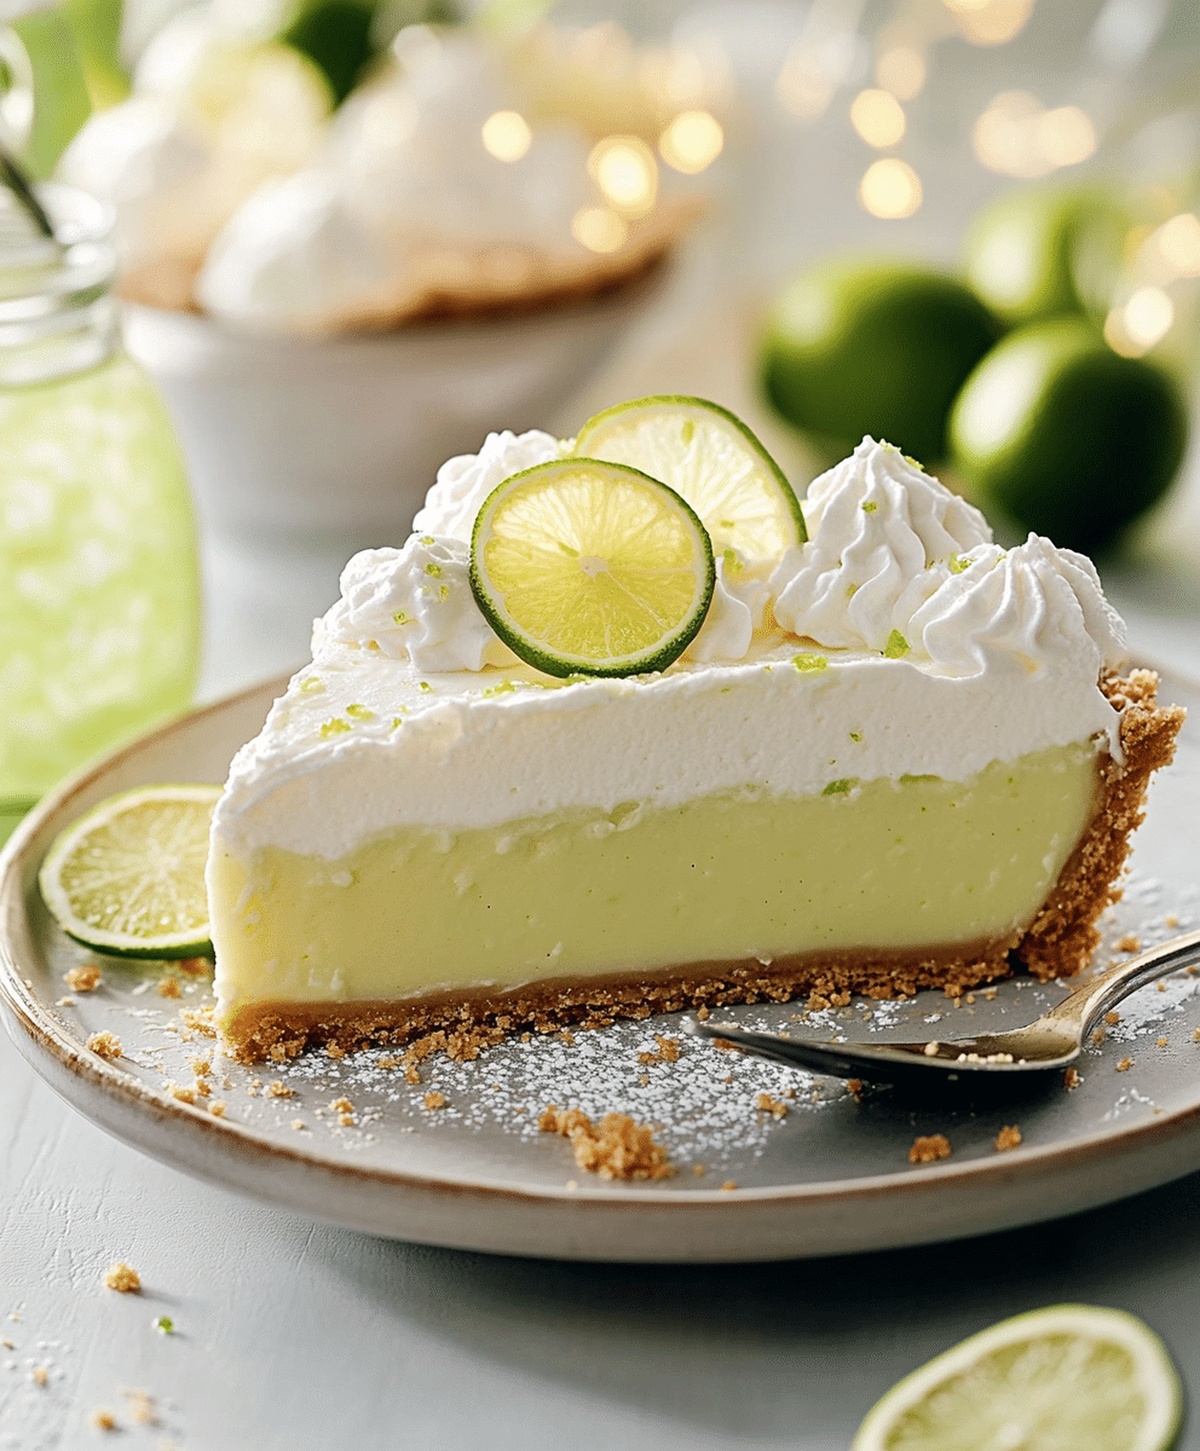
Zesty Key Lime Pie Recipe: Tangy Tropical Bliss in Every Bite
Whipping up a delectable key lime pie brings tropical sunshine right to your dessert plate.
Miami’s iconic citrus treat packs a punch of vibrant flavors that dance across your palate.
Creamy texture and zesty notes combine in this classic Southern delight that feels like a mini vacation.
Pucker-worthy lime juice creates the signature tang that makes this pie irresistible.
Graham cracker crusts provide a delightful crunch against the silky smooth filling.
Joe’s Stone Crab restaurant in Miami made this dessert famous decades ago, inspiring countless home bakers.
Each bite promises a refreshing escape from ordinary sweets that you won’t want to miss.
Key Lime Pie Recipe People Can’t Resist
Breeze Through Baking: A Foolproof Dessert Adventure
What’s Mixed Into Key Lime Pie
Crust Ingredients:Filling Ingredients:Topping Ingredient:Key Lime Pie Baking Process
Step 1: Warm Up The Oven
Fire up your oven to a toasty 350°F.
This temperature will create the perfect environment for baking your pie.
Step 2: Create Crumbly Crust Base
Combine these ingredients in a mixing bowl:Mix everything until the texture resembles wet sand.
Step 3: Shape And Prebake Crust
Press the crumbly mixture firmly into a 9-inch pie dish.
Spread it evenly across the bottom and sides.
Slide the dish into the preheated oven and bake for 10 minutes.
Remove and let the crust cool completely.
Step 4: Whip Up Zesty Filling
Grab a clean bowl and whisk together:Blend until the mixture looks smooth and creamy.
Step 5: Bake The Pie
Pour the lime filling into the cooled crust.
Return the pie to the oven and bake for 15 minutes.
The filling should look set but still have a slight jiggle.
Step 6: Chill And Set
Allow the pie to cool at room temperature.
Then transfer to the refrigerator and let it chill for at least 2 hours.
This helps the filling firm up perfectly.
Step 7: Garnish And Serve
Optional: Top with fluffy whipped cream just before serving.
Slice and enjoy your tangy, creamy key lime pie!
Key Lime Pie Assembled Like A Dessert Pro
How to Keep Key Lime Pie Fresh
Key Lime Pie Snack Matches
Key Lime Pie Recipe Reimaginings
FAQs
Fresh key lime juice is ideal, but bottled key lime juice can also work. Regular lime juice is an acceptable substitute if key limes are unavailable.
Yes, key lime pie actually tastes better when prepared in advance. You can make it up to 2-3 days before serving and keep it refrigerated.
The filling should look slightly firm and not be liquid-like when you gently shake the pie dish. It will continue to set as it cools in the refrigerator.
No, you can easily mix the filling ingredients with a whisk or hand mixer. The goal is to create a smooth, well-combined mixture without overmixing.
Print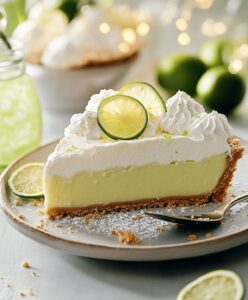
Key Lime Pie Recipe
- Total Time: 40 minutes
- Yield: 8 1x
Description
Creamy key lime pie brings zesty Florida sunshine to dessert lovers’ tables. Sweet, tangy filling nestled in crisp graham cracker crust promises refreshing indulgence you won’t want to miss.
Ingredients
Key Lime Filling:
- 4 large egg yolks
- 1 can (14 ounces / 397 grams) sweetened condensed milk
- 1/2 cup (120 milliliters) fresh key lime juice
- 1 tablespoon lime zest
Crust:
- 1 1/2 cups graham cracker crumbs
- 1/4 cup (50 grams) sugar
- 6 tablespoons (85 grams) unsalted butter, melted
Topping:
- Whipped cream (optional)
Instructions
- Preheat the kitchen oven to a moderate temperature of 350°F, creating an ideal baking environment for the tropical dessert.
- Combine finely crushed graham cracker fragments with granulated sweetener and liquefied butter, mixing until the texture resembles damp sand.
- Firmly compress the crumbly mixture into a circular pie vessel, ensuring an even, compact base that will support the tangy filling.
- Transfer the crust to the heated oven and allow it to transform for approximately 10 minutes, developing a golden, crisp foundation. Remove and permit complete cooling.
- Vigorously whisk vibrant egg yolks with rich, velvety condensed milk, extracting the essence of zesty lime through its juice and delicate zest until the mixture achieves a silky, uniform consistency.
- Gently cascade the luminous lime mixture over the prepared crust, spreading it evenly to guarantee uniform setting.
- Return the pie to the oven, allowing it to bake for quarter of an hour until the filling sets with a gentle, subtle jiggle.
- Extract from the oven and allow the dessert to descend to ambient temperature, then refrigerate for a minimum of two hours to achieve optimal chilling and flavor melding.
- Optional: Crown the chilled pie with billowy, softly whipped cream just prior to serving, adding a cloud-like elegance to the tropical treat.
Notes
- Adjust graham cracker crust by using gluten-free crackers for those with wheat sensitivities, ensuring everyone can enjoy this classic dessert.
- Maximize lime flavor by using fresh key limes instead of bottled juice, which delivers a more vibrant and authentic citrus punch.
- Create a lighter version by substituting full-fat condensed milk with a low-fat alternative and using a reduced-fat whipped topping for health-conscious guests.
- Prevent cracking in the filling by avoiding over-baking and removing the pie from the oven when the center is just barely set, maintaining a smooth, creamy texture.
- Prep Time: 15 minutes
- Cook Time: 25 minutes
- Category: Desserts
- Method: Baking
- Cuisine: American
Nutrition
- Serving Size: 8
- Calories: 290
- Sugar: 20 g
- Sodium: 100 mg
- Fat: 14 g
- Saturated Fat: 8 g
- Unsaturated Fat: 6 g
- Trans Fat: 0 g
- Carbohydrates: 36 g
- Fiber: 1 g
- Protein: 4 g
- Cholesterol: 80 mg
Emily Harper
Nutrition Consultant & Recipe Analyst
Expertise
Healthy Recipe Modification, Nutritional Analysis & Meal Planning, Global Cuisine & Dietary Adaptations
Education
School: French Pastry School, Chicago, IL
Program: L’Art de la Pâtisserie
Focus: Intensive training in traditional French pastry techniques, baking theory, and confectionery arts.
Emily’s journey started in a pastry kitchen but took a detour into the world of health and flavor science.
Graduating from the French Pastry School and studying nutrition opened her eyes to a new mission: making healthy food taste like something you’d actually crave.
At Dining At Home, Emily’s the go-to for smart, feel-good recipes that don’t trade flavor for nutrition.
She’s all about adding a fresh spin on old favorites and finding small ways to make everyday meals a little brighter.
Outside of the kitchen, Emily is most at home walking forest trails, testing plant-based recipes, or sharing a picnic under a wide-open sky.