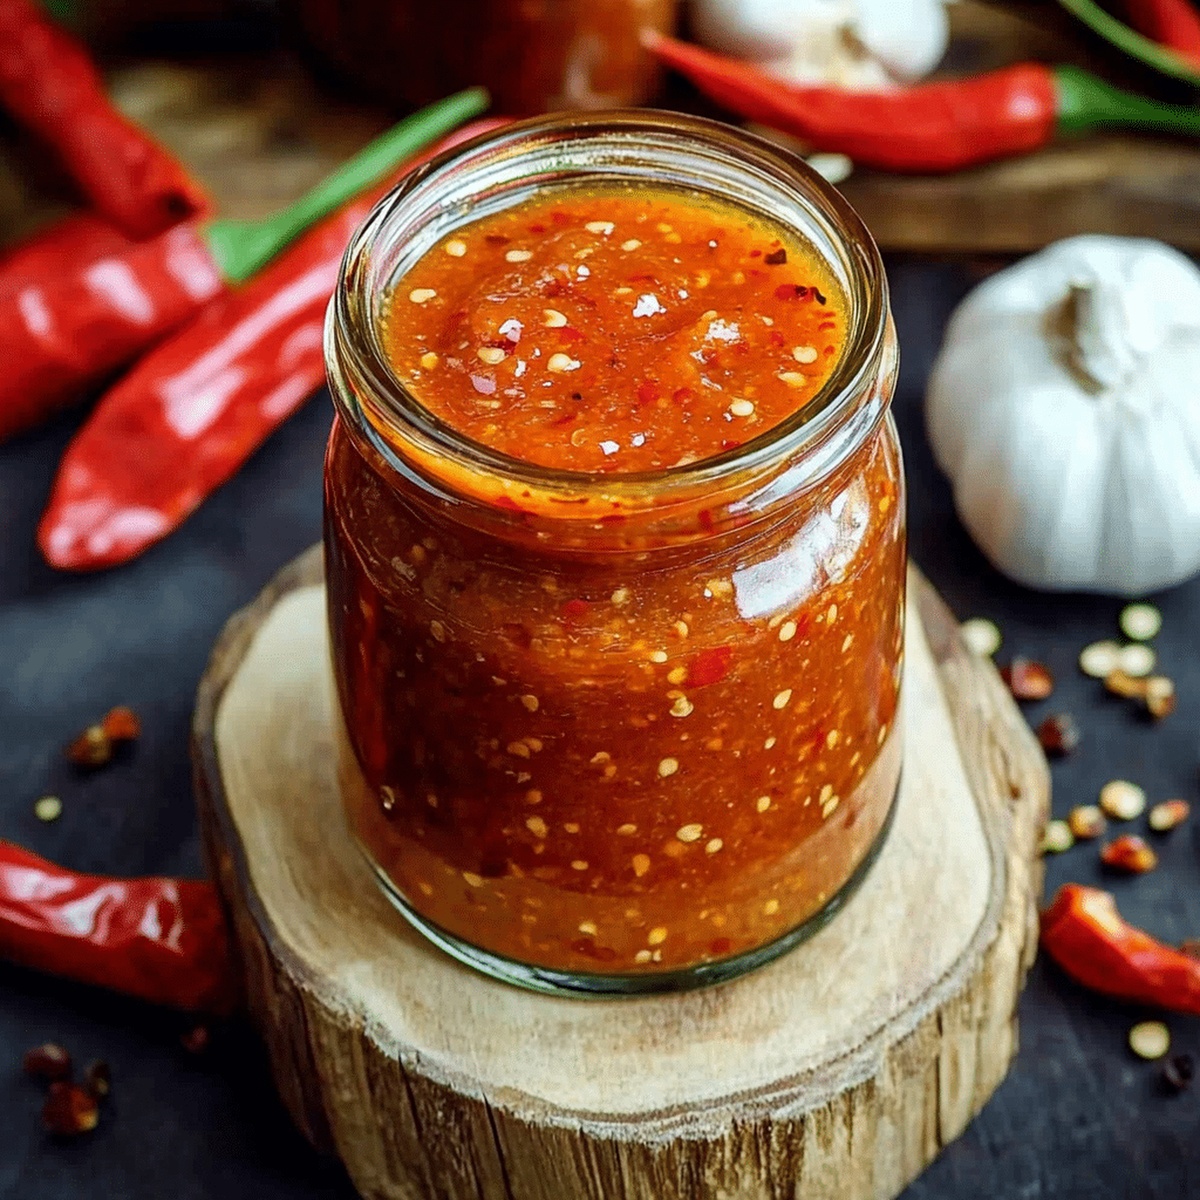
Zesty Homemade Sweet Chili Sauce Recipe for Flavor Fans
Crafting a delectable homemade sweet chili sauce sparks a culinary adventure in your kitchen.
Vibrant flavors dance together, creating a condiment that surpasses store-bought alternatives.
Peppers and sugar mingle, producing a symphony of taste that’ll make your taste buds sing.
Each ingredient contributes its unique character to this zesty blend.
Simple techniques transform basic components into a magical sauce that complements countless dishes.
No complex skills needed – just passion and a few fresh ingredients.
Give this recipe a chance, and you’ll never look back at bland sauces again.
Homemade Sweet Chili Sauce With Bold Sweet Heat
What’s Used In Sweet Chili Sauce
Liquid Base:Sweeteners:Flavor Enhancers:Spice and Thickening Agents:Sweet Chili Sauce Prep Instructions
Step 1: Blend Zesty Ingredients
In a medium saucepan, combine the following ingredients:Bring the mixture to a rolling boil over high heat, stirring occasionally to help sugar dissolve.
Step 2: Simmer and Develop Flavors
Reduce the heat to medium-low, allowing the sauce to gently simmer.
Watch as the liquid starts to reduce and the flavors intensify.
Stir occasionally to prevent sticking and ensure even cooking.
Step 3: Create Cornstarch Thickening Agent
In a separate small bowl, whisk together cornstarch and cold water until completely smooth.
This slurry will help thicken the sauce and give it a glossy appearance.
Step 4: Thicken the Sauce
Pour the cornstarch mixture into the simmering sauce, stirring constantly.
Continue cooking for 1-2 minutes until the sauce reaches a smooth, slightly thick consistency that coats the back of a spoon.
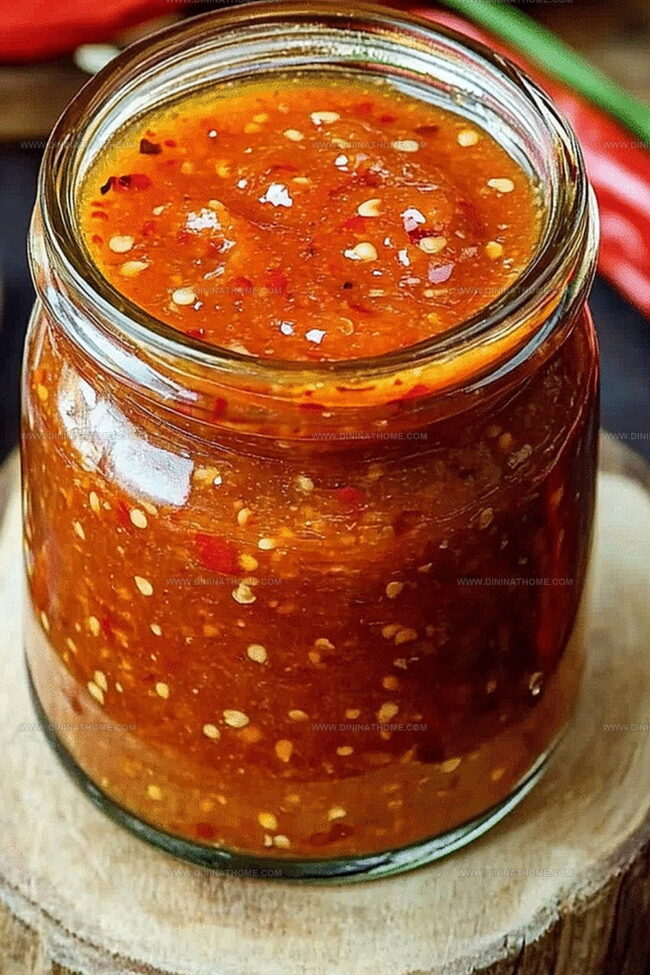
Step 5: Cool and Store
Remove the saucepan from heat and let the chili sauce cool completely at room temperature.
Transfer to a clean glass jar with a tight-fitting lid.
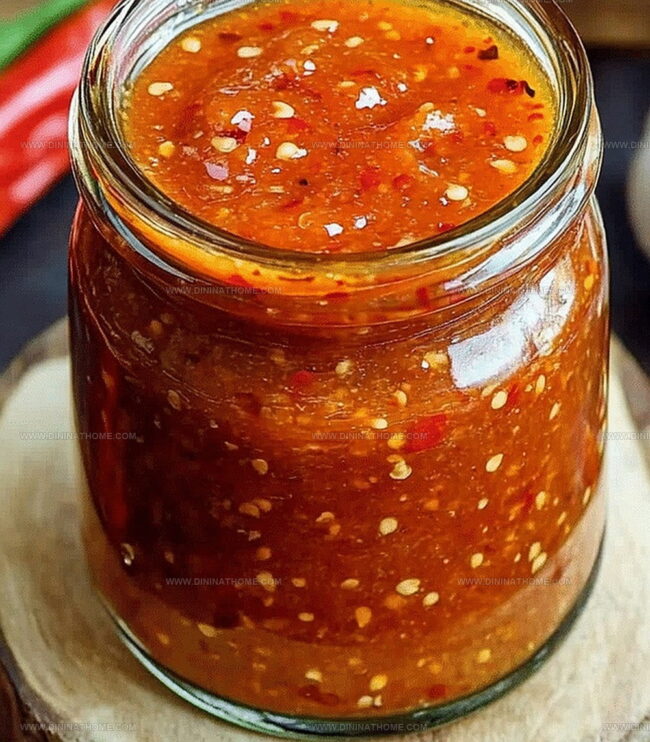
Refrigerate the sauce, where it will keep for up to two weeks.
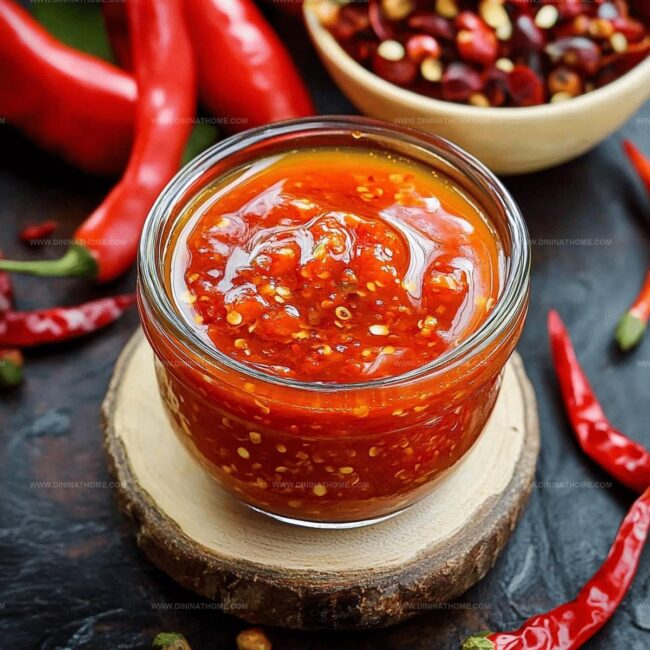
Serving Suggestion: Perfect as a dipping sauce for spring rolls, drizzled over grilled meats, or used as a spicy marinade.
Sweet Chili Sauce – Quick Advice
Sweet Chili Sauce Keeps Flavorful When Stored Cold
What Goes Great with Homemade Sweet Chili Sauce
Enhance Sweet Chili Sauce Pairings:Turkey Chili Options
FAQs
Homemade sauce lets you control sugar levels, spice intensity, and ensures no preservatives or artificial additives, giving you a fresher and more authentic flavor.
You can easily adjust the heat by increasing or decreasing chili flakes. For mild sauce, use less chili flakes; for a fiery version, add more or include fresh chopped chili peppers.
Absolutely! This versatile sauce works great as a marinade for meats, a glaze for grilled vegetables, a stir-fry sauce, or a dressing for salads and spring rolls.
When stored in an airtight container in the refrigerator, this homemade sweet chili sauce typically remains good for 2-3 weeks, maintaining its vibrant flavor and texture.
Print
Homemade Sweet Chili Sauce Recipe
- Total Time: 15 minutes
- Yield: 8 1x
Description
Sweet homemade chili sauce delivers a perfect balance of heat and sweetness that elevates any dish. Crafted with simple ingredients and minimal effort, this sauce brings restaurant-quality flavor right to your kitchen.
Ingredients
Main Ingredients:
- 1 cup white sugar
- 1/2 cup rice vinegar or white wine vinegar
- 1/2 cup water
- 4 teaspoons red chili flakes
- 1 tablespoon garlic, minced
Liquid Seasonings:
- 1 tablespoon light soy sauce or coconut aminos
- 2 tablespoons water (for slurry)
Thickening Agent:
- 3 teaspoons cornstarch
Instructions
- Pour vinegar, water, sugar, minced garlic, soy sauce, and chili flakes into a medium saucepan, creating a vibrant, aromatic base for the sweet chili sauce.
- Heat the mixture over medium-high temperature, stirring occasionally until it reaches a rolling boil, ensuring all sugar crystals completely dissolve.
- Reduce heat to low, allowing the sauce to gently simmer and develop a rich, complex flavor profile while gradually thickening.
- Whisk cornstarch with cold water in a separate small bowl, creating a smooth, lump-free slurry that will help bind and thicken the sauce.
- Gradually pour the cornstarch mixture into the simmering sauce, continuously stirring to prevent clumping and promote even distribution.
- Continue cooking for 1-2 minutes until the sauce reaches a glossy, slightly viscous consistency that coats the back of a spoon.
- Remove the saucepan from heat and let the sweet chili sauce cool completely at room temperature.
- Transfer the cooled sauce to a clean glass jar with a tight-fitting lid, ready to enhance various dishes with its sweet and spicy character.
Notes
- Adjust spice levels by increasing or decreasing chili flakes to suit personal heat tolerance.
- Experiment with different vinegars like rice or apple cider for unique flavor profiles.
- For a gluten-free version, replace soy sauce with tamari or coconut aminos.
- Store sauce in an airtight container in the refrigerator for up to two weeks, allowing flavors to develop and intensify over time.
- Prep Time: 5 minutes
- Cook Time: 10 minutes
- Category: Snacks, Appetizer
- Method: Simmering
- Cuisine: Thai
Nutrition
- Serving Size: 8
- Calories: 75
- Sugar: 14 g
- Sodium: 180 mg
- Fat: 0 g
- Saturated Fat: 0 g
- Unsaturated Fat: 0 g
- Trans Fat: 0 g
- Carbohydrates: 19 g
- Fiber: 0 g
- Protein: 0 g
- Cholesterol: 0 mg
Emily Harper
Nutrition Consultant & Recipe Analyst
Expertise
Healthy Recipe Modification, Nutritional Analysis & Meal Planning, Global Cuisine & Dietary Adaptations
Education
School: French Pastry School, Chicago, IL
Program: L’Art de la Pâtisserie
Focus: Intensive training in traditional French pastry techniques, baking theory, and confectionery arts.
Emily’s journey started in a pastry kitchen but took a detour into the world of health and flavor science.
Graduating from the French Pastry School and studying nutrition opened her eyes to a new mission: making healthy food taste like something you’d actually crave.
At Dining At Home, Emily’s the go-to for smart, feel-good recipes that don’t trade flavor for nutrition.
She’s all about adding a fresh spin on old favorites and finding small ways to make everyday meals a little brighter.
Outside of the kitchen, Emily is most at home walking forest trails, testing plant-based recipes, or sharing a picnic under a wide-open sky.