Easy Homemade Pizza Dough Recipe for Perfect Crusts Every Time
Pizza magic happens when homemade pizza dough becomes your culinary canvas for delicious creativity.
Crafting this essential base transforms ordinary ingredients into extraordinary meals.
Soft, pillowy textures emerge through simple techniques anyone can master.
Professional bakers know great pizza starts with understanding fundamental ingredients and techniques.
Kneading develops gluten networks that give perfect chewiness and structure.
Each stretch and fold builds anticipation for the delectable final creation.
Weekend cooking adventures begin with mastering this fundamental skill that impresses everyone at the table.
Pizza Dough That’s Soft, Easy, and Always Reliable
Essentials for Making the Perfect Pizza Dough
Dough Ingredients:Flour Ingredients:Binding Ingredients:Pizza Dough Prep Instructions

Step 1: Wake Up the Yeast
Grab a large mixing bowl and bring together warm water, sugar, and yeast.
Let the mixture sit quietly for 5-10 minutes until it becomes wonderfully frothy and bubbly, signaling the yeast is ready to work its magic.
Step 2: Create the Dough Base
Introduce these ingredients to the yeast mixture:Stir everything together using a wooden spoon or let a stand mixer with a dough hook do the hard work until the ingredients start forming a cohesive mass.
Step 3: Develop Dough Texture
Move the dough onto a lightly floured surface.
Start kneading with your hands for 8-10 minutes until the texture becomes smooth and stretchy.
If you prefer, use a stand mixer on medium speed for 5-6 minutes to achieve the same result.
Step 4: Allow Dough to Rise
Transfer the dough to a lightly greased bowl.
Cover with a clean kitchen towel and find a warm spot in your kitchen.
Let the dough rest and expand for 1-2 hours until it has doubled in size.
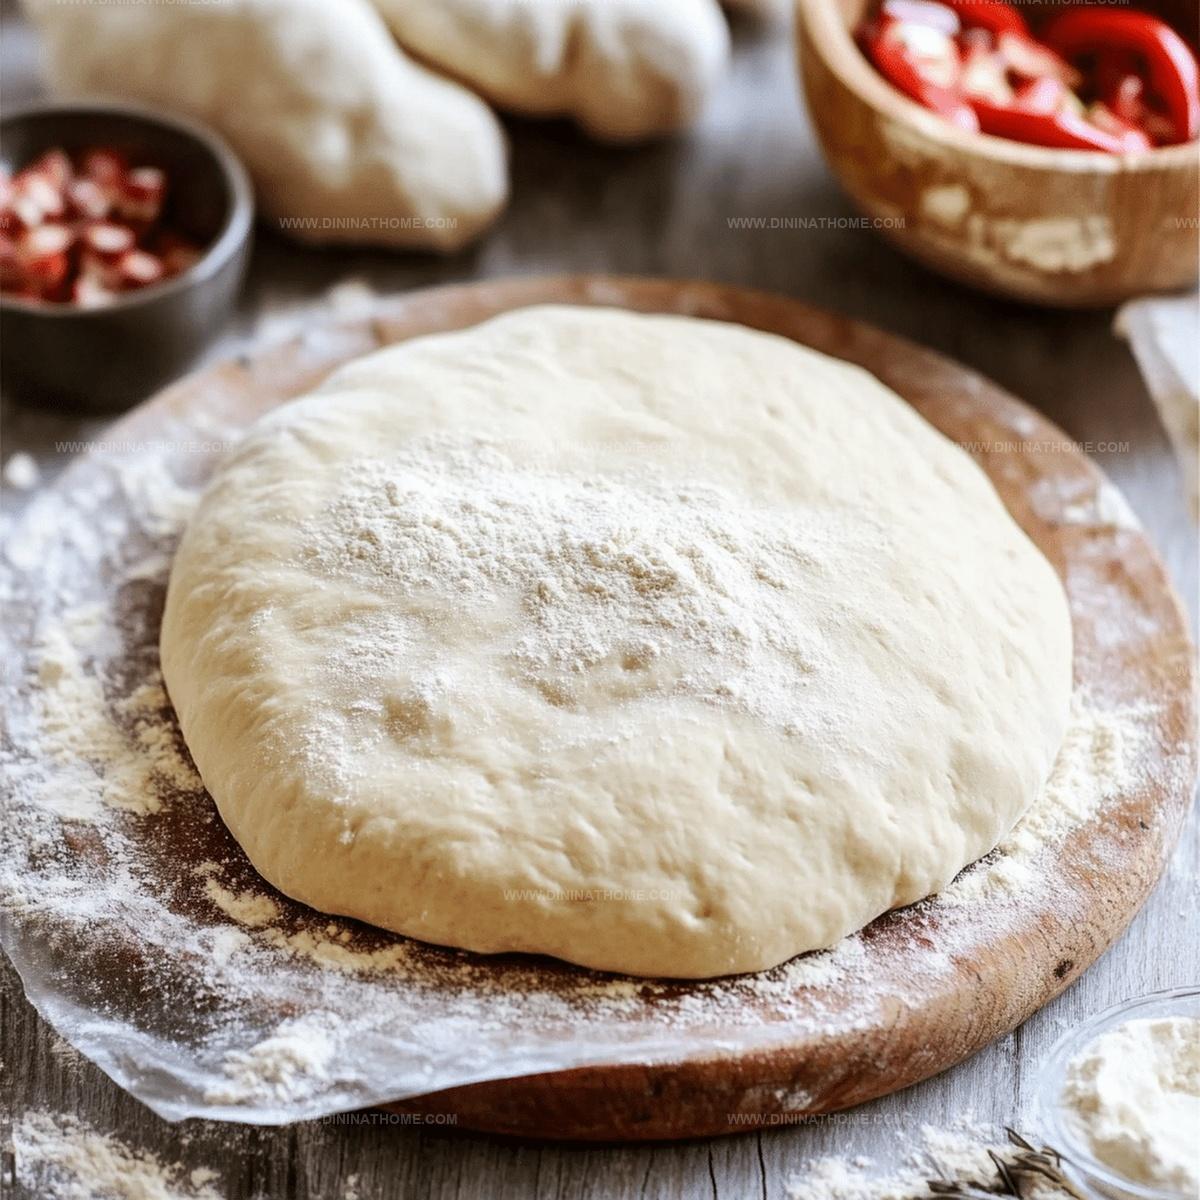
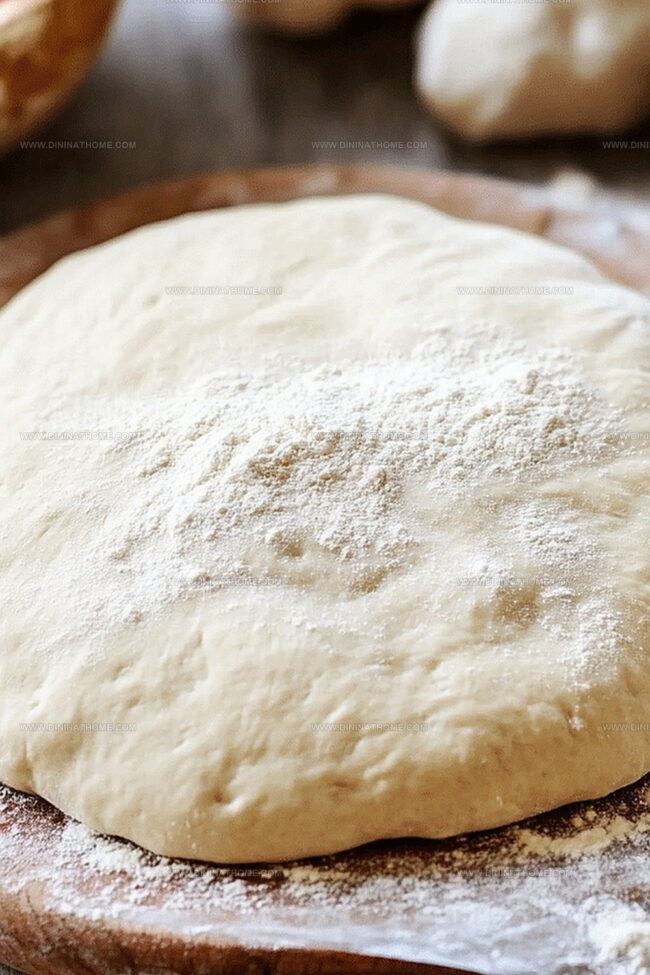
Step 5: Shape and Prepare
Gently deflate the risen dough and divide it into two equal balls.
Roll out each ball on a floured surface, creating your perfect pizza base thickness.
Step 6: Final Handling
Your dough is now ready for immediate pizza making or can be stored in the refrigerator for up to 3 days, keeping the pizza potential fresh and exciting.
Dough Preparation Tips for Homemade Pizza
Pizza Dough Storage Tips
Best Uses for Homemade Pizza Dough
Homemade Pizza Dough Crust Styles
FAQs
Yes, you can easily make pizza dough by hand using a wooden spoon or kneading directly on a floured surface. Mix ingredients thoroughly and knead for 8-10 minutes until the dough becomes smooth and elastic.
If your yeast mixture doesn’t become frothy after 10 minutes, it might be inactive or expired. Discard and start over with fresh yeast, ensuring the water is warm (not hot) and the sugar is dissolved.
The dough is well-kneaded when it becomes smooth, elastic, and springs back when you poke it. It should feel soft and not sticky, and should hold its shape without tearing easily.
Yes, you can freeze pizza dough. Wrap it tightly in plastic wrap and place in a freezer bag. It will keep for up to 3 months. Thaw in the refrigerator overnight before using.
Print
Homemade Pizza Dough Recipe
- Total Time: 50 minutes
- Yield: 4 1x
Description
Crafting homemade pizza dough unlocks culinary magic for passionate cooks and Italian cuisine enthusiasts. Kneading simple ingredients creates a perfect canvas for delicious toppings you’ll savor with pure delight.
Ingredients
Main Ingredients:
- 3 1/2 cups all-purpose flour
- 1 1/2 cups warm water (110°F or 43°C)
- 2 tablespoons olive oil
Leavening and Flavor Enhancers:
- 2 1/4 teaspoons (1 packet) active dry yeast
- 1 teaspoon sugar
- 1 teaspoon salt
Instructions
- Awaken yeast enzymes by dissolving them in tepid water mixed with a pinch of sugar, allowing the mixture to bloom and become foamy within 5-10 minutes.
- Incorporate olive oil, flour, and salt into the activated yeast solution, blending thoroughly using a wooden utensil or electric mixer with dough attachment until ingredients form a cohesive mass.
- Transfer the rough dough onto a lightly dusted work surface, then methodically manipulate and stretch the mixture with rhythmic kneading motions, developing gluten networks for approximately 8-10 minutes until achieving a silky, resilient texture.
- Nestle the prepared dough into a lightly greased ceramic or glass container, drape with a clean fabric, and position in a draft-free, warm environment to encourage fermentation and volume expansion for 1-2 hours.
- Gently deflate the risen dough, separating it into two equal portions for individual pizza preparations, then carefully roll each segment on a flour-scattered surface to create desired shape and thickness.
- Proceed immediately with pizza construction or preserve the prepared dough by refrigerating for up to three days, maintaining its potential for future culinary adventures.
Notes
- Use lukewarm water between 100-110°F to activate yeast perfectly without killing it.
- Ensure your rising area is draft-free and consistently warm around 75-80°F for optimal dough expansion.
- Allow dough to rest at room temperature for 30 minutes before shaping to enhance elasticity and make rolling easier.
- For gluten-free variation, substitute regular flour with a blend of gluten-free flour mix and add xanthan gum for better texture.
- Prep Time: 50 minutes
- Cook Time: 0 minutes
- Category: Dinner
- Method: Baking
- Cuisine: Italian
Nutrition
- Serving Size: 4
- Calories: 210
- Sugar: 0.5 g
- Sodium: 300 mg
- Fat: 4.5 g
- Saturated Fat: 0.5 g
- Unsaturated Fat: 4 g
- Trans Fat: 0 g
- Carbohydrates: 39 g
- Fiber: 1 g
- Protein: 6 g
- Cholesterol: 0 mg
Emily Harper
Nutrition Consultant & Recipe Analyst
Expertise
Healthy Recipe Modification, Nutritional Analysis & Meal Planning, Global Cuisine & Dietary Adaptations
Education
School: French Pastry School, Chicago, IL
Program: L’Art de la Pâtisserie
Focus: Intensive training in traditional French pastry techniques, baking theory, and confectionery arts.
Emily’s journey started in a pastry kitchen but took a detour into the world of health and flavor science.
Graduating from the French Pastry School and studying nutrition opened her eyes to a new mission: making healthy food taste like something you’d actually crave.
At Dining At Home, Emily’s the go-to for smart, feel-good recipes that don’t trade flavor for nutrition.
She’s all about adding a fresh spin on old favorites and finding small ways to make everyday meals a little brighter.
Outside of the kitchen, Emily is most at home walking forest trails, testing plant-based recipes, or sharing a picnic under a wide-open sky.