Fluffy Homemade Krispy Kremes Recipe: Bakery Magic at Home
My weekend baking experiments with homemade krispy kremes always spark excitement in our kitchen.
Sweet aromas drift through every room, tempting everyone nearby.
Soft, pillowy doughnuts deserve serious attention from passionate dessert enthusiasts.
Crafting these delectable treats requires patience and precise techniques that elevate ordinary baking.
Local bakeries cannot compete with fresh, warm doughnuts straight from your own oven.
Each golden-brown circle promises a heavenly experience that connects memories and flavors.
You will absolutely adore mastering this classic recipe that transforms simple ingredients into pure magic.
Let’s create something extraordinary together!
Homemade Krispy Kremes: What Makes Them A Fresh Favorite
Krispy Kreme Copycat Ingredients
Leavening Agent:Liquid Ingredients:Dry Ingredients:Cooking Ingredient:Method for Homemade Krispy Kremes

Step 1: Activate the Yeast
Grab your warm milk and sprinkle yeast into it.
Let the mixture sit and get bubbly for about 5 minutes.
This magical moment helps wake up the yeast and get it ready to make your donuts super fluffy.
Step 2: Create the Dough Magic
Mix in your ingredients to form a soft, pillowy dough:Stir everything together until a smooth dough starts to come together.
Don’t worry about perfection – just blend with love!
Step 3: Knead and Let Rise
Work the dough with your hands, pushing and folding for 5-7 minutes.
This builds up the donut’s amazing texture.
Place the dough in a cozy, warm spot and let it rise for about an hour.
The dough will puff up and become wonderfully soft.
Step 4: Shape Your Donuts
Roll out the dough to a half-inch thickness.
Use a donut cutter or two different-sized circles to create classic donut shapes.
Let these little beauties rise again for another 30 minutes.
Step 5: Fry to Golden Perfection
Heat oil to 350°F.
Carefully slide donuts into the hot oil, cooking until they turn a gorgeous golden brown on each side.
Watch them transform into crispy, puffy delights!
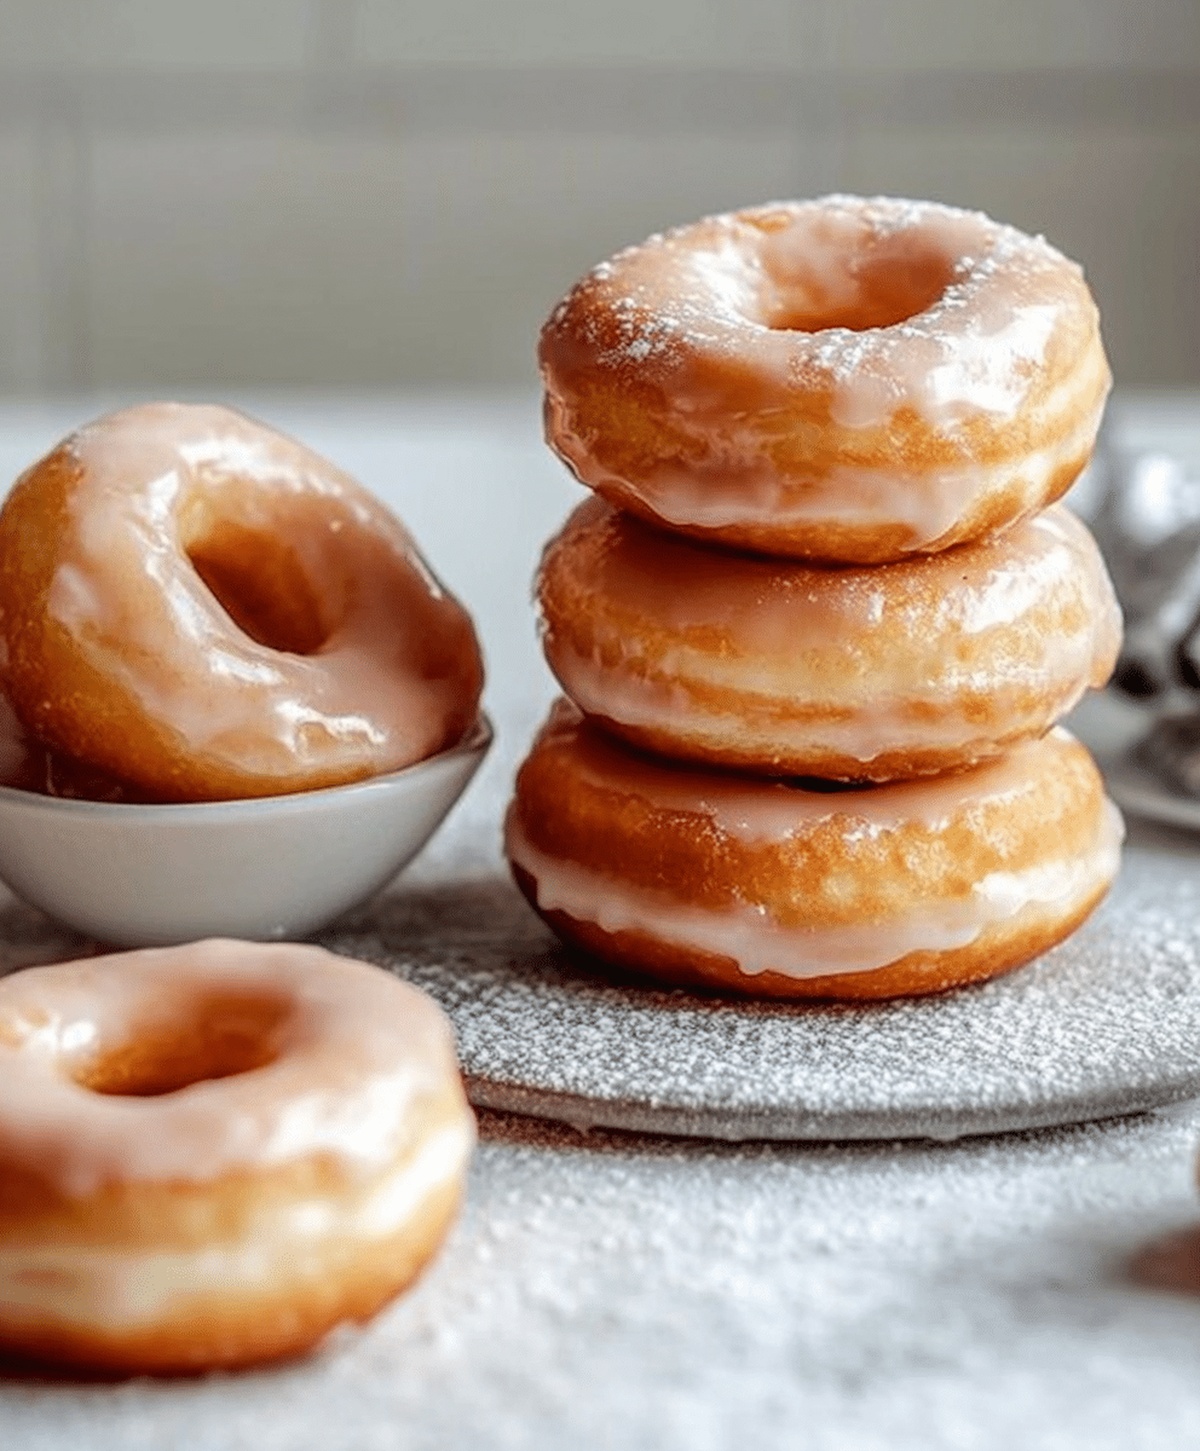
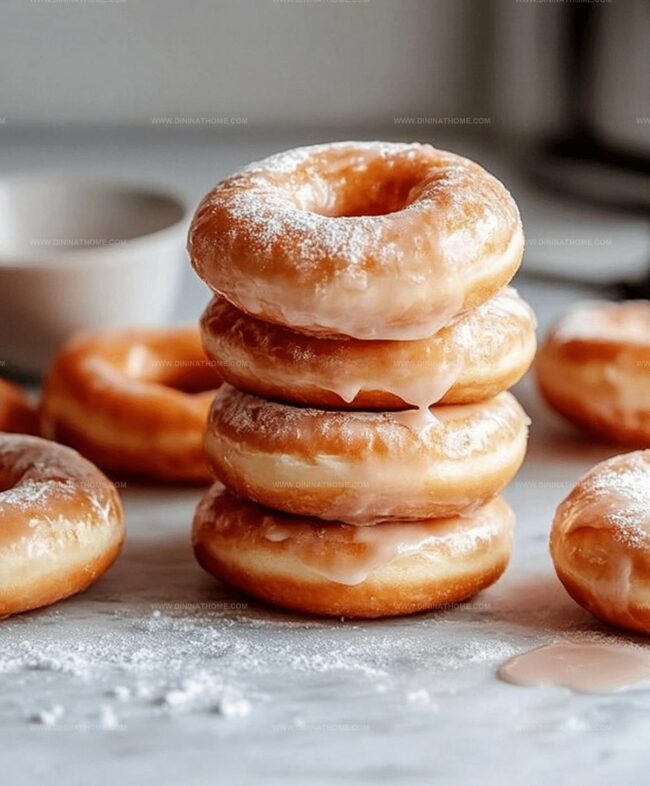
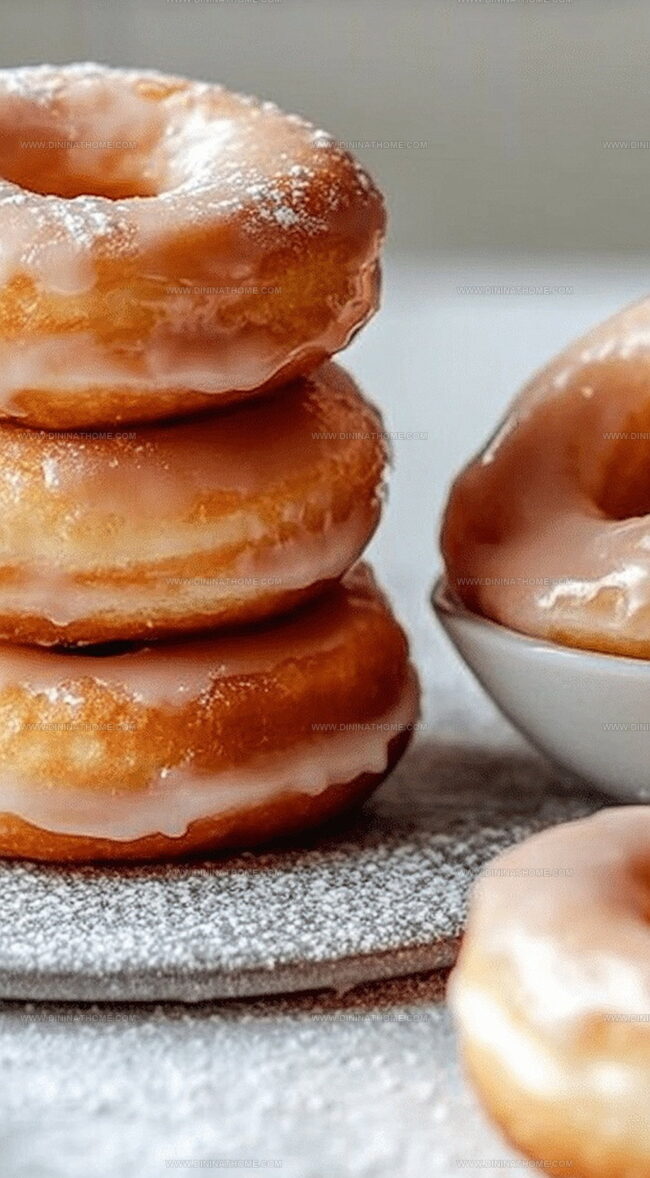
Step 6: Glaze and Finish
Drain donuts on paper towels to remove excess oil.
While still warm, dip each donut into a sweet glaze.
The warmth helps the glaze stick perfectly.
Step 7: Serve and Enjoy
Place glazed donuts on a wire rack to set.
Serve immediately and watch everyone’s eyes light up with pure happiness!
Homemade Krispy Kremes With Glazing and Proofing Tips
Chill Krispy Kremes And Enjoy Next Day

Sweet Companions for Homemade Krispy Kremes
Krispy Kreme Doughnuts Homemade with Glaze Tweaks
FAQs
Dissolve yeast in warm milk (around 110°F) and wait 5 minutes. If it becomes foamy and bubbly, your yeast is active and ready to use.
Yes, you can use all-purpose flour, but bread flour has more protein which helps create a better texture and rise for donuts.
Rising allows yeast to develop flavor and creates a light, airy texture in the donuts by helping the dough expand and become softer.
Use a donut cutter or two different-sized round cookie cutters – one for the outer circle and a smaller one for the center hole. Press firmly and twist to create clean edges.
Print
Homemade Krispy Kremes Recipe
- Total Time: 1 hour 45 minutes
- Yield: 15 1x
Description
Krispy Kreme donuts bring pure bliss straight to home kitchens with minimal effort and maximum flavor. Sweet, pillowy circles of joy emerge from simple ingredients, promising bakery-quality treats you can craft in your own kitchen.
Ingredients
Main Ingredients:
- 2 1/2 cups all-purpose flour
- 1 egg
- 3/4 cup warm milk
- 1/4 cup unsalted butter, melted
Sweeteners and Seasonings:
- 1/4 cup granulated sugar
- 1/4 teaspoon salt
Leavening Agent:
- 2 1/4 teaspoons active dry yeast
- Oil for frying
Instructions
- Activate the yeast by whisking it into lukewarm milk, allowing it to bloom and become frothy for optimal fermentation.
- Incorporate granulated sugar, a pinch of salt, a beaten egg, melted butter, and flour into the milk mixture, stirring until a cohesive, pillowy dough emerges.
- Vigorously knead the dough on a lightly floured surface, developing its gluten structure and achieving a smooth, elastic consistency.
- Transfer the dough to a greased bowl, cover with a damp cloth, and place in a draft-free environment to rise until it doubles in volume, approximately one hour.
- Punch down the risen dough and roll it out on a floured surface to a uniform half-inch thickness.
- Use a donut cutter or two differently sized circular cutters to shape the donuts, carefully removing the centers.
- Allow the shaped donuts to proof for an additional 30 minutes, becoming puffy and light.
- Heat vegetable oil in a deep, heavy-bottomed pot to precisely 350°F, monitoring temperature with a candy thermometer.
- Gently lower the donuts into the hot oil, frying until they achieve a golden, amber-brown color on each side.
- Remove the donuts with a slotted spoon, letting excess oil drip back into the pot, then transfer to paper towels to absorb residual grease.
- While still warm, generously coat the donuts in a glossy, sweet glaze, ensuring complete coverage.
- Position the glazed donuts on a wire cooling rack, allowing the coating to set and create a delicate, shiny finish.
Notes
- Choose high-quality active dry yeast for best rising results and rich flavor development.
- Maintain precise milk temperature between 110-115°F to activate yeast without killing it, ensuring perfect dough consistency.
- Use room temperature ingredients to help dough rise evenly and create smoother texture.
- For gluten-free option, substitute all-purpose flour with a 1:1 gluten-free baking blend, adding xanthan gum for better structure.
- Prep Time: 1 hour 30 minutes
- Cook Time: 15 minutes
- Category: Breakfast, Snacks, Desserts
- Method: Frying
- Cuisine: American
Nutrition
- Serving Size: 15
- Calories: 210
- Sugar: 6 g
- Sodium: 150 mg
- Fat: 9 g
- Saturated Fat: 5 g
- Unsaturated Fat: 4 g
- Trans Fat: 0 g
- Carbohydrates: 29 g
- Fiber: 1 g
- Protein: 3 g
- Cholesterol: 30 mg
James Walker
Lead Recipe Developer & Culinary Educator
Expertise
Southern Cuisine & Farm-to-Table Cooking, Recipe Development & Testing, Culinary Education & Instruction
Education
School: Auguste Escoffier School of Culinary Arts
Program: Diploma in Culinary Arts and Operations
Focus: Comprehensive training in classical and modern culinary techniques, kitchen operations, and farm-to-table practices.
James didn’t learn cooking from a TV show, he learned it from busy kitchens, family gatherings, and long afternoons spent testing recipes the hard way.
After training at the Auguste Escoffier School of Culinary Arts, he brought his love for real, down-to-earth food to every dish he makes.
At Dining At Home, James loves building recipes that feel familiar but still have something special, like adding a twist to a classic or making a slow Sunday dinner feel brand new.
When he’s not in the kitchen, you’ll probably find him swapping garden tips at the farmers’ market or teaching his daughter how to flip pancakes without a mess (almost).