Sweet & Simple Homemade Chocolate Syrup Recipe
Rich chocolate lovers rejoice when homemade chocolate syrup drips from their wooden spoons like liquid magic!
Crafting sweet nectar takes mere minutes in a simple kitchen.
Small pots become alchemy stations where sugar, cocoa, and water dance together.
Each ingredient adds depth and complexity to this pantry staple.
Kitchen adventures spark when whisks swirl dark powders into smooth mixtures.
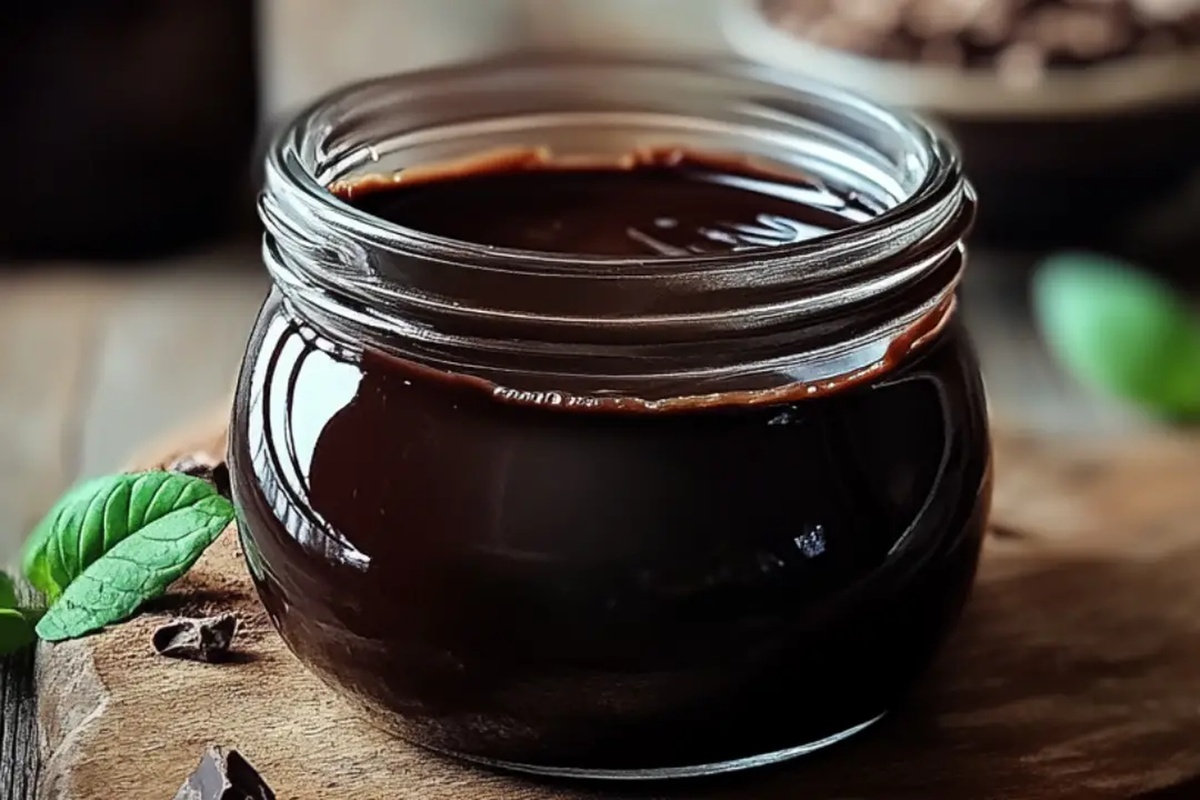
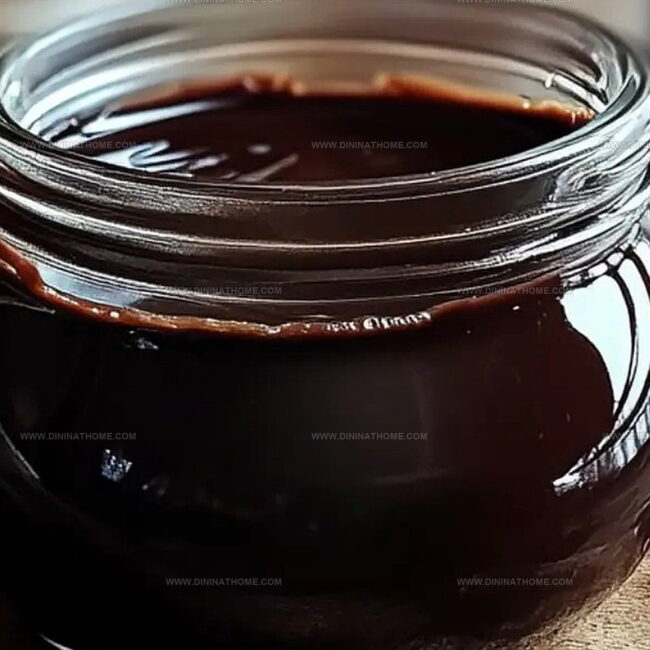
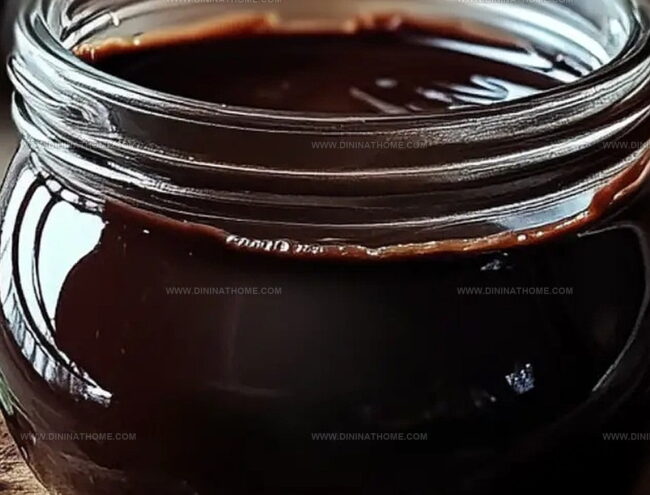
Dark glossy streams promise intense flavor without mysterious preservatives.
Stash this decadent syrup in glass jars and watch desserts become extraordinary.
Drizzle over ice cream or stir into warm milk for pure comfort.
Chocolate Syrup That’s A Staple For Every Sweet Craving
What You’ll Use in Homemade Chocolate Syrup
Base Ingredients:Flavor Enhancers:Thickening Agent:Chocolate Syrup Making That’s Rich and Homemade

Step 1: Whisk Dry Ingredients
In a medium saucepan, blend the following ingredients smoothly:Ensure all dry ingredients are thoroughly mixed before heating.
Step 2: Bubbling Chocolate Magic
Place the saucepan on the stove over medium-high heat.
Stir the mixture constantly to prevent scorching.
Watch for bubbles to form and rise, indicating the syrup is boiling.
Let the chocolatey liquid dance and bubble for exactly 3 minutes.
Step 3: Create Silky Smoothness
Remove the saucepan from the heat.
Gently stir in:Blend until the butter melts completely, creating a glossy and rich chocolate sauce.
Step 4: Perfect Your Syrup Consistency
If the syrup seems too thin, create a quick thickening solution by:Stir continuously to prevent clumping.
Step 5: Cool and Store
Let the chocolate syrup cool completely at room temperature.
Transfer to a glass jar or airtight container.
Refrigerate for up to two weeks.
Enjoy drizzling over ice cream, pancakes, or stirring into milk.
Sweet Techniques for Silky Chocolate Syrup
Save Homemade Chocolate Syrup
What to Pair with Homemade Chocolate Syrup
Chocolate Syrup Flavor Upgrades
FAQs
Homemade chocolate syrup is healthier because you control the ingredients, avoiding preservatives and artificial additives. You can use organic cocoa powder and natural sweeteners for a cleaner, more nutritious option.
Yes, you can substitute white sugar with coconut sugar, maple syrup, or honey. Each alternative will slightly change the flavor and consistency, so experiment to find your preferred taste.
The syrup’s consistency depends on boiling time and ingredients. If it’s too thin, continue boiling to reduce liquid. If too thick, add a little water while reheating. The optional cornstarch step helps control thickness.
Use high-quality cocoa powder like Dutch-processed or dark cocoa. Adding a pinch of salt or a splash of coffee can enhance the chocolate flavor, making the syrup more complex and deep.
Print
Homemade Chocolate Syrup Recipe
- Total Time: 10 minutes
- Yield: 12 1x
Description
Drizzle pure homemade chocolate syrup over desserts for a luxurious touch of sweet indulgence. Rich, velvety, and intensely flavorful, this simple syrup elevates ice cream, pancakes, and coffee with deep cocoa essence you’ll crave.
Ingredients
Main Ingredients:
- 1 cup cocoa powder
- 2 cups sugar
- 1 cup water
Flavor Enhancers:
- 1 tablespoon vanilla extract
Additional Ingredients:
- 1 tablespoon butter or ghee (optional)
Instructions
- Prepare a medium saucepan and whisk together cocoa powder, sugar, and water until the dry ingredients are fully incorporated and no lumps remain.
- Position the saucepan over medium-high heat, stirring continuously to prevent scorching and ensure even heating of the mixture.
- Allow the liquid to reach a rolling boil, then reduce heat slightly and maintain a steady bubbling for precisely 3 minutes, watching for slight thickening and glossy appearance.
- Carefully remove the saucepan from heat and introduce butter or ghee, gently folding it into the hot mixture until completely melted and smoothly integrated.
- Incorporate vanilla extract, stirring thoroughly to distribute the rich aromatic flavor throughout the syrup.
- If the consistency appears too thin, create a cornstarch slurry by mixing cornstarch with a small amount of cold water, then slowly blend into the warm syrup while returning the pan to heat.
- Briefly return the mixture to a gentle boil for one minute, stirring constantly to activate the thickening properties of the cornstarch and achieve desired viscosity.
- Transfer the syrup to a clean glass container, allowing it to cool completely at room temperature before sealing and refrigerating.
- Consume within two weeks, storing in an airtight container in the refrigerator to maintain optimal flavor and texture.
Notes
- Swap sugar with honey or maple syrup for a more natural sweetness that adds unique flavor complexity.
- Mix in a pinch of sea salt to enhance the chocolate’s richness and create a more balanced taste profile.
- For dairy-free version, replace butter with coconut oil or plant-based margarine to maintain smooth texture and depth.
- shorter boil creates thinner consistency, longer boil produces more concentrated, viscous chocolate sauce.
- Prep Time: 5 minutes
- Cook Time: 5 minutes
- Category: Desserts, Milkshake
- Method: Boiling
- Cuisine: American
Nutrition
- Serving Size: 12
- Calories: 90
- Sugar: 15 g
- Sodium: 0 mg
- Fat: 1 g
- Saturated Fat: 0.5 g
- Unsaturated Fat: 0.5 g
- Trans Fat: 0 g
- Carbohydrates: 21 g
- Fiber: 0 g
- Protein: 0 g
- Cholesterol: 3 mg
James Walker
Lead Recipe Developer & Culinary Educator
Expertise
Southern Cuisine & Farm-to-Table Cooking, Recipe Development & Testing, Culinary Education & Instruction
Education
School: Auguste Escoffier School of Culinary Arts
Program: Diploma in Culinary Arts and Operations
Focus: Comprehensive training in classical and modern culinary techniques, kitchen operations, and farm-to-table practices.
James didn’t learn cooking from a TV show, he learned it from busy kitchens, family gatherings, and long afternoons spent testing recipes the hard way.
After training at the Auguste Escoffier School of Culinary Arts, he brought his love for real, down-to-earth food to every dish he makes.
At Dining At Home, James loves building recipes that feel familiar but still have something special, like adding a twist to a classic or making a slow Sunday dinner feel brand new.
When he’s not in the kitchen, you’ll probably find him swapping garden tips at the farmers’ market or teaching his daughter how to flip pancakes without a mess (almost).