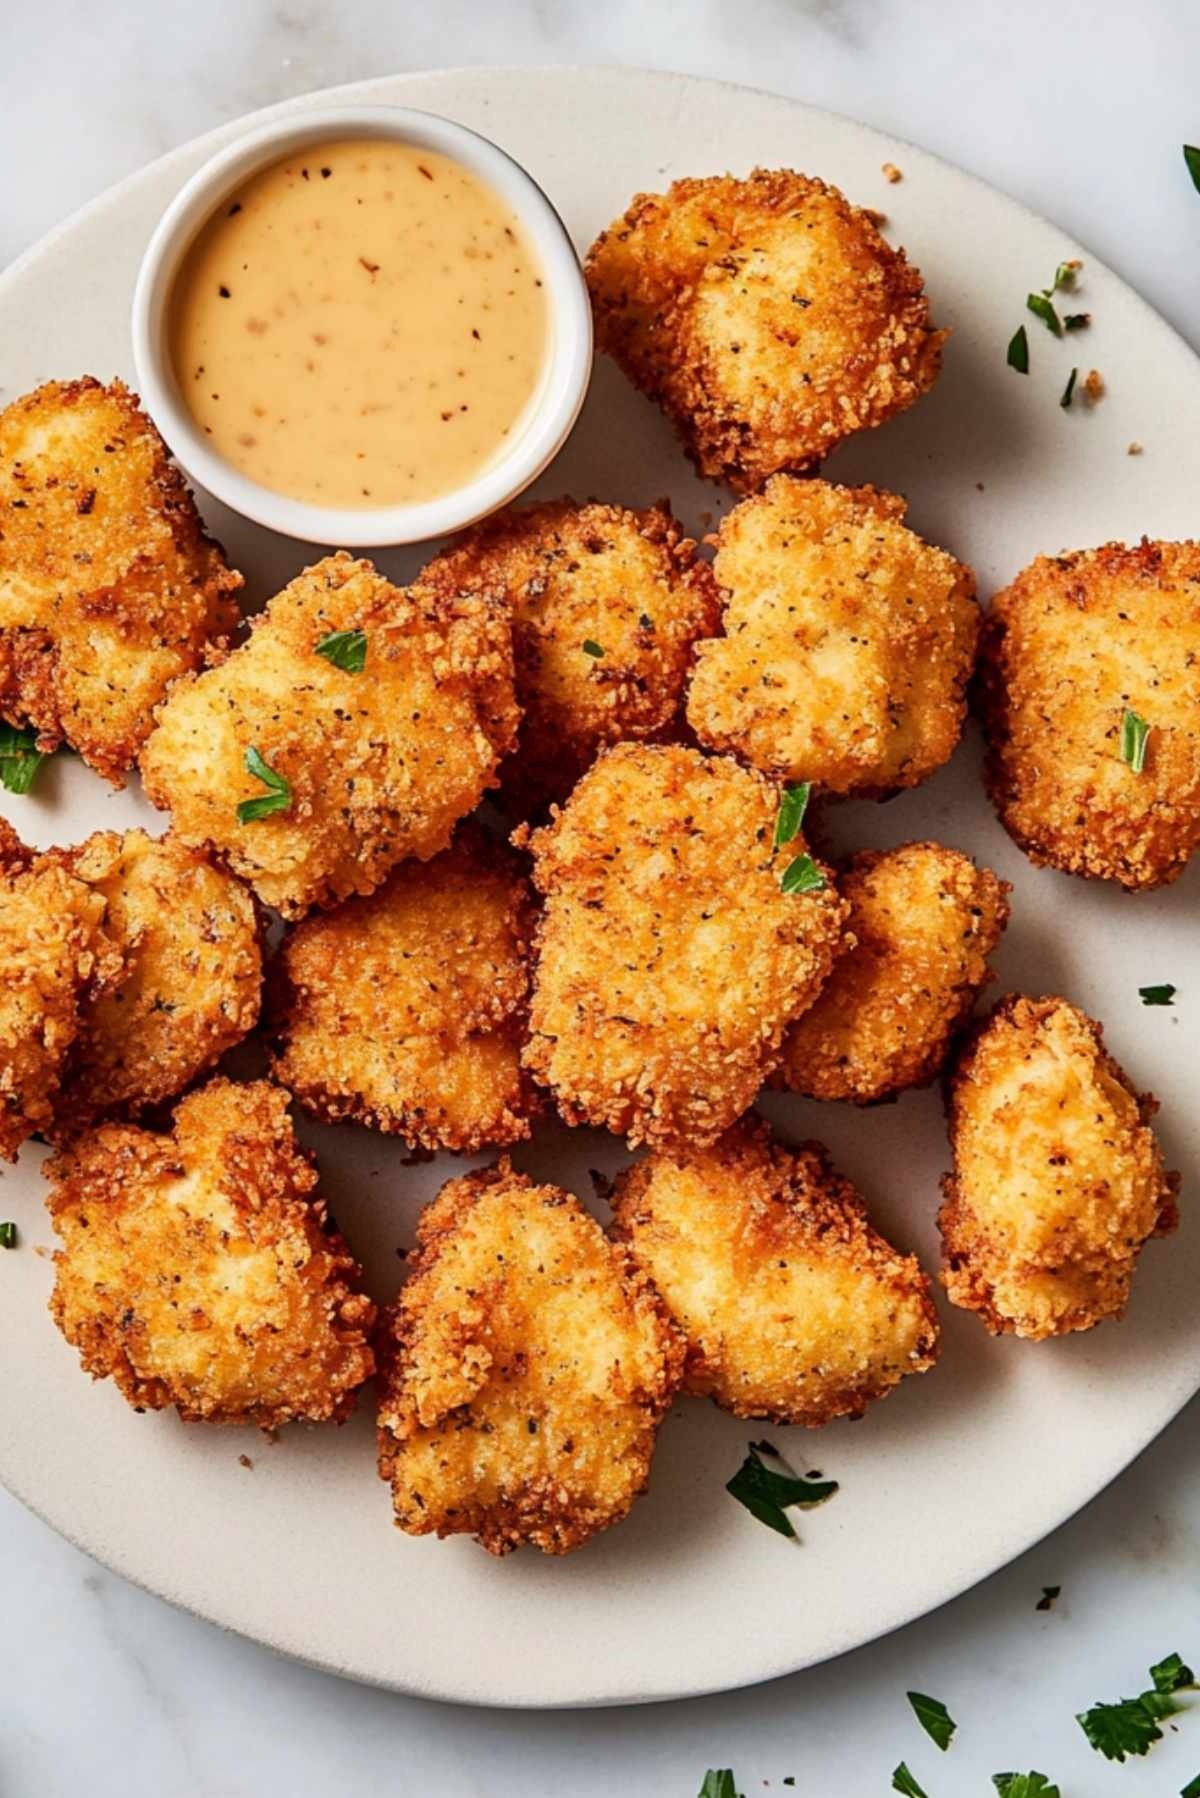
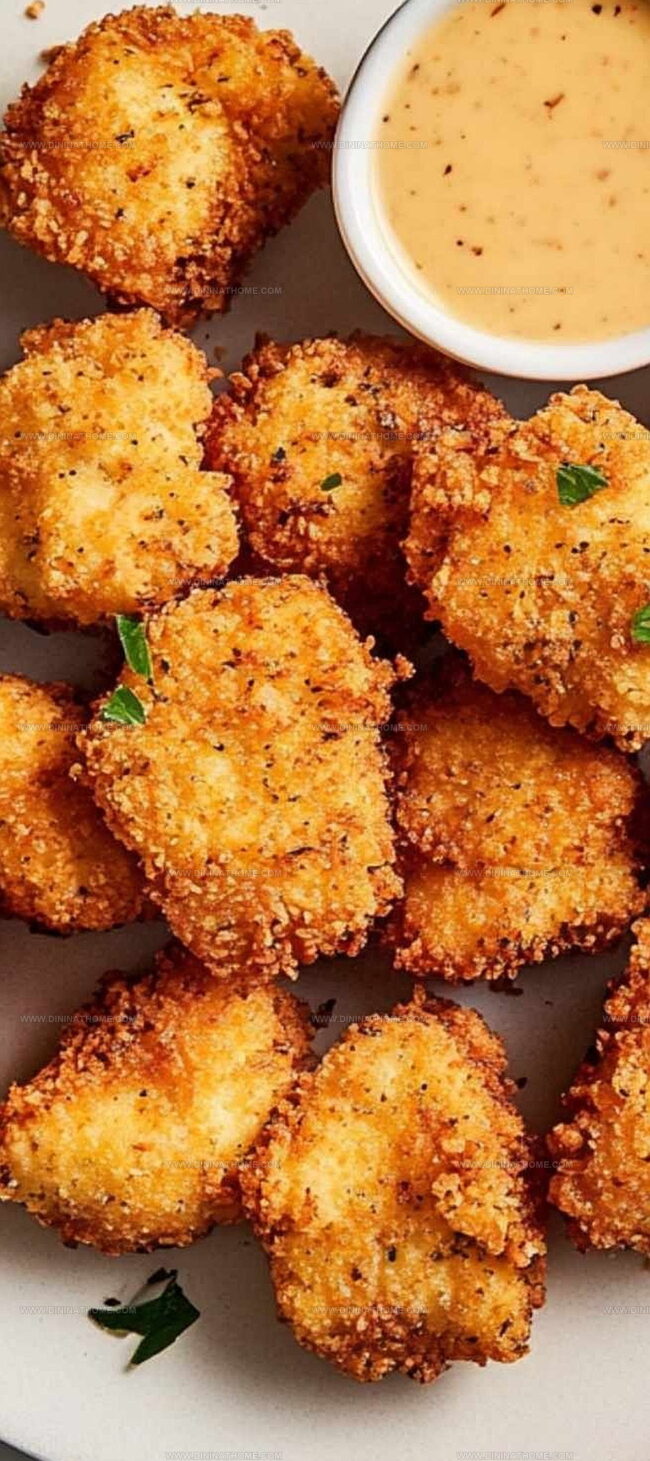
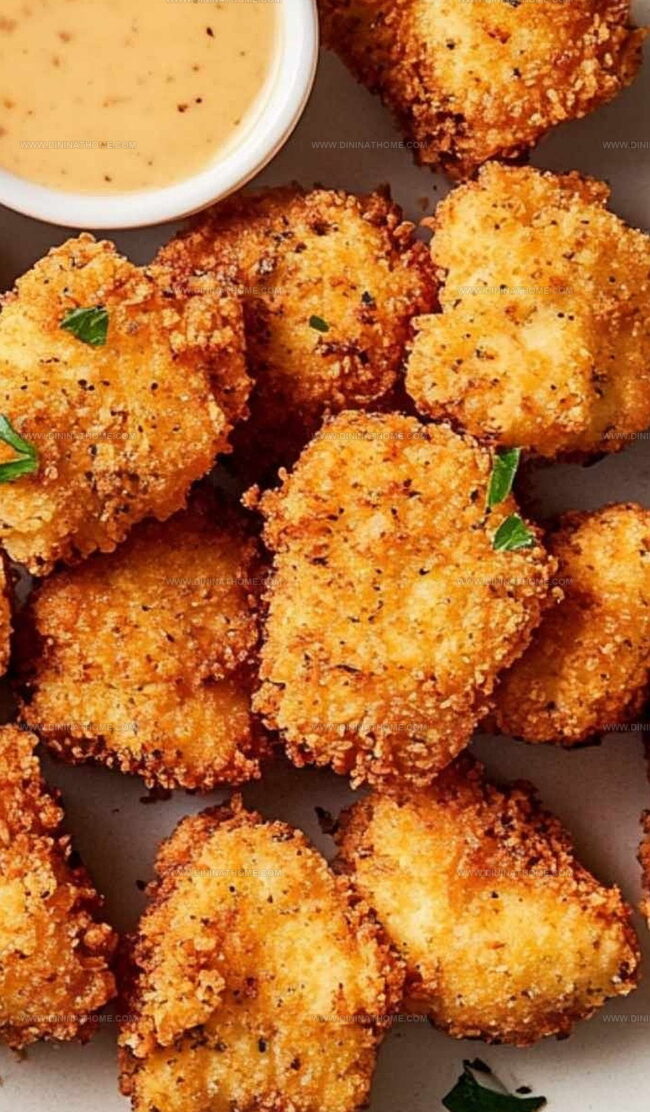
The Perfect Homemade Chicken Nuggets Recipe for Crispy Bites
Have you ever craved crispy homemade chicken nuggets that put store-bought versions to shame?
Neighborhood kitchens buzz with excitement over these golden delights.
Tender chicken pieces coated in a perfectly seasoned breading promise pure comfort.
Simple ingredients and minimal prep time make this recipe a weeknight winner.
Kids and adults alike will devour these crunchy morsels with pure joy.
Minimal kitchen skills can create a crowd-pleasing dish that sparks smiles around the dinner table.
You’ll want to bookmark this recipe for guaranteed culinary success.
Homemade Chicken Nuggets That Even Adults Crave
Must-Haves for Homemade Chicken Nuggets
Protein Base:Flour Coating:Wet Binding Layer:Crunchy Exterior:Cooking Oils:Chicken Nuggets Homemade Frying Steps
Step 1: Prepare Chicken Pieces
Grab your chicken and slice it into bite-sized chunks about an inch big.
Make sure your cutting board and knife are clean and ready for action.
Aim for uniform pieces so they cook evenly and look super appetizing.
Step 2: Create Breading Stations
Set up three separate bowls for your nugget transformation:Step 3: Coat Chicken Completely
Dive into your breading adventure with these steps:
First, roll each chicken piece in the flour mixture, shaking off any excess.
Next, dunk the floured chicken into the egg wash, ensuring full coverage.
Finally, roll the piece in the seasoned breadcrumbs, pressing gently to create a perfect crunchy layer.
Step 4: Choose Your Cooking Method
Frying Option:
Heat oil to 350°F.
Carefully place nuggets in hot oil and cook until golden brown, about 3-4 minutes per side.
Remove and let drain on paper towels.
Oven Baking Option:
Preheat oven to 400°F.
Arrange nuggets on a greased baking sheet.
Lightly spray with oil and bake, flipping midway, until crispy and cooked through, around 20-25 minutes.
Air Fryer Option:
Set air fryer to 375°F.
Arrange nuggets in a single layer, spray with oil, and cook for 10-12 minutes.
Shake the basket halfway through for even cooking.
Nugget Making Tips for Crispy Chicken Bites
Homemade Chicken Nuggets Stored Right
Best Dips and Sides With Chicken Nuggets
Homemade Chicken Nuggets Easy Versions
FAQs
Panko creates a crispier, lighter coating that stays crunchy longer and provides a more delicate texture compared to traditional breadcrumbs.
Yes, you can use chicken breast or chicken thighs. Chicken breast will be leaner, while thighs offer more moisture and flavor.
Follow the three-step coating process carefully: first flour, then egg wash, and finally breadcrumbs. Press the breadcrumbs gently to help them adhere, and let excess drip off between each coating.
While each mixture adds flavor and helps with coating, you can simplify by adjusting seasonings. The key is creating a dry-wet-dry breading sequence for optimal crunch and flavor.
Print
Homemade Chicken Nuggets Recipe
- Total Time: 40 minutes
- Yield: 4 1x
Description
Crispy golden homemade chicken nuggets bring restaurant-style comfort right to your kitchen table. Crunchy exterior and juicy interior make these nuggets an irresistible meal you’ll want to devour again and again.
Ingredients
Protein:
- 1.5 pounds (680 grams) boneless, skinless chicken breast or thighs, cut into bite-sized pieces
Coating Ingredients:
- 0.5 cup (120 milliliters) all-purpose flour
- 1 cup (240 milliliters) panko breadcrumbs
- 2 eggs
- 2 tablespoons (30 milliliters) milk
Seasonings:
- 0.5 teaspoon salt
- 0.5 teaspoon paprika
- 0.5 teaspoon garlic powder
- 0.5 teaspoon black pepper
- Oil for frying (if using frying method)
Instructions
- Transform plump chicken into bite-sized morsels by slicing into uniform 1-inch chunks, ensuring consistent cooking and texture.
- Establish a three-tier coating strategy: First station with seasoned flour mixture incorporating salt and paprika for initial dry layer; second station featuring whisked eggs and milk to help breading adhere; third station combining crispy panko breadcrumbs enhanced with garlic powder and black pepper for ultimate crunch.
- Execute precise coating technique: Thoroughly dredge chicken pieces through flour, meticulously shaking off excess; submerge completely in egg mixture ensuring comprehensive coverage; gently roll in seasoned breadcrumbs, applying gentle pressure to create a robust, even exterior.
- Select preferred cooking method: For traditional frying, submerge nuggets in oil heated to 350°F, cooking until exterior achieves golden-brown perfection and interior reaches safe temperature; alternatively, opt for oven-baking by arranging on greased sheet, lightly misting with oil, and roasting at 400°F, rotating midway; for health-conscious preparation, utilize air fryer at 375°F, arranging in single layer and intermittently shaking to guarantee uniform crispiness.
- Upon completion, allow nuggets brief resting period on absorbent surfaces to eliminate excess oil, ensuring maximum crispness and optimal serving temperature.
Notes
- Ensure chicken pieces are uniform in size for even cooking and consistent texture.
- Pat chicken dry before breading to help coating stick better and achieve crispier results.
- Add extra spices like cayenne or smoked paprika to breadcrumb mixture for bolder flavor profiles.
- Create gluten-free version by substituting regular flour with almond or rice flour and using gluten-free breadcrumbs.
- Prep Time: 15 minutes (excluding 30 minutes for soaking)
- Cook Time: 25 minutes
- Category: Lunch, Dinner, Snacks
- Method: Frying
- Cuisine: American
Nutrition
- Serving Size: 4
- Calories: 360
- Sugar: 1 g
- Sodium: 300 mg
- Fat: 18 g
- Saturated Fat: 3 g
- Unsaturated Fat: 12 g
- Trans Fat: 0 g
- Carbohydrates: 30 g
- Fiber: 1 g
- Protein: 26 g
- Cholesterol: 120 mg
Emily Harper
Nutrition Consultant & Recipe Analyst
Expertise
Healthy Recipe Modification, Nutritional Analysis & Meal Planning, Global Cuisine & Dietary Adaptations
Education
School: French Pastry School, Chicago, IL
Program: L’Art de la Pâtisserie
Focus: Intensive training in traditional French pastry techniques, baking theory, and confectionery arts.
Emily’s journey started in a pastry kitchen but took a detour into the world of health and flavor science.
Graduating from the French Pastry School and studying nutrition opened her eyes to a new mission: making healthy food taste like something you’d actually crave.
At Dining At Home, Emily’s the go-to for smart, feel-good recipes that don’t trade flavor for nutrition.
She’s all about adding a fresh spin on old favorites and finding small ways to make everyday meals a little brighter.
Outside of the kitchen, Emily is most at home walking forest trails, testing plant-based recipes, or sharing a picnic under a wide-open sky.