The Sweetest Homemade Cherry Pie Recipe for Summer Joy
Sweet summer memories dance through my homemade cherry pie recipe, a delightful journey into comfort and nostalgia.
Juicy red cherries burst with sunlight-ripened flavor from local orchards.
Grandma’s secret techniques blend perfectly with modern baking approaches.
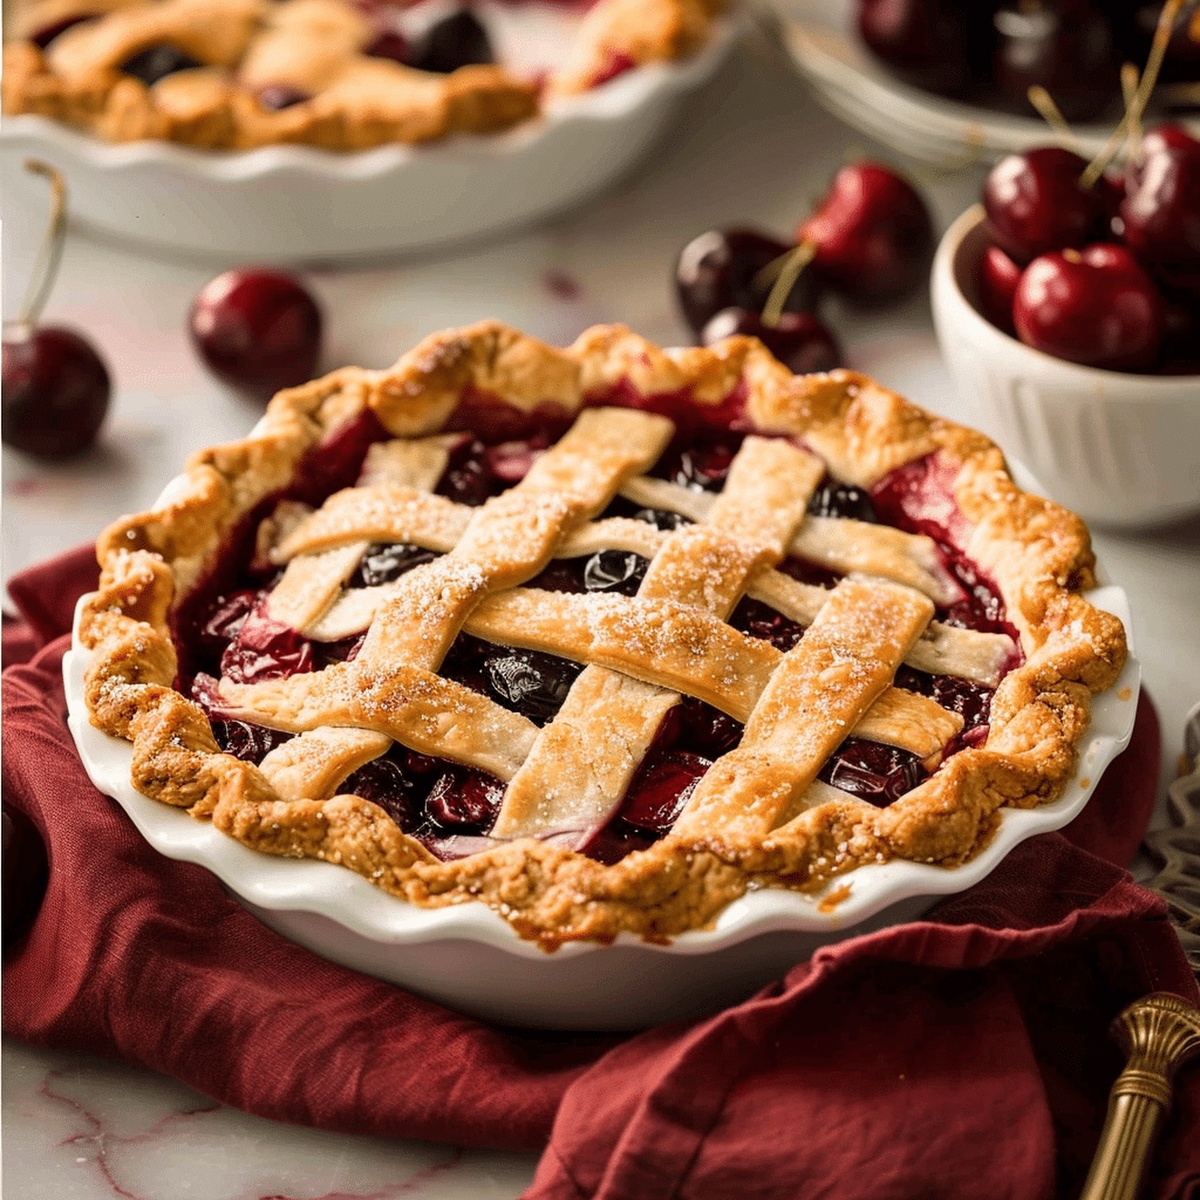
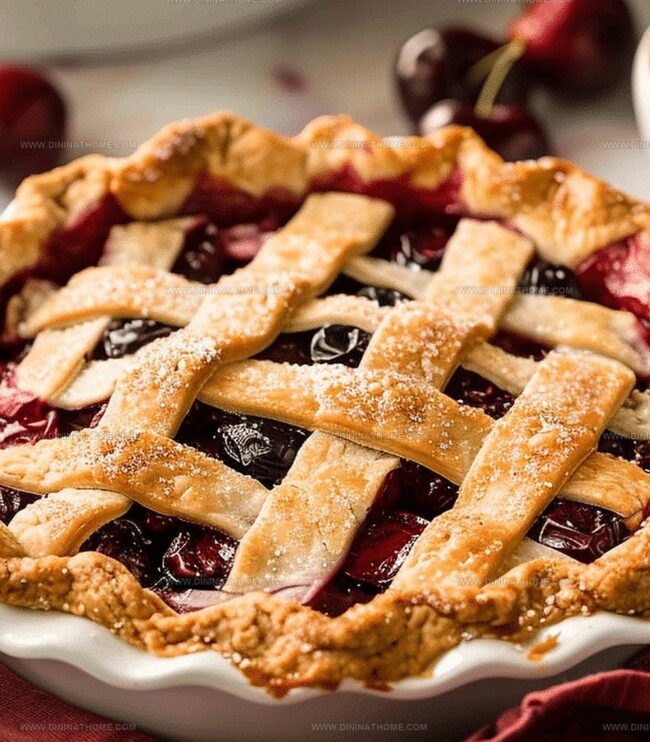
Delicate pastry crusts promise a golden, flaky embrace around luscious fruit filling.
Baking this pie feels like wrapping yourself in a warm culinary hug.
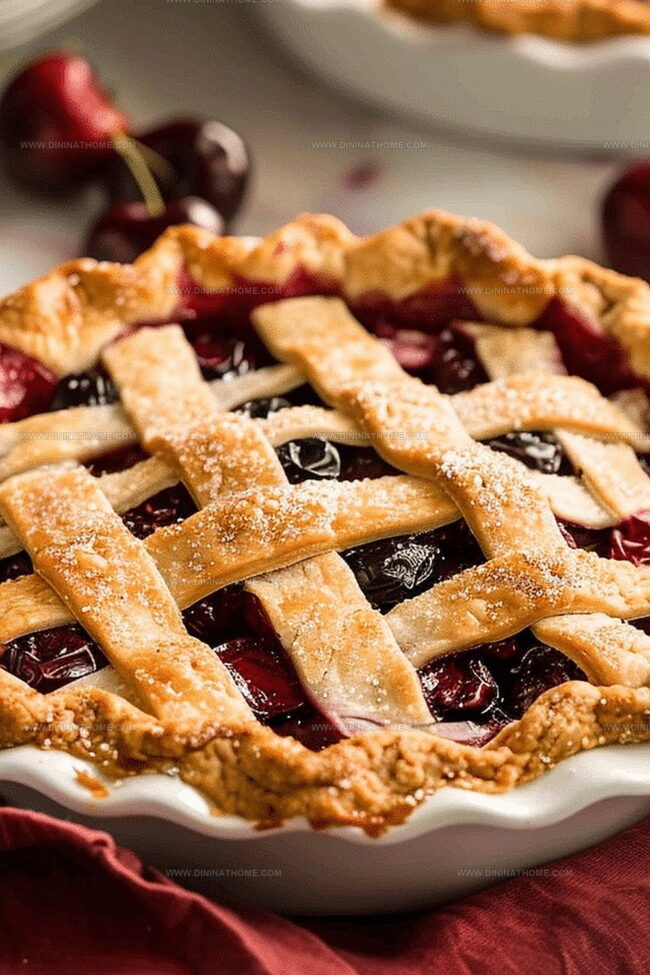
Crisp edges and bubbling center signal a dessert that whispers pure delight.
Prepare to experience a slice of happiness that connects generations through one incredible treat.
Homemade Cherry Pie That Never Disappoints
Savor Simplicity: An Easy Homemade Cherry Pie Experience
What You Mix Into Homemade Cherry Pie
Pie Crust:Filling Base:Egg Wash and Topping:Homemade Cherry Pie Step-by-Step
Step 1: Prepare Pie Crust Dough
Create a delightful homemade pie crust using your favorite recipe.
Divide the dough into two equal portions, wrap each disc in plastic wrap, and refrigerate to keep cool and firm.
Step 2: Warm Up the Oven
Fire up your oven to a toasty 400°F.
Take one dough disc and roll it out carefully, then gently drape it into a 9-inch pie dish, ensuring it nestles perfectly along the bottom and sides.
Step 3: Create Luscious Cherry Filling
Grab a spacious mixing bowl and combine your ingredients:Stir everything together until the cherries are beautifully coated and the mixture looks glossy and inviting.
Step 4: Fill the Pie Crust
Pour the cherry mixture into your prepared pie crust.
Dot the top of the filling with small butter cubes to add extra richness and flavor.
Step 5: Add the Top Crust
Roll out the second dough disc and carefully place it over the cherry filling.
Trim the edges and use your fingers to create a beautiful crimped seal that locks in all the delicious juices.
Step 6: Prepare for Baking
Brush the top crust with an egg wash for a gorgeous golden shine.
Sprinkle coarse sugar on top if you want some extra crunch and sweetness.
Cut several slits across the top to allow steam to escape during baking.
Step 7: Bake to Perfection
Slide the pie into the preheated oven and bake for 45-55 minutes.
You’ll know it’s ready when the crust turns a beautiful golden brown and the filling begins to bubble temptingly.
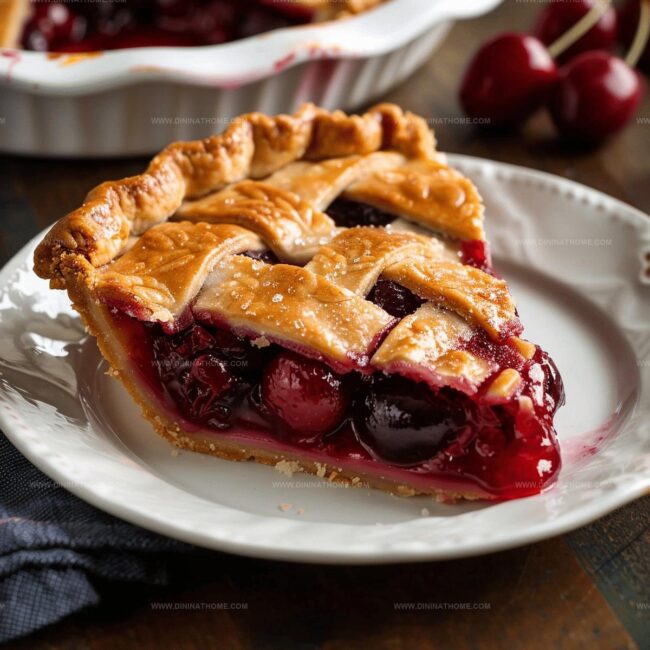
Step 8: Cool and Serve
Remove the pie from the oven and let it cool completely.
This allows the filling to set and makes slicing much easier.
Serve and watch everyone’s eyes light up with delight!
Pro Tips for Homemade Cherry Pie
Homemade Cherry Pie – Preserve Flavor and Texture
Serve with Homemade Cherry Pie
Perfectly Pair Cherry Pie with:Homemade Cherry Pie Recipe Inspiring New Versions
FAQs
Yes, you can use frozen cherries. Thaw and drain them completely before mixing with other ingredients to prevent excess liquid in the pie.
Brush the bottom crust with egg white before adding the filling. This creates a barrier that helps keep the crust crisp and prevents soaking from the cherry filling.
You can omit almond extract without significantly changing the pie’s flavor. If you want a similar depth, add a small pinch of cinnamon or use vanilla extract alone.
Look for a golden brown crust and bubbling filling around the edges. The filling should look thick and not watery when the pie is done baking.
Print
Homemade Cherry Pie Recipe
- Total Time: 1 hour 25 minutes
- Yield: 8 1x
Description
Sweet, tart cherries nestled in a flaky homemade Cherry Pie crust create a classic dessert that whispers summer memories. Bakers can savor each buttery slice, celebrating seasonal fruit with a golden, crisp lattice top that promises pure nostalgic comfort.
Ingredients
Fruit and Filling:
- 6 cups (900 grams) fresh cherries
- 3/4 cup (150 grams) granulated sugar
- 4 tablespoons (60 milliliters) cornstarch
- 1 tablespoon (15 milliliters) lemon juice
- 1/4 teaspoon salt
Pie Crust:
- 2 1/2 cups (313 grams) all-purpose flour
- 1 teaspoon salt
- 1 tablespoon (15 grams) granulated sugar
- 1 cup (227 grams) unsalted butter, cold
- 1/2 cup (120 milliliters) ice water
Finishing:
- 1 large egg
- 1 tablespoon (15 milliliters) milk
- 2 tablespoons (30 grams) coarse sugar
Instructions
- Craft two pastry discs using a preferred dough technique, refrigerate to firm the texture and enhance flakiness.
- Heat oven to a precise 400°F, ensuring optimal baking environment for pie transformation.
- Gently unroll first pastry disc and nestle into a 9-inch pie vessel, creating a smooth foundation for the fruity filling.
- Blend fresh cherries with granulated sweetener, powdery cornstarch, citrus essence, aromatic vanilla, and delicate almond extract in a generous mixing bowl.
- Transfer the vibrant cherry mixture into the prepared pastry shell, strategically placing small butter fragments across the surface for rich, creamy undertones.
- Drape the second pastry disc atop the glistening filling, carefully trimming excess edges and creating an elegant crimped border to seal the delectable contents.
- Delicately paint the upper crust with whisked egg, then dust with crystalline sugar for a glistening, caramelized finish.
- Artfully slice subtle venting slits across the pie’s crown, allowing steam to escape and preventing potential structural compromise.
- Position in preheated oven, baking for approximately 45-55 minutes until the crust transforms into a golden-brown masterpiece and the filling erupts in tempting, bubbling waves.
- Permit the pie to gradually cool, allowing flavors to harmonize and settle before presenting this magnificent dessert.
Notes
- Chill the dough thoroughly to prevent shrinkage and ensure a flaky, tender crust that melts in your mouth.
- Use fresh, ripe cherries for the most vibrant flavor, or opt for high-quality frozen cherries during off-season months.
- Adjust sugar levels based on cherry sweetness; taste the filling before baking to balance tartness and sweetness perfectly.
- Create a gluten-free version by substituting regular flour with almond or coconut flour in the crust for a delightful alternative.
- Prep Time: 30 minutes
- Cook Time: 55 minutes
- Category: Desserts
- Method: Baking
- Cuisine: American
Nutrition
- Serving Size: 8
- Calories: 200
- Sugar: 5g
- Sodium: 150mg
- Fat: 10g
- Saturated Fat: 3g
- Unsaturated Fat: 7g
- Trans Fat: 0g
- Carbohydrates: 25g
- Fiber: 1g
- Protein: 3g
- Cholesterol: 20mg
Emily Harper
Nutrition Consultant & Recipe Analyst
Expertise
Healthy Recipe Modification, Nutritional Analysis & Meal Planning, Global Cuisine & Dietary Adaptations
Education
School: French Pastry School, Chicago, IL
Program: L’Art de la Pâtisserie
Focus: Intensive training in traditional French pastry techniques, baking theory, and confectionery arts.
Emily’s journey started in a pastry kitchen but took a detour into the world of health and flavor science.
Graduating from the French Pastry School and studying nutrition opened her eyes to a new mission: making healthy food taste like something you’d actually crave.
At Dining At Home, Emily’s the go-to for smart, feel-good recipes that don’t trade flavor for nutrition.
She’s all about adding a fresh spin on old favorites and finding small ways to make everyday meals a little brighter.
Outside of the kitchen, Emily is most at home walking forest trails, testing plant-based recipes, or sharing a picnic under a wide-open sky.