
Sweet Summer Magic: Homemade Cherry Jam Recipe Everyone Loves
Sweet summer memories burst through every spoonful of this homemade cherry jam that connects generations of kitchen wizards.
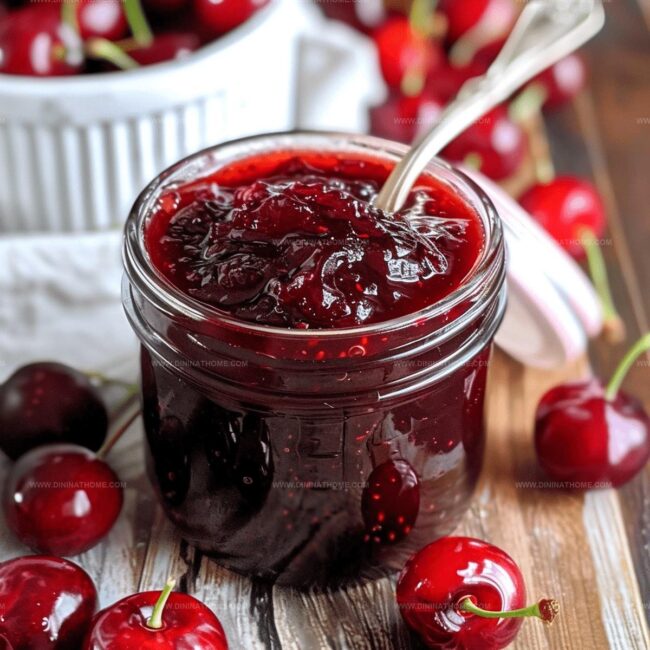
Ripe cherries from local orchards shine in this simple preserve.
Grandma’s wooden spoon and patience whisper through each carefully crafted batch.
Pectin and sugar dance together, creating a vibrant spread that captures seasonal magic.
Pure ingredients and minimal processing ensure an authentic taste experience.
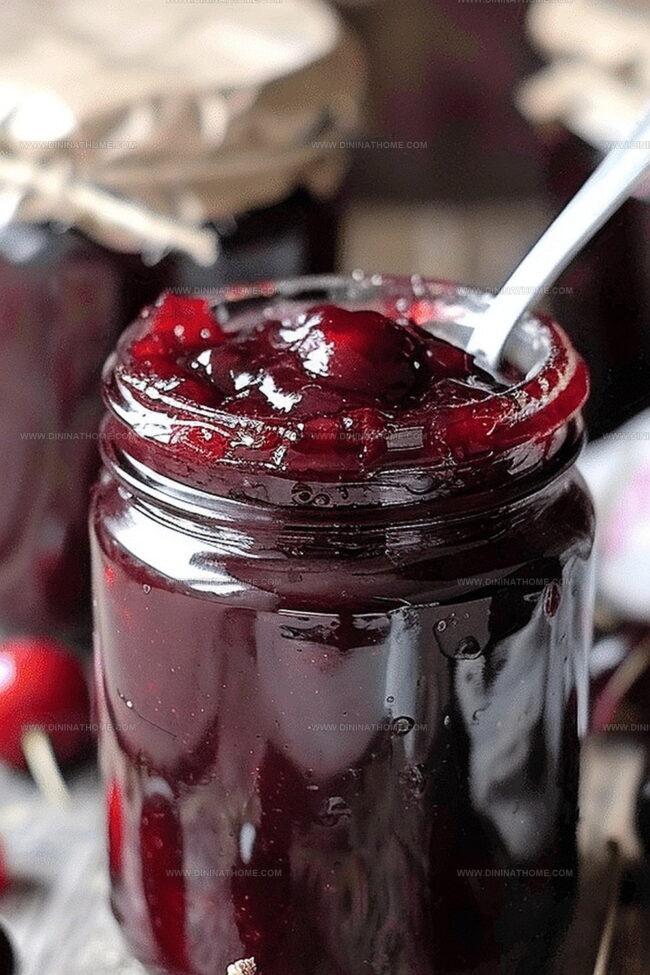
Smooth crimson goodness awaits you on warm toast or delicate pastries.
Each jar promises a delectable journey into pure, concentrated fruit bliss.
Homemade Cherry Jam That’s Sweet And Simple
What You Need For Cherry Jam At Home
Fruit Base:Sugar and Sweeteners:Optional Enhancers:Homemade Cherry Jam Steps
Step 1: Prepare Fresh Cherries
Wash the cherries thoroughly under cool running water.
Remove the pits carefully using a cherry pitter or a small knife.
Chop the cherries into small, bite-sized pieces to help them break down easily during cooking.
Step 2: Create Jam Base
Grab a large, heavy-bottomed pot and combine:Mix the ingredients gently to ensure even distribution.
Step 3: Bring to Boiling Point
Place the pot on the stove over medium heat.
Stir the mixture continuously to prevent sticking and ensure even cooking.
Watch as the cherries start to release their juices and the mixture begins to bubble.
Step 4: Enhance Flavor
Add a splash of:Stir these ingredients into the bubbling cherry mixture.
Step 5: Cook to Perfection
Continue cooking, stirring frequently to prevent burning.
The mixture will slowly thicken and become less liquid-like.
This process typically takes about 20-25 minutes.
Step 6: Check Jam Consistency
Perform the gel test by placing a small spoonful of the jam on a chilled plate.
Let it sit for a moment.
If the jam wrinkles when you push it with your finger, it’s ready to be jarred.
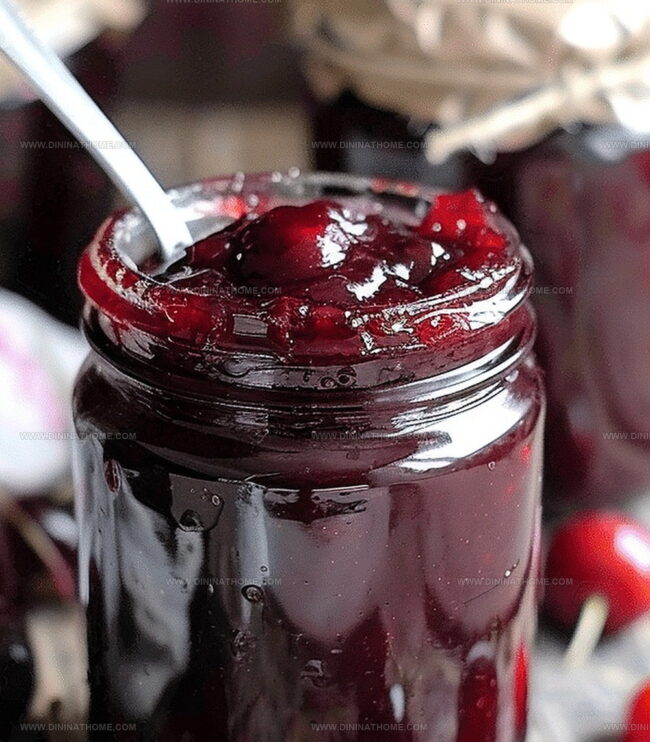
Step 7: Jar the Jam
Carefully ladle the hot jam into clean, sterilized glass jars.
Leave about 1/4 inch of space at the top to allow for expansion during cooling.
Step 8: Seal and Cool
Wipe the jar rims clean with a damp cloth.
Secure the lids tightly.
Allow the jars to cool completely at room temperature.
Step 9: Store and Enjoy
Once cooled, store the jam in a cool, dark pantry if you plan to use it within a few weeks.
For longer storage, keep the jars in the refrigerator.
Smart Tips for Homemade Cherry Jam
Homemade Cherry Jam – Best Storage for Long-Lasting Freshness
What to Eat with Homemade Cherry Jam
Homemade Cherry Jam Recipe Different Blend Options
FAQs
Sweet cherries like Bing or Rainier are ideal because they have higher sugar content and provide a rich, deep flavor for homemade jam.
No, you only need a large pot, wooden spoon, cherry pitter, and some sterilized jars. A candy thermometer can help but isn’t absolutely necessary.
Use pectin or cook the jam longer to achieve the right thickness. Adding lemon juice helps activate pectin naturally and helps the jam set properly.
While you can slightly reduce sugar, too little sugar can prevent proper setting and may impact preservation. Consider using low-sugar pectin if you want to lower sugar content.
Print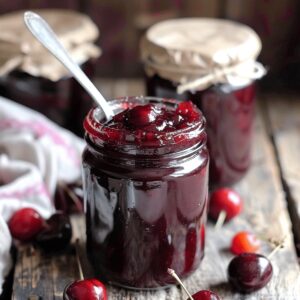
Homemade Cherry Jam Recipe
- Total Time: 1 hour
- Yield: 8 1x
Description
Sweet summer cherries dance in this classic homemade cherry jam, bringing robust flavor and rich crimson color to breakfast tables. Preserving fresh fruit becomes simple with careful cooking and easy canning techniques that connect you directly to seasonal garden delights.
Ingredients
Main Fruits:
- 1 kg (2 lbs) pitted cherries
Sweeteners and Flavor Enhancers:
- 400–500 grams (1 lb) white sugar
- 1 tablespoon (15 milliliters) lemon juice
- 1 teaspoon (5 milliliters) vanilla extract (optional)
Optional Ingredients:
- 1 tablespoon (15 grams) butter (optional)
- Pectin (optional)
Instructions
- Rinse fresh cherries thoroughly under cool running water, then carefully remove the pits using a cherry pitter or a small knife, ensuring no stems remain.
- Chop the pitted cherries into uniform, small pieces to promote even cooking and consistent texture throughout the jam.
- Transfer the chopped cherries into a sturdy, heavy-bottomed saucepan, mixing in granulated sugar and freshly squeezed lemon juice to enhance flavor and help with natural pectin development.
- Position the saucepan over medium-high heat, stirring the mixture continuously to prevent scorching and promote even sugar dissolution.
- Allow the cherry mixture to reach a rolling boil, maintaining a vigorous stirring pattern to prevent sticking and ensure proper heat distribution.
- Incorporate vanilla extract and a small amount of unsalted butter to balance flavors and reduce potential foaming during the cooking process.
- Continue cooking, reducing heat slightly, and monitor the mixture’s consistency, stirring frequently to prevent burning and promote thickening.
- Perform a gel test by placing a small spoonful of the jam on a pre-chilled ceramic plate; if the jam wrinkles when pushed and doesn’t immediately run, it has reached the perfect setting point.
- Carefully ladle the hot jam into sterilized glass jars, leaving approximately half an inch of headspace to allow for potential expansion during cooling.
- Securely seal the jars with clean lids, then allow them to cool completely at room temperature, creating a vacuum seal.
- Once cooled, store the jam in a dark, cool pantry or refrigerate to maintain optimal flavor and prevent spoilage.
Notes
- Choose ripe, sweet cherries for the most flavorful jam, avoiding overripe or bruised fruits.
- Remove stems and pit cherries carefully to prevent any hard pieces in the final preserve.
- Use a candy thermometer to ensure the jam reaches the perfect consistency around 220°F for optimal setting.
- Swap white sugar with coconut sugar or honey for a lower-glycemic alternative that adds depth to the flavor profile.
- Prep Time: 30 minutes
- Cook Time: 30 minutes
- Category: Snacks, Breakfast, Desserts
- Method: Boiling
- Cuisine: American
Nutrition
- Serving Size: 8
- Calories: 140
- Sugar: 18 g
- Sodium: 1 mg
- Fat: 0 g
- Saturated Fat: 0 g
- Unsaturated Fat: 0 g
- Trans Fat: 0 g
- Carbohydrates: 36 g
- Fiber: 1 g
- Protein: 0.3 g
- Cholesterol: 0 mg
Emily Harper
Nutrition Consultant & Recipe Analyst
Expertise
Healthy Recipe Modification, Nutritional Analysis & Meal Planning, Global Cuisine & Dietary Adaptations
Education
School: French Pastry School, Chicago, IL
Program: L’Art de la Pâtisserie
Focus: Intensive training in traditional French pastry techniques, baking theory, and confectionery arts.
Emily’s journey started in a pastry kitchen but took a detour into the world of health and flavor science.
Graduating from the French Pastry School and studying nutrition opened her eyes to a new mission: making healthy food taste like something you’d actually crave.
At Dining At Home, Emily’s the go-to for smart, feel-good recipes that don’t trade flavor for nutrition.
She’s all about adding a fresh spin on old favorites and finding small ways to make everyday meals a little brighter.
Outside of the kitchen, Emily is most at home walking forest trails, testing plant-based recipes, or sharing a picnic under a wide-open sky.