Spooky Halloween Monster Cookies Recipe for Festive Baking
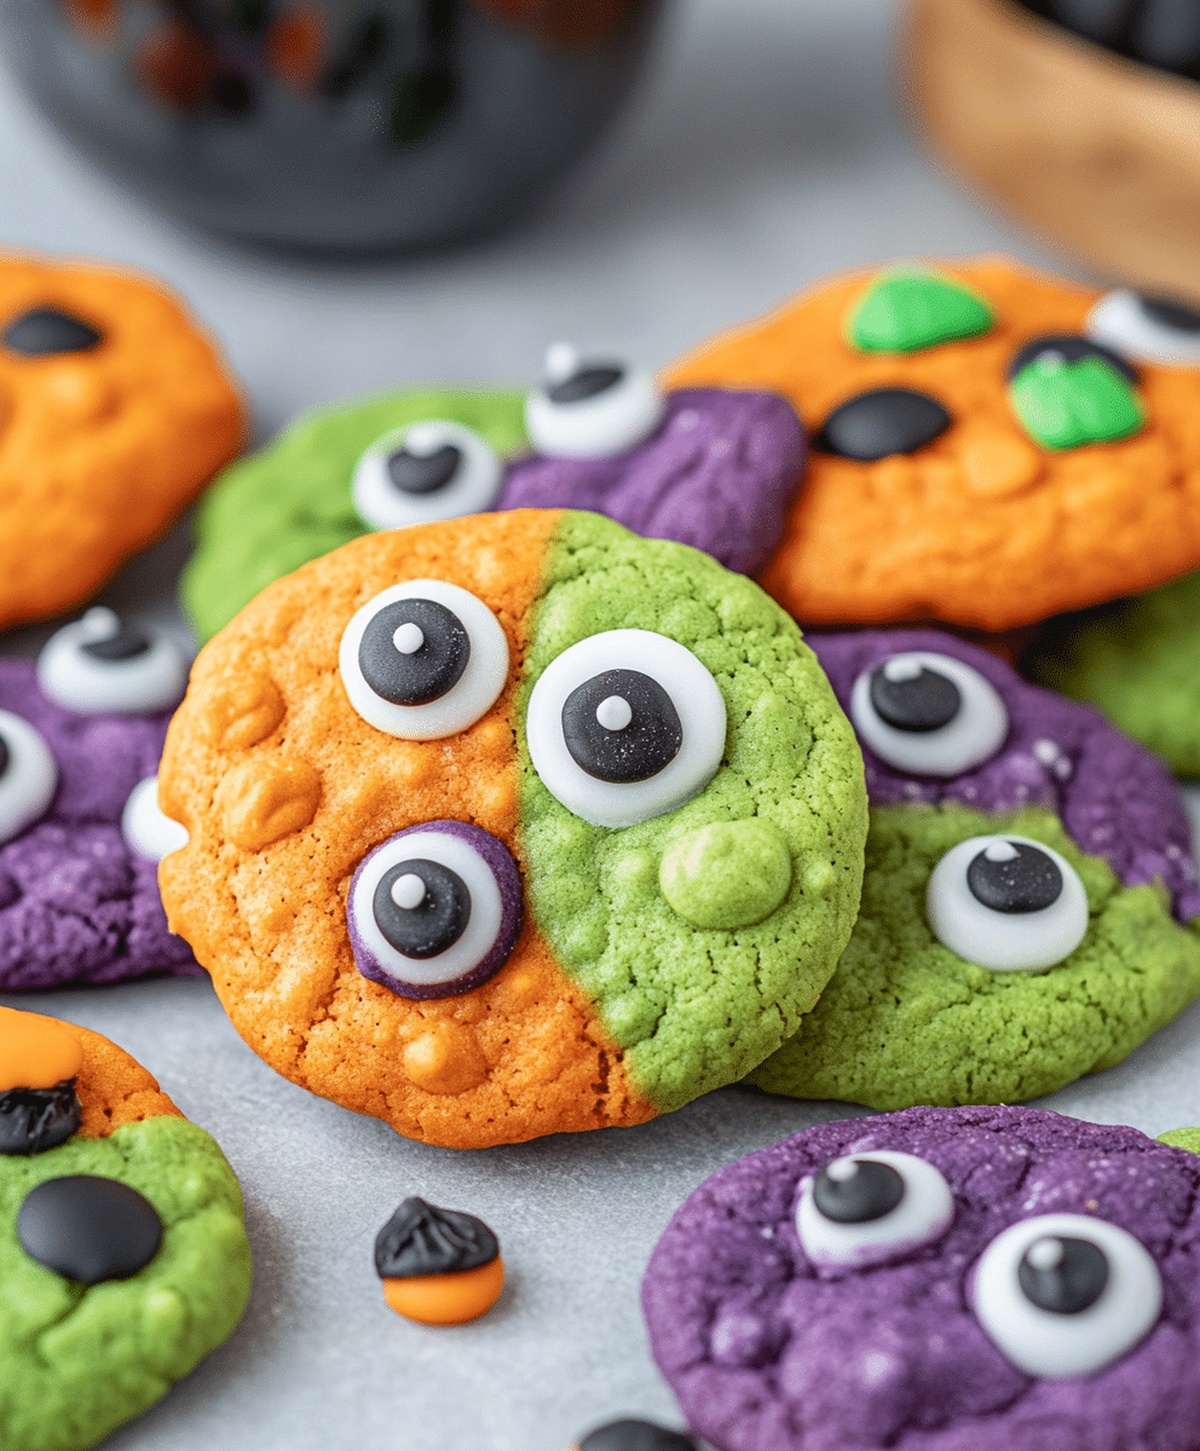
Crafting spooky halloween monster cookies brings pure magical delight to any festive gathering.
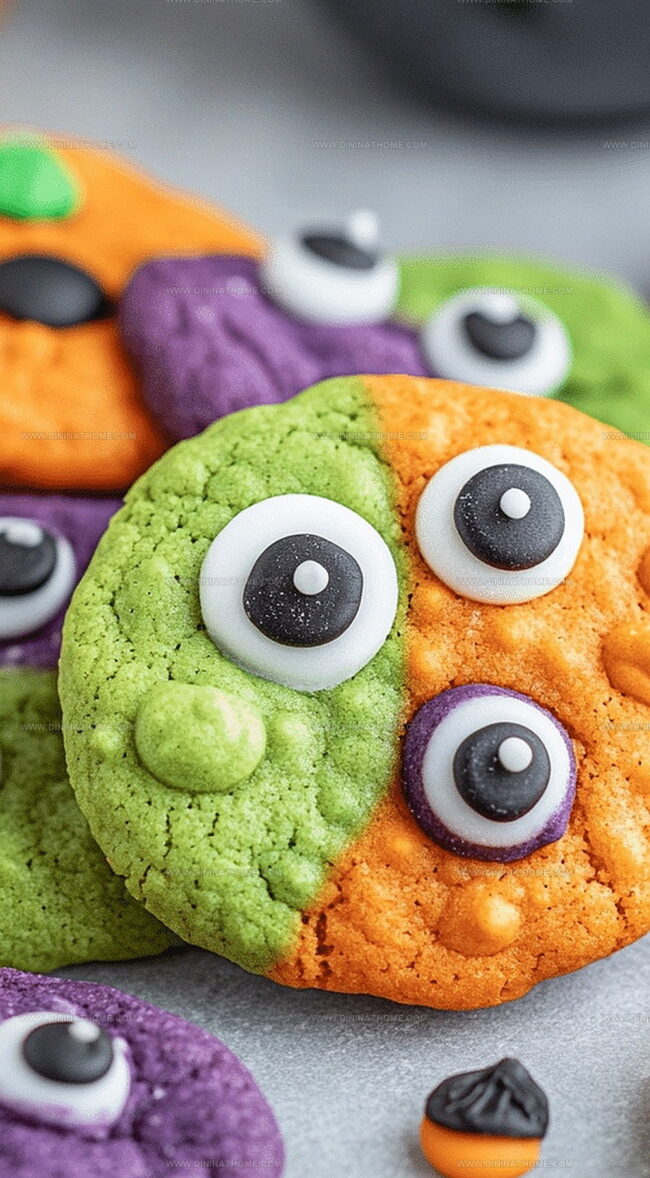
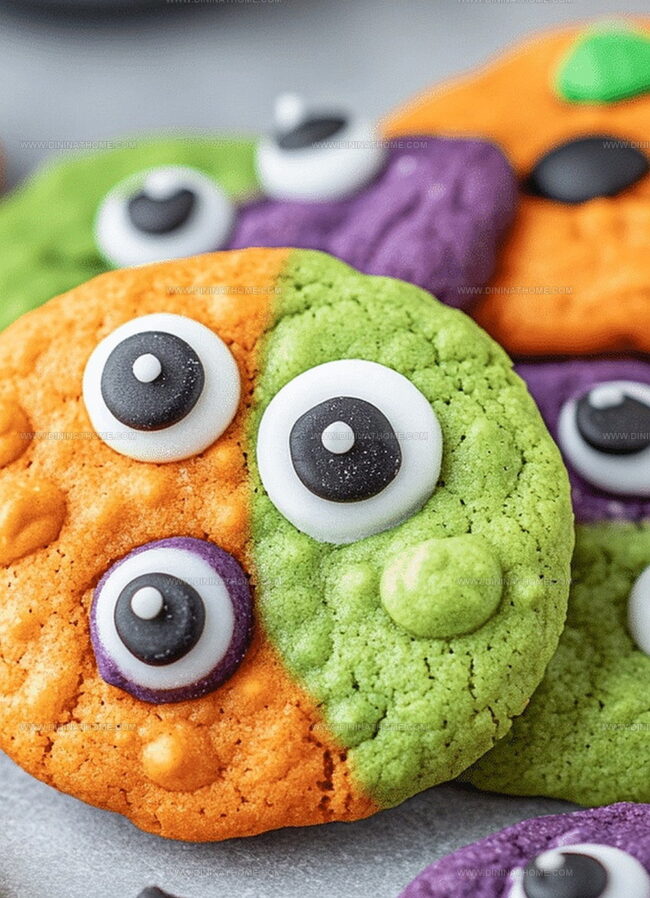
Colorful candy eyes peek out from deliciously soft cookie landscapes.
Sweet chocolate chips create unexpected monster features that spark imagination.
Kids absolutely adore decorating these playful treats with wild frosting designs.
Little bakers can transform ordinary cookies into quirky creature masterpieces.
Decorative sprinkles and creative icing techniques make each monster unique.
You’ll love how simple ingredients become spectacular Halloween entertainment that delights everyone at the party.
Halloween Monster Cookies Are Spooky And Sweet
What Goes Into Halloween Monster Cookies
Halloween Base Ingredients:Sweeteners:Binding Ingredients:Dry Ingredients:Flavor Enhancers:Decorative Element:Monster Cookies For Halloween Baking Plan

Step 1: Prepare the Oven
Heat your oven to 350°F and line a baking sheet with parchment paper for easy cleanup and perfect cookie removal.
Step 2: Blend Creamy Base
In a large mixing bowl, combine the ingredients for a smooth, rich base:Cream these ingredients together until they form a fluffy, well-mixed mixture.
Step 3: Add Wet Ingredients
Incorporate the liquid elements to bring moisture and flavor:Mix thoroughly until the ingredients are completely blended and create a smooth consistency.
Step 4: Mix Dry Ingredients
In a separate bowl, whisk together the dry components:Ensure all ingredients are evenly distributed with no lumps.
Step 5: Combine Wet and Dry Mixtures
Gradually fold the dry ingredients into the wet mixture.
Stir gently but thoroughly to create a cohesive cookie dough.
Step 6: Add Chocolate Excitement
Fold in chocolate chips to create delightful bursts of sweetness throughout the cookies.
Step 7: Shape Monstrous Cookies
Scoop spoonfuls of dough onto the prepared baking sheet, leaving space between each cookie.
Step 8: Create Spooky Faces
Place candy eyes on top of each cookie to transform them into adorable monster faces.
Step 9: Bake to Perfection
Place the baking sheet in the preheated oven and bake for 10-12 minutes.
Look for golden brown edges as a sign of doneness.
Step 10: Cool and Serve
Transfer the cookies to a wire rack and let them cool completely.
The cookies will firm up as they cool, creating the perfect monster treat.
Halloween Monster Cookies – Baking Tips That Help
How to Store and Reheat Halloween Monster Cookies Safely
Monster Cookies Snack Matches
Monster Cookies for Halloween Fun Ideas
FAQs
No, peanut butter is a key ingredient that provides the signature flavor and texture. Substituting it would significantly change the recipe’s outcome.
Not in the original recipe. The flour makes them contain gluten. To make them gluten-free, you’d need to replace wheat flour with a gluten-free alternative like almond or oat flour.
Chill the dough for 30 minutes before baking. This helps the cookies maintain their shape and prevents excessive spreading during baking.
Absolutely! Kids can help add candy eyes, mix ingredients, and drop spoonfuls of dough onto the baking sheet. It’s a fun, easy recipe for family baking.
Print
Halloween Monster Cookies Recipe
- Total Time: 27 minutes
- Yield: 24 1x
Description
Spooky Halloween Monster Cookies bring playful fright to your festive dessert table, blending ghoulish charm with delectable sweetness. Colorful candy eyes and sprinkled monster details create an irresistible treat you’ll crave long after the Halloween season ends.
Ingredients
Main Ingredients:
- 1 cup (240 ml) peanut butter
- 1/2 cup (113 g) unsalted butter, softened
- 2 eggs
- 1 cup (200 g) granulated sugar
- 1 cup (220 g) brown sugar
- 2 cups (240 g) all-purpose flour
- 1 cup (90 g) rolled oats
Flavor Enhancers:
- 1 teaspoon vanilla extract
- 1 cup (170 g) chocolate chips
Leavening Agent:
- 1 teaspoon baking soda
Decoration:
- Candy eyes
Instructions
- Prepare the oven environment by heating to 350°F (175°C), ensuring an optimal baking temperature for monster cookies.
- In a spacious mixing vessel, thoroughly blend peanut butter, softened butter, and both sugar varieties until achieving a smooth, consistent texture.
- Incorporate eggs and vanilla extract, gently stirring until ingredients are fully integrated and the mixture appears homogeneous.
- Create a separate mixing container to combine dry ingredients: flour, baking soda, and rolled oats, whisking them together to distribute evenly.
- Methodically introduce the dry ingredient mixture into the wet ingredients, stirring carefully to prevent overmixing and maintain a balanced cookie dough consistency.
- Fold chocolate chips into the prepared dough, distributing them uniformly throughout the mixture.
- Arrange parchment paper on a baking sheet, then delicately deposit rounded spoonfuls of dough, leaving adequate spacing between each cookie.
- Embellish each cookie’s surface with playful candy eyes, transforming ordinary cookies into whimsical monster-themed treats.
- Transfer the decorated cookie sheet into the preheated oven, allowing cookies to bake for 10-12 minutes until edges turn golden and centers appear set.
- Remove from oven and transfer cookies to a wire cooling rack, permitting them to reach room temperature before serving or storing.
Notes
- Use room temperature ingredients to ensure smooth mixing and consistent cookie texture.
- Chill dough for 30 minutes before baking to prevent excessive spreading and maintain cookie shape.
- Swap peanut butter with sunflower seed butter for nut-free version, perfect for school or allergy-friendly settings.
- Press candy eyes gently into cookies immediately after baking while they’re still warm for better adhesion.
- Prep Time: 15 minutes
- Cook Time: 12 minutes
- Category: Snacks, Desserts
- Method: Baking
- Cuisine: American
Nutrition
- Serving Size: 24
- Calories: 220
- Sugar: 14 g
- Sodium: 150 mg
- Fat: 10 g
- Saturated Fat: 4 g
- Unsaturated Fat: 6 g
- Trans Fat: 0 g
- Carbohydrates: 30 g
- Fiber: 2 g
- Protein: 5 g
- Cholesterol: 25 mg
James Walker
Lead Recipe Developer & Culinary Educator
Expertise
Southern Cuisine & Farm-to-Table Cooking, Recipe Development & Testing, Culinary Education & Instruction
Education
School: Auguste Escoffier School of Culinary Arts
Program: Diploma in Culinary Arts and Operations
Focus: Comprehensive training in classical and modern culinary techniques, kitchen operations, and farm-to-table practices.
James didn’t learn cooking from a TV show, he learned it from busy kitchens, family gatherings, and long afternoons spent testing recipes the hard way.
After training at the Auguste Escoffier School of Culinary Arts, he brought his love for real, down-to-earth food to every dish he makes.
At Dining At Home, James loves building recipes that feel familiar but still have something special, like adding a twist to a classic or making a slow Sunday dinner feel brand new.
When he’s not in the kitchen, you’ll probably find him swapping garden tips at the farmers’ market or teaching his daughter how to flip pancakes without a mess (almost).