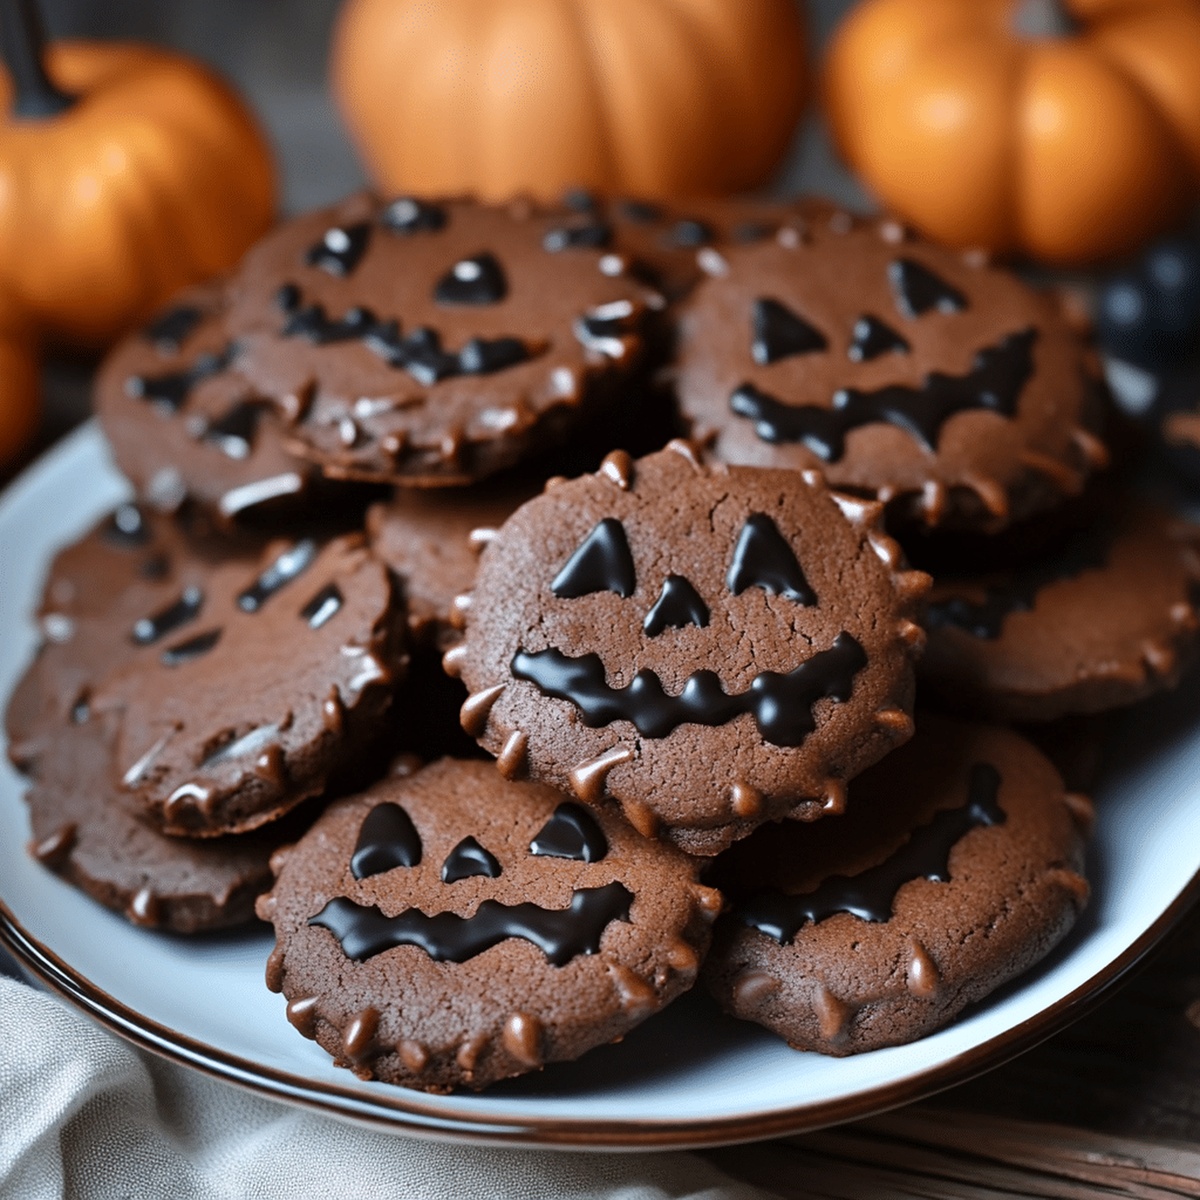
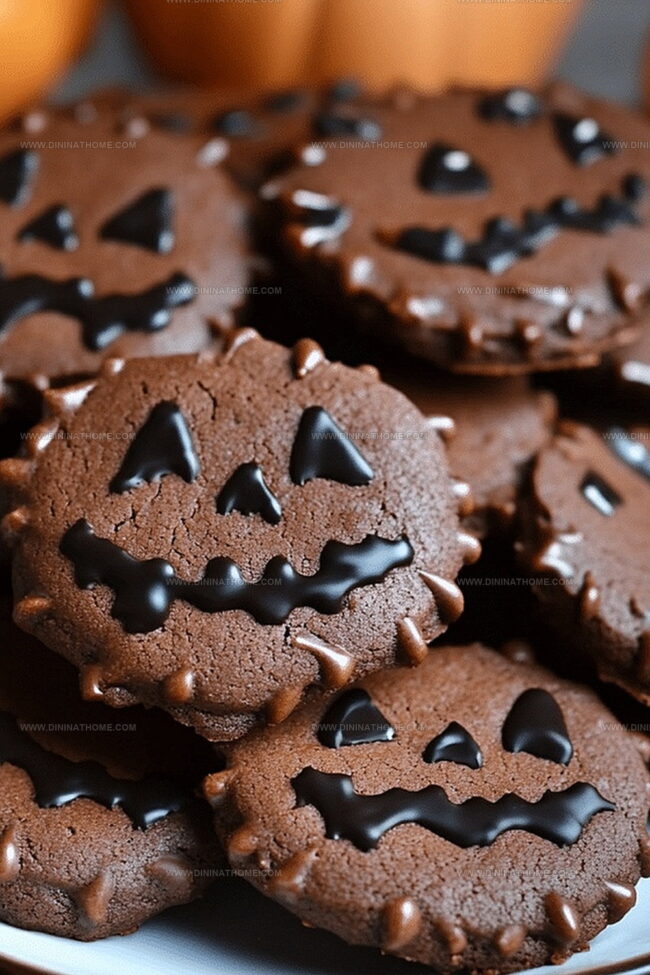
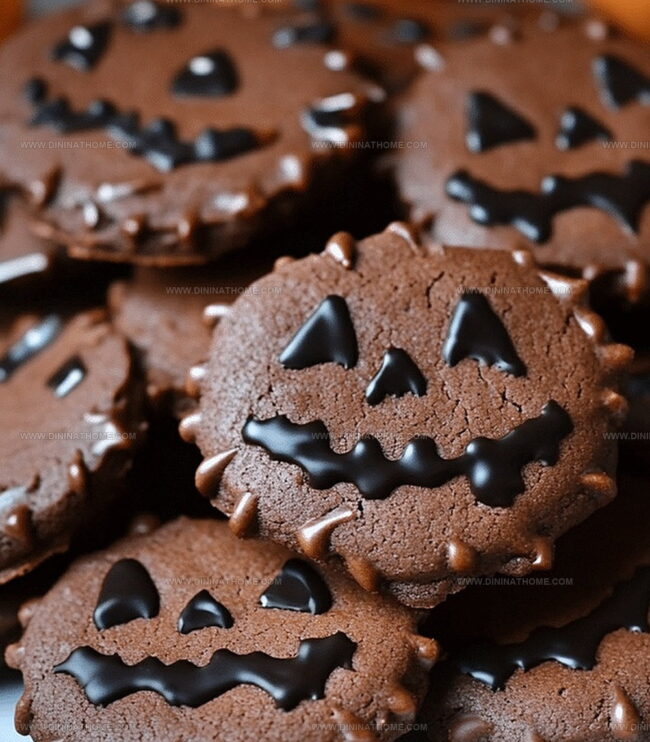
Spooky Halloween Chocolate Cookies Recipe That Kids Adore
Sweet memories and spooky vibes collide in these delightful halloween chocolate cookies that promise a wickedly delicious treat.
Chocolate lovers will go crazy for this festive dessert packed with rich, dark flavors.
Mysterious dark cocoa swirls through each batch, creating irresistible morsels perfect for autumn gatherings.
Soft and chewy textures mingle with intense chocolate notes that dance across your palate.
Decorative sprinkles and playful designs turn ordinary cookies into supernatural sensations that capture Halloween’s magical spirit.
Each bite brings a delightful combination of sweetness and eerie charm that will enchant both kids and adults.
Halloween Chocolate Cookies Bring Sweetness To Spooky Celebrations
Chocolate Halloween Cookie Breakdown
Base Ingredients:Dry Ingredients:Decorative Ingredients:Halloween Chocolate Cookies Process
Step 1: Warm Up the Oven
Fire up your oven to 350°F, creating the perfect cozy environment for your spooky chocolate treats.
Step 2: Whip Butter and Sugar
Grab your mixer and blend butter and sugar until they transform into a dreamy, fluffy cloud of sweetness.
Step 3: Incorporate Egg and Vanilla
Crack in the egg and pour vanilla extract, mixing until the batter becomes smooth and glossy.
Step 4: Prepare Dry Ingredients
Combine your dry ingredients in a separate bowl:Gently sift these ingredients together to eliminate any lumps.
Step 5: Merge Wet and Dry Ingredients
Slowly fold the dry mixture into the wet ingredients, stirring until a rich chocolate dough forms.
Step 6: Shape Cookie Monsters
Roll the dough into small balls and gently press them onto a baking sheet, giving them a slight pancake-like shape.
Step 7: Bake to Perfection
Slide the baking sheet into the oven and bake for 10-12 minutes.
The cookies are ready when they look set and slightly firm.
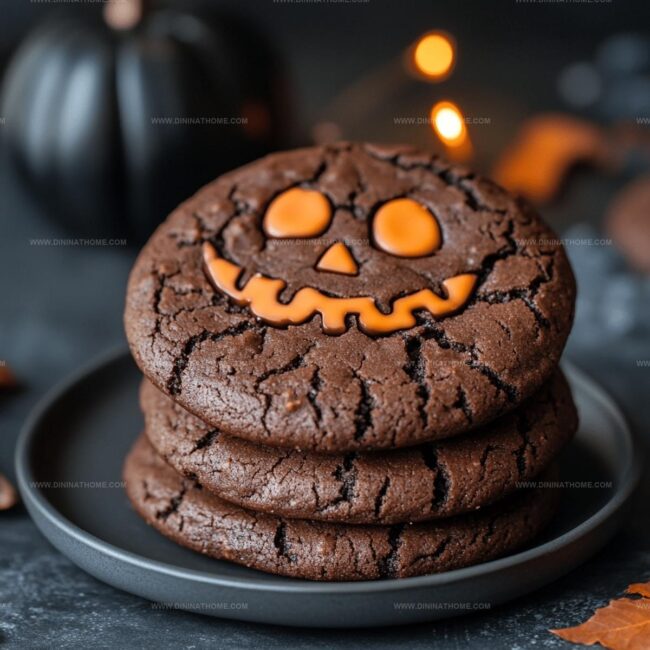
Step 8: Decorate with Spooky Flair
Once cooled, transform your chocolate cookies into Halloween masterpieces:Halloween Chocolate Cookies Like A Pro Baker
Halloween Chocolate Cookies Post-Party Stash Plan
What Goes With Halloween Cookies
Halloween Chocolate Cookies Combos
FAQs
These cookies are easy to decorate and perfect for children to help with, allowing them to add sprinkles, candy eyes, and creative Halloween-themed designs that make baking fun and interactive.
Yes, you can prepare the cookie dough in advance and refrigerate it for up to 3 days before baking. This helps the flavors develop and makes the baking process more convenient.
Absolutely! These cookies are quick to make, festive, and can be customized with spooky decorations that will delight guests of all ages at Halloween gatherings.
Use high-quality cocoa powder and make sure not to overmix the dough, which helps maintain the deep chocolate taste and prevents tough cookies.
Print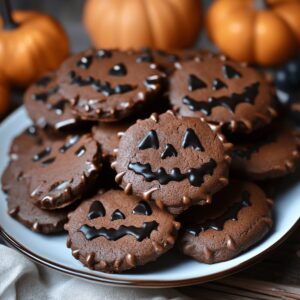
Halloween Chocolate Cookies Recipe
- Total Time: 27 minutes
- Yield: 24 1x
Description
Spooky Halloween Chocolate Cookies bring ghoulish delight to seasonal celebrations with rich, dark chocolate magic. Festive treats promise haunting flavors that dance between sweet decadence and playful spirit, inviting guests to enjoy wickedly delicious moments.
Ingredients
Main Ingredients:
- 1 cup (240 ml) unsalted butter, softened
- 1 large egg
- 1 cup (200 g) sugar
Dry Ingredients:
- 1 3/4 cups (220 g) all-purpose flour
- 1/2 cup (50 g) cocoa powder
- 1 teaspoon baking powder
- 1/2 teaspoon salt
Decorative Ingredients:
- 1 teaspoon vanilla extract
- Halloween-themed sprinkles
- Candy eyes
- Colored icing
Instructions
- Prepare the oven by heating to 350°F (175°C), ensuring a consistent temperature for optimal baking.
- Using an electric mixer, whip butter and sugar together until the mixture becomes airy and pale, creating a smooth base for the cookies.
- Incorporate the egg and vanilla extract into the butter mixture, blending until fully integrated and creating a rich, aromatic foundation.
- In a separate mixing bowl, sift the dry ingredients – flour, cocoa powder, baking powder, and salt – eliminating any potential lumps and ensuring even distribution.
- Gradually fold the dry ingredient mixture into the wet ingredients, stirring carefully to create a cohesive, dark chocolate cookie dough.
- Gently shape the dough into uniform balls, placing them on a prepared baking sheet and softly pressing down to create slight disk shapes.
- Transfer the baking sheet to the preheated oven and bake for 10-12 minutes, watching for a set texture and slight firmness around the edges.
- Remove cookies from the oven and allow them to cool completely on a wire rack, preventing further cooking and maintaining a soft texture.
- Transform the plain chocolate cookies into festive Halloween treats by decorating with playful sprinkles, whimsical candy eyes, or spooky icing designs.
Notes
- Swap regular flour with gluten-free flour blend for celiac or gluten-sensitive bakers, ensuring the same delicious texture and taste.
- Use dairy-free butter alternatives like coconut or vegan butter to make these cookies completely plant-based and suitable for lactose-intolerant guests.
- Control cookie thickness by chilling dough for 30 minutes before rolling, which prevents spreading and creates perfectly uniform Halloween treats.
- Add extra Halloween flair by mixing orange or black food coloring into the icing for more festive and themed decorations that will wow party guests.
- Prep Time: 15 minutes
- Cook Time: 12 minutes
- Category: Desserts, Snacks
- Method: Baking
- Cuisine: American
Nutrition
- Serving Size: 24
- Calories: 180
- Sugar: 10 g
- Sodium: 60 mg
- Fat: 8 g
- Saturated Fat: 5 g
- Unsaturated Fat: 3 g
- Trans Fat: 0 g
- Carbohydrates: 24 g
- Fiber: 1 g
- Protein: 2 g
- Cholesterol: 20 mg
Emily Harper
Nutrition Consultant & Recipe Analyst
Expertise
Healthy Recipe Modification, Nutritional Analysis & Meal Planning, Global Cuisine & Dietary Adaptations
Education
School: French Pastry School, Chicago, IL
Program: L’Art de la Pâtisserie
Focus: Intensive training in traditional French pastry techniques, baking theory, and confectionery arts.
Emily’s journey started in a pastry kitchen but took a detour into the world of health and flavor science.
Graduating from the French Pastry School and studying nutrition opened her eyes to a new mission: making healthy food taste like something you’d actually crave.
At Dining At Home, Emily’s the go-to for smart, feel-good recipes that don’t trade flavor for nutrition.
She’s all about adding a fresh spin on old favorites and finding small ways to make everyday meals a little brighter.
Outside of the kitchen, Emily is most at home walking forest trails, testing plant-based recipes, or sharing a picnic under a wide-open sky.