
Grandma’s Perfect Homemade Bread Recipe: A Taste of Nostalgia
Baking a delectable homemade bread with grandmas perfect homemade bread recipe feels like receiving a warm culinary hug from generations past.
Memories of kitchen counters dusted with flour rush back instantly.
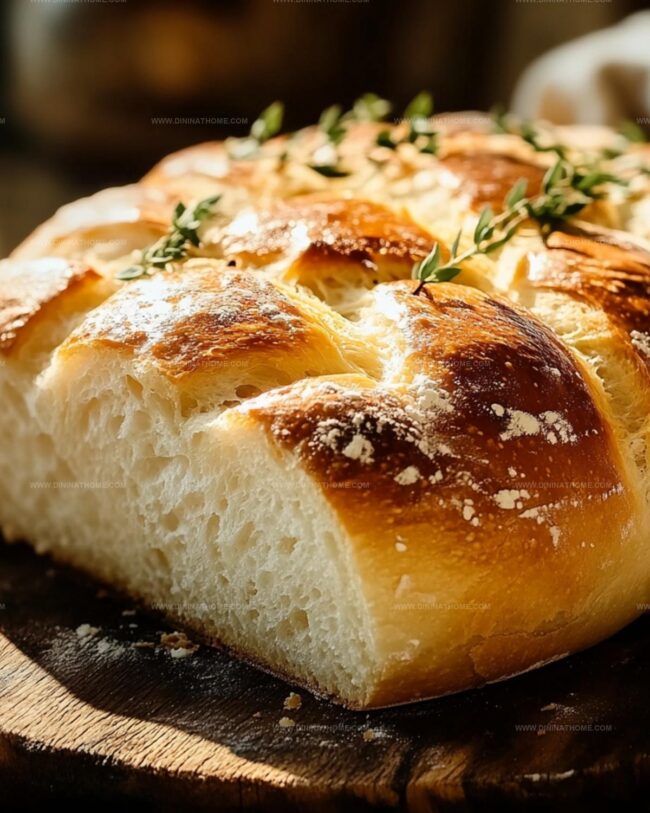
Soft, pillowy slices promise comfort and nostalgia in every bite.
Kneading dough becomes a meditative experience connecting you to timeless traditions.
Simple ingredients blend into something miraculous with patience and love.
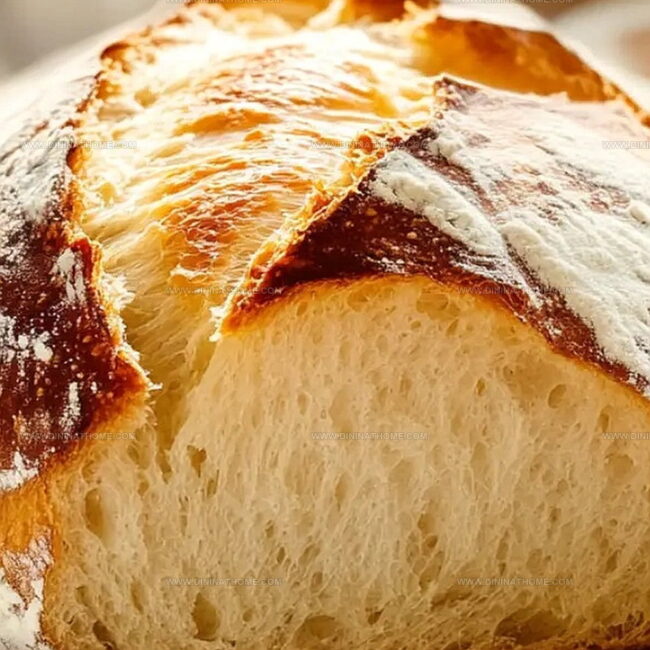
Crisp golden crusts and tender interiors await your loving touch.
You can create magic with this treasured family technique that turns ordinary moments into extraordinary memories.
Grandma’s Bread That’s Soft and Perfectly Baked
Grandma’s Perfect Homemade Bread What Goes Into It
Bread Base Ingredients:Flour Ingredients:Additional Preparation Ingredients:Grandma’s Bread Baking Tips for Soft Loaves
Step 1: Activate Yeast Magic
In a stand mixer, combine warm water, sugar, salt, and yeast.
Watch the mixture come alive as the yeast begins to bubble and foam, creating the foundation for your homemade bread.
This process typically takes about 5 minutes.
Step 2: Build the Dough
Attach the dough hook to your mixer.
Gradually add flour, one cup at a time, allowing the ingredients to blend smoothly.
Continue mixing until the dough transforms into a soft, cohesive mass that pulls away from the sides of the bowl.
Step 3: Knead and Shape
Transfer the dough to a lightly floured surface.
Knead the dough with your hands, pushing and folding until it becomes smooth and elastic.
Shape the dough into a beautiful round ball, feeling its softness and potential.
Step 4: First Rise Adventure
Lightly coat a large bowl with oil.
Gently place the dough inside and cover with a clean kitchen towel.
Let the dough rest and rise in a warm spot until it dramatically doubles in size, which takes about 1 to 1½ hours.
Step 5: Prepare Baking Vessels
Grease and flour two 9×5-inch loaf pans.
Punch down the risen dough to release trapped air.
Turn the dough onto a flat surface and divide it into two equal portions.
Step 6: Shape and Second Rise
Roll each dough section into a neat loaf shape.
Carefully place the shaped loaves into the prepared pans.
Cover and let them rise again until they’ve doubled in size, approximately 1 to 1½ hours.
Step 7: Bake to Golden Perfection
Preheat the oven to 350°F.
Slide the pans into the oven and bake for 30-35 minutes.
Watch for a beautiful golden-brown color that signals your bread is ready.
Step 8: Cool and Slice
Remove the bread from the oven and let it cool in the pans for 10 minutes.
Carefully transfer to a wire rack.
Slice and enjoy the warm, fragrant bread you’ve created from scratch.
Grandma’s Bread Tips Worth Passing Down
Store Grandma’s Homemade Bread
Sweet Spreads for Grandma’s Homemade Bread
Grandma’s Bread with Traditional Edits
FAQs
Proofing helps activate the yeast by feeding it sugar, ensuring it’s alive and ready to make the bread rise properly. This step confirms the yeast will create the perfect fluffy texture.
The dough should become smooth and elastic, with a soft, stretchy consistency. When you press it, it should spring back without sticking to your hands or feeling too tough.
Absolutely! You can mix and knead the dough by hand using a wooden spoon and your hands. It’ll take a bit more effort, but the result will be just as delicious as using a mixer.
Check your yeast’s freshness, ensure the water is warm (not hot), and place the dough in a draft-free, warm spot like near a preheated oven. Temperature and yeast quality are key to successful rising.
Print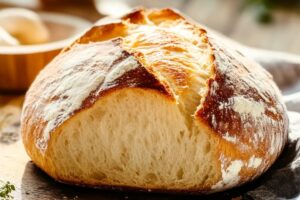
Grandmas Perfect Homemade Bread Recipe
- Total Time: 50 minutes
- Yield: 12 1x
Description
Grandma’s perfect homemade bread brings warmth and nostalgia to kitchen counters with its golden crust and inviting aroma. Hearty slices promise comfort and memories of cherished family moments you’ll savor with each delightful bite.
Ingredients
Main Ingredients:
- 5 cups all-purpose flour
- 2 1/2 cups warm water
- 1 tablespoon yeast
Sweeteners:
- 1/4 cup sugar
Additional Ingredients:
- 1 1/4 teaspoons salt
- 2 tablespoons olive oil
Instructions
- Activate the yeast by whisking it with warm water, sugar, and salt in a stand mixer. Allow the mixture to bloom and become frothy, indicating the yeast is alive and active.
- Gradually incorporate flour into the yeast mixture using the dough hook, mixing until a cohesive, soft dough forms that pulls away from the mixer’s sides.
- Transfer the dough onto a lightly dusted work surface and knead thoroughly, developing gluten and creating a smooth, elastic texture. Shape the dough into a compact, rounded ball.
- Thoroughly coat a large ceramic bowl with olive oil, then gently place the dough inside. Drape a clean kitchen towel over the bowl, creating a warm environment for rising until the dough substantially increases in volume.
- Prepare two loaf pans by generously greasing and flouring the interior surfaces. Deflate the risen dough by pressing down firmly, releasing trapped air bubbles.
- Divide the dough into two equal portions. Carefully roll each section into a neat, elongated loaf shape, ensuring consistent width and smooth surface.
- Position the formed loaves into the prepared pans, allowing adequate space for secondary fermentation. Cover and let the dough rise again until it visibly expands.
- Heat the oven to 350°F (175°C). Bake the loaves until they develop a rich, golden-brown crust and emit a fragrant, yeasty aroma.
- Extract the baked bread from the oven and let it rest momentarily in the pans. Gently transfer to a wire rack, allowing complete cooling before slicing to maintain structural integrity.
Notes
- Ensure water temperature is between 105-110°F to activate yeast without killing it, creating perfect bread rise.
- Knead dough thoroughly to develop gluten, which gives bread its soft, chewy texture and helps it rise beautifully.
- Use bread flour for higher protein content, resulting in a stronger gluten structure and more robust bread with better texture.
- For gluten-free version, substitute bread flour with a gluten-free blend and add xanthan gum to improve texture and binding.
- Prep Time: 15 minutes
- Cook Time: 35 minutes
- Category: Breakfast, Snacks, Dinner
- Method: Baking
- Cuisine: American
Nutrition
- Serving Size: 12
- Calories: 150
- Sugar: 1.2 g
- Sodium: 110 mg
- Fat: 3.5 g
- Saturated Fat: 0.5 g
- Unsaturated Fat: 3 g
- Trans Fat: 0 g
- Carbohydrates: 28 g
- Fiber: 1 g
- Protein: 4 g
- Cholesterol: 0 mg
James Walker
Lead Recipe Developer & Culinary Educator
Expertise
Southern Cuisine & Farm-to-Table Cooking, Recipe Development & Testing, Culinary Education & Instruction
Education
School: Auguste Escoffier School of Culinary Arts
Program: Diploma in Culinary Arts and Operations
Focus: Comprehensive training in classical and modern culinary techniques, kitchen operations, and farm-to-table practices.
James didn’t learn cooking from a TV show, he learned it from busy kitchens, family gatherings, and long afternoons spent testing recipes the hard way.
After training at the Auguste Escoffier School of Culinary Arts, he brought his love for real, down-to-earth food to every dish he makes.
At Dining At Home, James loves building recipes that feel familiar but still have something special, like adding a twist to a classic or making a slow Sunday dinner feel brand new.
When he’s not in the kitchen, you’ll probably find him swapping garden tips at the farmers’ market or teaching his daughter how to flip pancakes without a mess (almost).