
Heavenly Garlic Parmesan Cheeseburger Bombs Recipe For Dinner
Crispy, golden garlic parmesan cheeseburger bombs burst with unexpected flavor and irresistible charm.
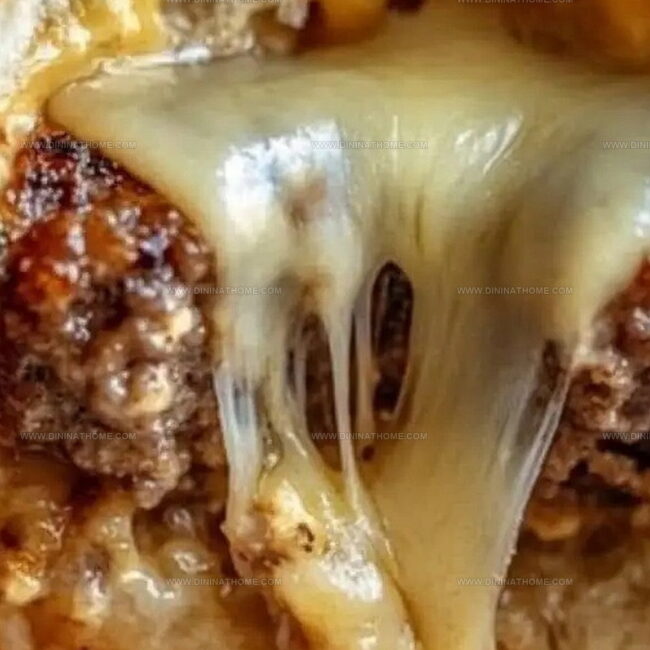
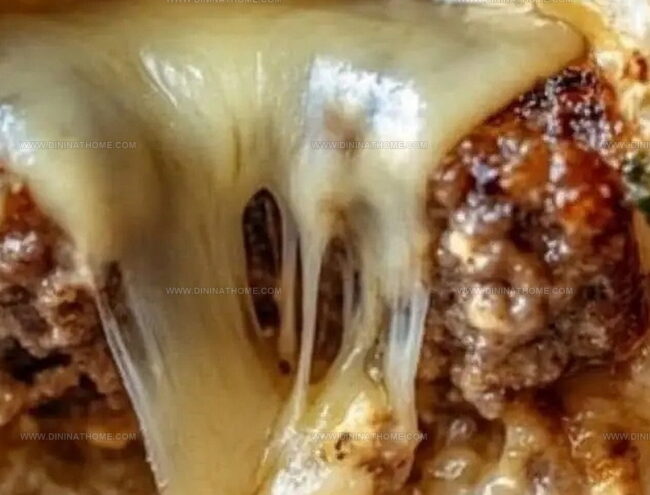
Melted cheese and seasoned ground beef hide inside a crunchy exterior that promises pure delight.
Comfort food rarely gets more exciting than these handheld morsels packed with savory goodness.
Meat lovers and casual cooks alike will appreciate how simple ingredients combine into something spectacular.
Each bite delivers a perfect balance of rich meats and sharp parmesan notes.
Cheesy centers and golden-brown crusts guarantee these bombs will become an instant favorite at any gathering.
You cannot resist trying this crowd-pleasing recipe that elevates classic burger flavors into an exciting new format.
Cheeseburger Bombs That Are Gooey and Garlicky
Parmesan Cheeseburger Bombs Ingredients
Main Ingredients:Cheese Components:Seasoning and Flavor Enhancers:Topping and Finishing Ingredients:Cheeseburger Bombs Garlic Parmesan Method
Step 1: Fire Up the Oven
Crank the oven to a toasty 375°F.
Grab a baking sheet and line it with parchment paper for hassle-free cleanup.
Step 2: Brown the Beef
Sizzle ground beef in a skillet over medium heat until it turns a delicious golden brown.
Drain away any extra fat to keep things light.
Step 3: Season the Meat
Sprinkle in seasonings to make the beef pop with flavor:Let the mixture mingle for a minute or two, then set aside to cool slightly.
Step 4: Craft the Dough Pockets
Gently stretch each biscuit dough round into a wide circle.
Create delicious parcels by:Step 5: Arrange on Baking Sheet
Set the dough balls seam-side down, giving each one some breathing room.
Step 6: Create Flavor-Packed Topping
Whip up a mouthwatering butter mixture:Generously brush this magic sauce over each dough ball.
Step 7: Bake to Golden Perfection
Send the dough pockets into the oven for 15-18 minutes until they turn a gorgeous golden brown and are cooked through.
Step 8: Serve and Enjoy
Sprinkle some fresh chopped parsley on top and serve these warm, gooey pockets while they’re at their absolute best.
Cheeseburger Bomb Assembly Tips with Garlic Parmesan
Cheeseburger Bombs Storage Tips
Cheeseburger Bomb Combos
Cheeseburger Bombs With New Cheese Combos
FAQs
The key ingredients include ground beef, refrigerated biscuit dough, shredded cheese, garlic powder, salt, pepper, ketchup, mustard, melted butter, minced garlic, and grated parmesan cheese.
Yes, you can prepare the beef mixture and assemble the bombs ahead of time. Store them unbaked in the refrigerator and bake when ready to serve, which makes it convenient for advance preparation.
Absolutely! You can substitute ground beef with ground turkey, chicken, or even plant-based meat alternatives to suit your dietary preferences or create variety.
Flatten the biscuit dough into a thin circle, place the filling in the center, carefully fold the edges over, and pinch them firmly to create a complete seal, preventing the filling from leaking during baking.
Print
Garlic Parmesan Cheeseburger Bombs Recipe
- Total Time: 35 minutes
- Yield: 4 1x
Description
Garlic parmesan cheeseburger bombs explode with mouthwatering flavor, combining juicy ground beef and melted cheese in a crispy golden package. Comfort meets creativity in this irresistible dish that promises to delight you with its savory, cheesy goodness.
Ingredients
Protein:
- 1 pound (454 grams) ground beef
- 1 cup (113 grams) shredded cheddar cheese
Seasonings and Spices:
- 1/2 teaspoon salt
- 1/4 teaspoon black pepper
- 1/2 teaspoon garlic powder
- 1/2 teaspoon onion powder
- 2 cloves garlic, minced
Additional Ingredients:
- 1 can (16.3 ounces / 462 grams) refrigerated biscuit dough
- 1/4 cup (60 milliliters) ketchup
- 1 tablespoon mustard
- 3 tablespoons (45 milliliters) butter, melted
- 1/4 cup (25 grams) grated parmesan cheese
- 1 tablespoon chopped parsley (for garnish)
Instructions
- Warm the oven to 375°F and prepare a parchment-lined baking tray for the cheeseburger bombs.
- Sauté ground beef in a skillet until thoroughly cooked, ensuring no pink remains and draining any excess fat.
- Infuse the beef with robust flavor by mixing in seasonings like salt, pepper, garlic powder, onion powder, ketchup, and mustard. Allow the mixture to meld for 1-2 minutes, then remove from heat and let cool slightly.
- Transform each biscuit dough round into a delicate 4-inch circle, creating a canvas for the savory filling. Strategically place beef mixture in the center, crown with a generous sprinkle of shredded cheese, then carefully envelop the filling by folding the dough and sealing into a perfect sphere.
- Position the assembled bombs with their sealed seams facing downward on the prepared baking sheet, ensuring even spacing.
- Craft a luxurious garlic-parmesan glaze by whisking together melted butter, finely minced garlic, and grated parmesan cheese. Lavishly brush this aromatic mixture over each dough ball, promising a golden, flavor-packed exterior.
- Bake the bombs for 15-18 minutes, watching for a rich golden-brown color and ensuring complete cooking throughout.
- Elevate the presentation by scattering freshly chopped parsley over the top and serving these delectable bombs while still piping hot.
Notes
- Control meat moisture by draining fat thoroughly to prevent soggy dough and ensure crispy texture.
- Replace ground beef with ground turkey or plant-based crumbles for healthier or vegetarian alternatives without compromising flavor.
- Enhance cheese variety by mixing different types like cheddar, mozzarella, or gouda to create unique taste profiles.
- Prep ahead by assembling bombs earlier and refrigerating, then bake just before serving for convenient meal planning.
- Prep Time: 15 minutes
- Cook Time: 20 minutes
- Category: Lunch, Dinner, Snacks
- Method: Baking
- Cuisine: American
Nutrition
- Serving Size: 4
- Calories: 408
- Sugar: 3g
- Sodium: 706mg
- Fat: 27g
- Saturated Fat: 13g
- Unsaturated Fat: 10g
- Trans Fat: 1g
- Carbohydrates: 24g
- Fiber: 1g
- Protein: 18g
- Cholesterol: 61mg
Emily Harper
Nutrition Consultant & Recipe Analyst
Expertise
Healthy Recipe Modification, Nutritional Analysis & Meal Planning, Global Cuisine & Dietary Adaptations
Education
School: French Pastry School, Chicago, IL
Program: L’Art de la Pâtisserie
Focus: Intensive training in traditional French pastry techniques, baking theory, and confectionery arts.
Emily’s journey started in a pastry kitchen but took a detour into the world of health and flavor science.
Graduating from the French Pastry School and studying nutrition opened her eyes to a new mission: making healthy food taste like something you’d actually crave.
At Dining At Home, Emily’s the go-to for smart, feel-good recipes that don’t trade flavor for nutrition.
She’s all about adding a fresh spin on old favorites and finding small ways to make everyday meals a little brighter.
Outside of the kitchen, Emily is most at home walking forest trails, testing plant-based recipes, or sharing a picnic under a wide-open sky.