Juicy Roast Beef and Cheddar Sliders Recipe for Game Day
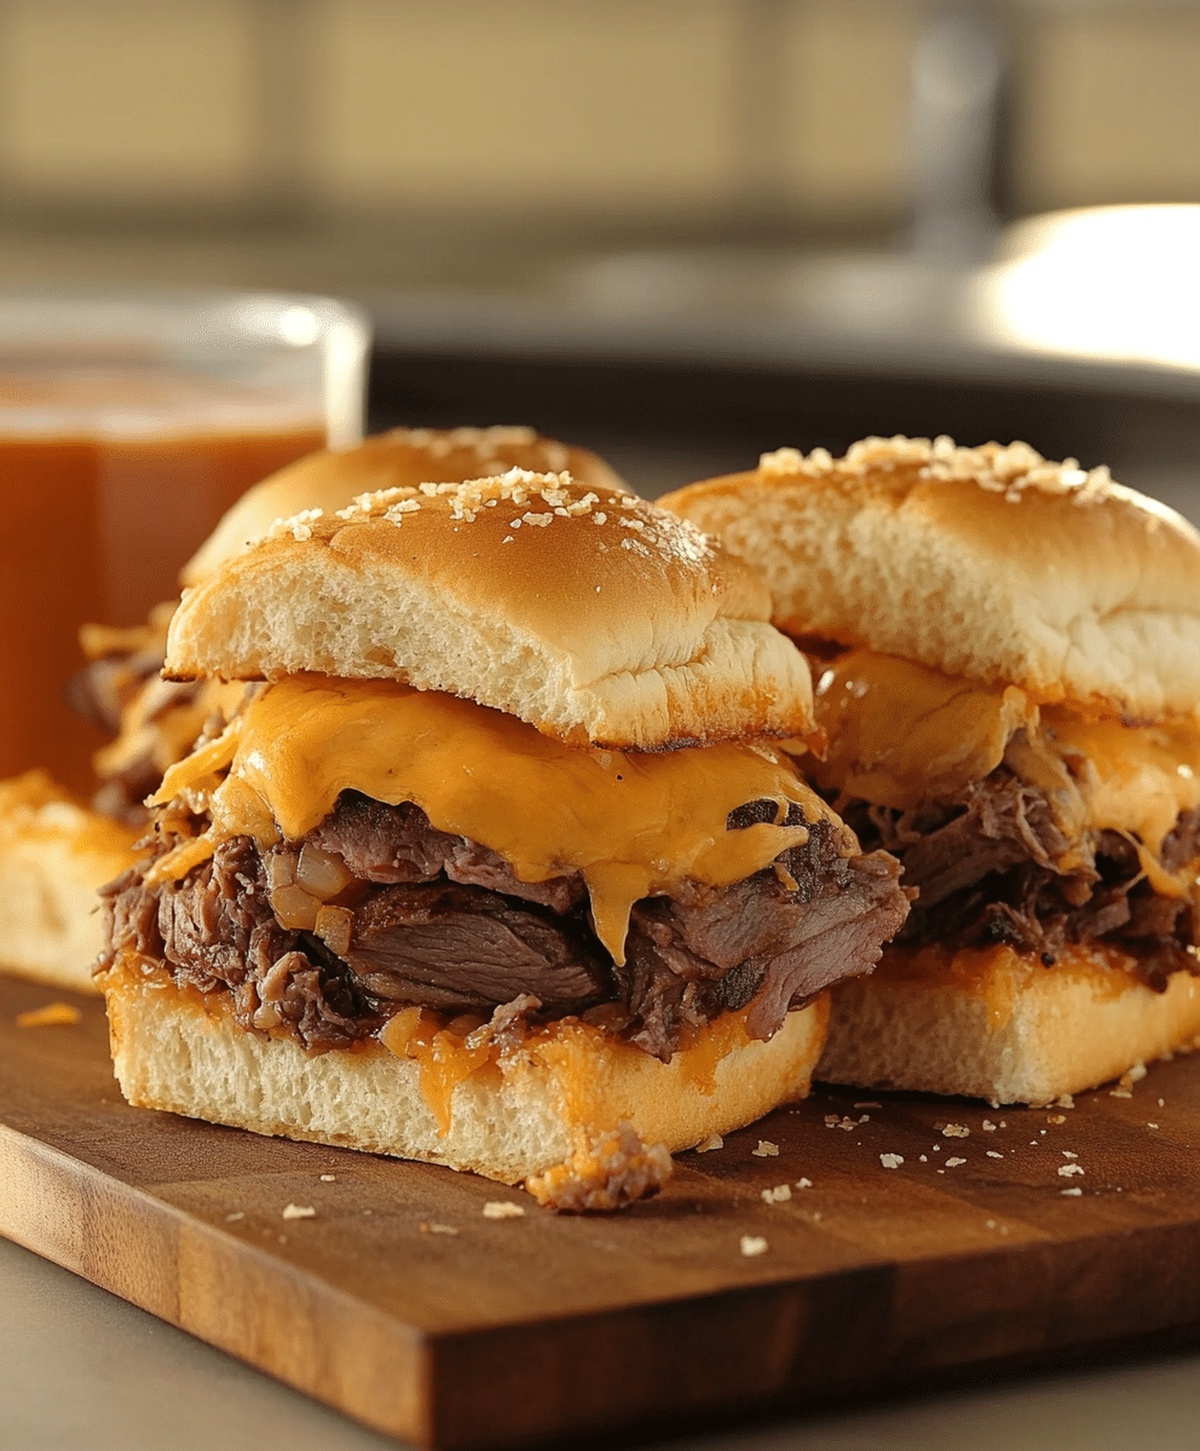
Crispy and golden sliders with roast beef and cheddar have become my weekend comfort classic.
Weekend gatherings always spark excitement when these mini sandwiches appear.
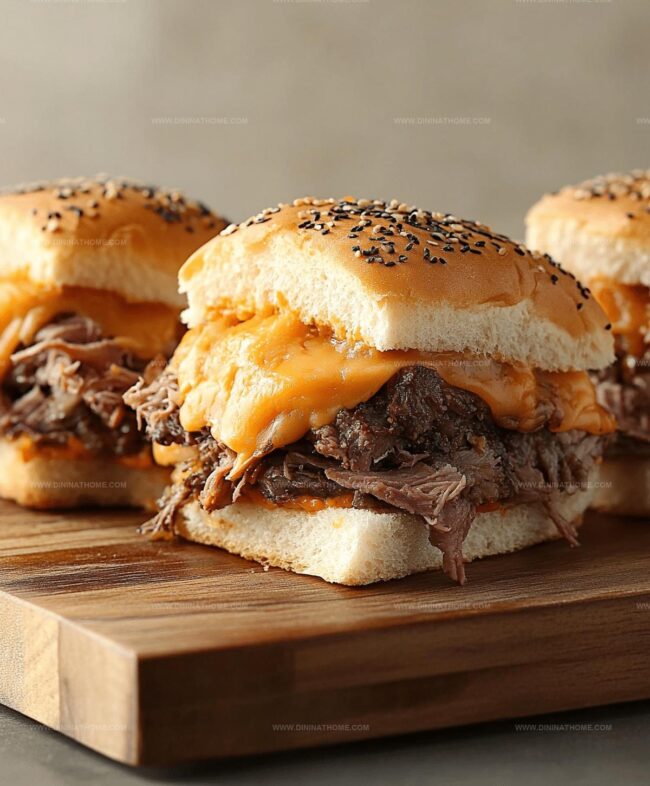
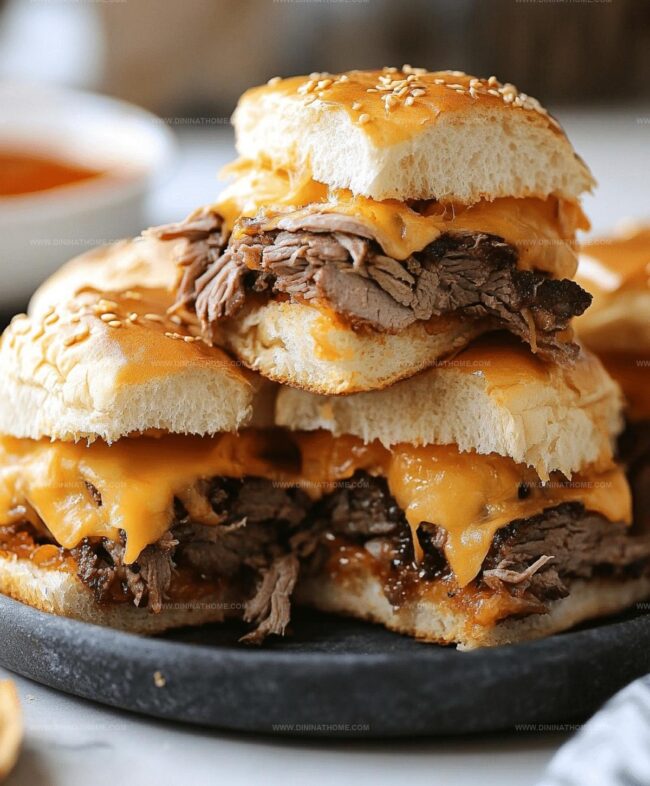
Small yet mighty, they pack incredible flavor into each delectable bite.
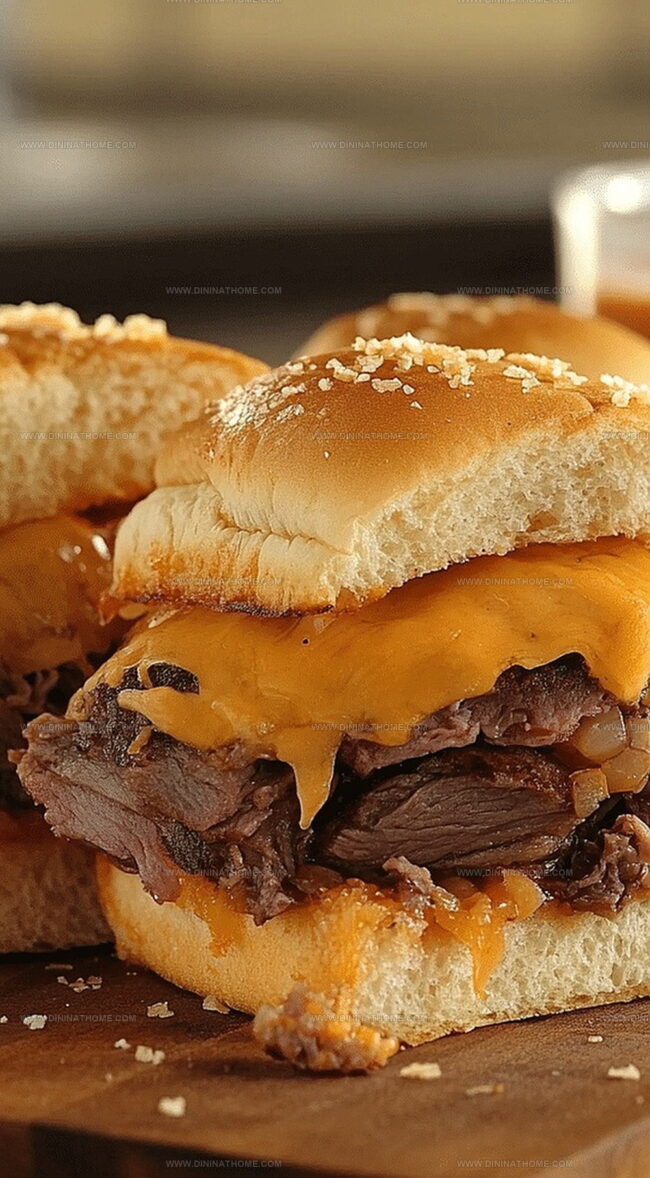
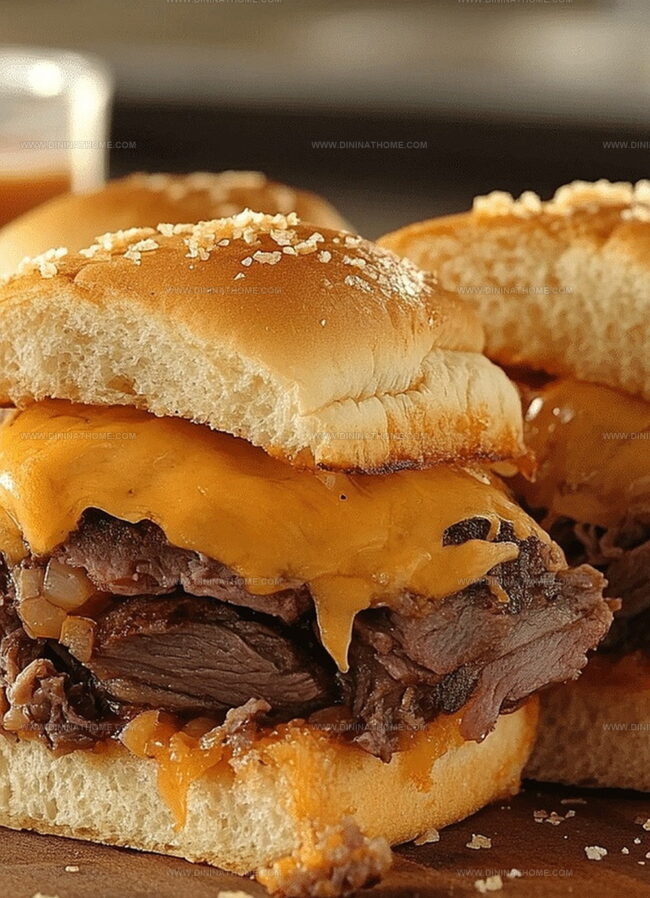
Dense layers of tender roast beef complement sharp cheddar cheese beautifully.
Our secret involves selecting quality deli meat and fresh rolls.
Melted cheese creates a luxurious backdrop for savory beef.
Serve these irresistible sliders and watch them disappear in minutes.
Easy Roast Beef And Cheddar Sliders Highlights
Roast Beef And Cheddar Sliders Must-Haves
Main Base Ingredients:Flavor Enhancers:Topping and Finishing Ingredients:Roast Beef Cheddar Sliders Easy Flow
Step 1: Prepare the Oven
Set your oven to a cozy 350°F, getting ready to transform simple ingredients into mouthwatering sliders.
Step 2: Slice and Arrange Buns
Cut slider buns into halves horizontally.
Gently place bottom halves on a baking sheet, creating a delicious foundation.
Step 3: Layer Delicious Ingredients
Spread creamy mayonnaise on bun bottoms (if desired).
Then arrange layers:Top with bun halves to complete the slider sandwich.
Step 4: Create Flavor-Packed Butter Glaze
In a small bowl, whisk together:Generously brush this magical mixture over slider tops.
Step 5: Bake to Perfection
Cover sliders with aluminum foil and bake for 10 minutes.
Remove foil and continue baking 5-7 minutes until tops turn golden and cheese melts beautifully.
Step 6: Serve and Enjoy
Slice into individual sliders.
Serve warm and watch everyone’s eyes light up with excitement.
Roast Beef and Cheddar Sliders – Easy Assembly Tips
Save Roast Beef Sliders And Warm Carefully
Serve-Alongs for Roast Beef & Cheddar Sliders
Roast Beef and Cheddar Sliders with Zesty Sauce Ideas
FAQs
Yes, you can substitute roast beef with turkey, ham, or chicken for a similar slider experience.
No, poppy seeds are optional and can be omitted if you don’t have them or prefer not to use them.
Yes, you can assemble the sliders in advance and refrigerate them before baking. Just add a few extra minutes to the baking time when cooking from cold.
You can use regular yellow mustard or honey mustard as a substitute, though the flavor profile will be slightly different.
Print
Easy Roast Beef And Cheddar Sliders Recipe
- Total Time: 25 minutes
- Yield: 12 1x
Description
Roast Beef and Cheddar Sliders bring mouthwatering comfort straight from home kitchens to your table. Delectable layers of tender beef, melted cheese, and zesty sauce nestled between buttery rolls promise a flavor-packed mini sandwich experience you’ll crave again and again.
Ingredients
Main Ingredients:
- 1 pound (454 grams) thinly sliced roast beef
- 6 slices cheddar cheese (halved)
- 12 slider buns (Hawaiian rolls or soft dinner rolls)
Sauce and Seasoning Ingredients:
- 2 tablespoons mayonnaise (optional)
- 1 tablespoon Dijon mustard
- 1 teaspoon Worcestershire sauce
- 1 teaspoon onion powder
Topping Ingredients:
- 2 tablespoons butter (melted)
- 1 teaspoon poppy seeds (optional)
Instructions
- Heat the oven to 350°F, creating an ideal warming environment for the sliders.
- Carefully split slider buns into top and bottom halves, positioning the bottom sections on a sturdy baking sheet.
- Apply a thin layer of mayonnaise across the base of each bun for enhanced moisture and flavor.
- Distribute roast beef slices evenly across the bun bottoms, ensuring complete coverage.
- Layer cheddar cheese slices directly on top of the roast beef, allowing for perfect melting.
- Crown the sliders with their corresponding top bun sections to complete the sandwich structure.
- Craft a luxurious butter glaze by whisking melted butter with Dijon mustard, Worcestershire sauce, onion powder, and poppy seeds until thoroughly combined.
- Generously brush the prepared glaze over the slider tops, ensuring complete and even coverage.
- Shield the sliders with aluminum foil, protecting them during initial baking and preventing excessive browning.
- Bake covered for 10 minutes, allowing flavors to meld and cheese to soften.
- Remove foil and continue baking for an additional 5-7 minutes until the tops transform into a golden, crispy exterior.
- Extract from oven and let rest momentarily before carefully separating into individual sliders.
- Serve immediately while warm, showcasing the melted cheese and aromatic glaze.
Notes
- Customize cheese selection by swapping cheddar with provolone, Swiss, or pepper jack for varied flavor profiles.
- Prep sliders ahead of time and refrigerate before baking, which helps ingredients meld and intensifies taste.
- Reduce sodium by using low-sodium roast beef and choosing reduced-fat cheese options for health-conscious variations.
- Toast slider buns briefly before assembling to enhance crispiness and prevent soggy bottoms, ensuring a satisfying texture.
- Prep Time: 10 minutes
- Cook Time: 15 minutes
- Category: Lunch, Dinner, Appetizer, Snacks
- Method: Baking
- Cuisine: American
Nutrition
- Serving Size: 12
- Calories: 250
- Sugar: 2g
- Sodium: 680mg
- Fat: 12g
- Saturated Fat: 6g
- Unsaturated Fat: 5g
- Trans Fat: 0g
- Carbohydrates: 26g
- Fiber: 1g
- Protein: 14g
- Cholesterol: 40mg
James Walker
Lead Recipe Developer & Culinary Educator
Expertise
Southern Cuisine & Farm-to-Table Cooking, Recipe Development & Testing, Culinary Education & Instruction
Education
School: Auguste Escoffier School of Culinary Arts
Program: Diploma in Culinary Arts and Operations
Focus: Comprehensive training in classical and modern culinary techniques, kitchen operations, and farm-to-table practices.
James didn’t learn cooking from a TV show, he learned it from busy kitchens, family gatherings, and long afternoons spent testing recipes the hard way.
After training at the Auguste Escoffier School of Culinary Arts, he brought his love for real, down-to-earth food to every dish he makes.
At Dining At Home, James loves building recipes that feel familiar but still have something special, like adding a twist to a classic or making a slow Sunday dinner feel brand new.
When he’s not in the kitchen, you’ll probably find him swapping garden tips at the farmers’ market or teaching his daughter how to flip pancakes without a mess (almost).