Dreamy Easy Cherry Pistachio Cheesecake Recipe No-Fuss Delight
Magic happens when cherries meet creamy cheesecake in this stunning pistachio-packed dessert.
Sweet kernels of nutty goodness crunch through each silky slice.
Rich cream cheese blends perfectly with tart cherry notes.
Smooth textures contrast against crisp pistachio elements that dance across your palate.
Mediterranean flavors weave elegantly through classic American cheesecake techniques.
Minimal ingredients guarantee maximum satisfaction in every delectable bite.
Let’s transform your kitchen into a gourmet paradise with this irresistible treat.
Cherry Pistachio Cheesecake That’s Easy, Nutty, and Sweet
Flavor Combo That Builds Cherry Pistachio Cheesecake
Crust Ingredients:Cheesecake Filling Ingredients:Cherry Topping Ingredients:Cherry Pistachio Cheesecake Easy Prep
Step 1: Create Crumbly Crust Foundation
Grab a medium bowl and mix graham cracker crumbs with granulated sugar.
Pour in melted butter and stir until the ingredients bind together perfectly.
Press this delightful mixture firmly into the bottom of a 9-inch springform pan, ensuring an even and compact layer.
Pop the pan into the refrigerator for half an hour to let the crust solidify.
Step 2: Whip Creamy Cheesecake Filling
Use an electric mixer to transform cream cheese into a silky smooth base.
Add these delectable ingredients:Beat everything until the mixture becomes wonderfully thick and fluffy.
Gently fold in chopped pistachios and sour cream, blending until perfectly combined.
Step 3: Layer and Chill Cheesecake
Carefully spoon the luscious cheesecake filling over the chilled crust.
Smooth the top with a spatula to create a gorgeous, even surface.
Refrigerate for a minimum of 4 hours or preferably overnight to allow the cheesecake to set completely.
Step 4: Craft Vibrant Cherry Topping
In a small saucepan, combine fresh cherries with sugar, lemon juice, and cornstarch.
Cook over medium heat, stirring occasionally until the mixture transforms into a rich, syrupy consistency.
This should take approximately 5-7 minutes.
Remove from heat and let the topping cool to room temperature.
Step 5: Finish and Serve Decadent Dessert
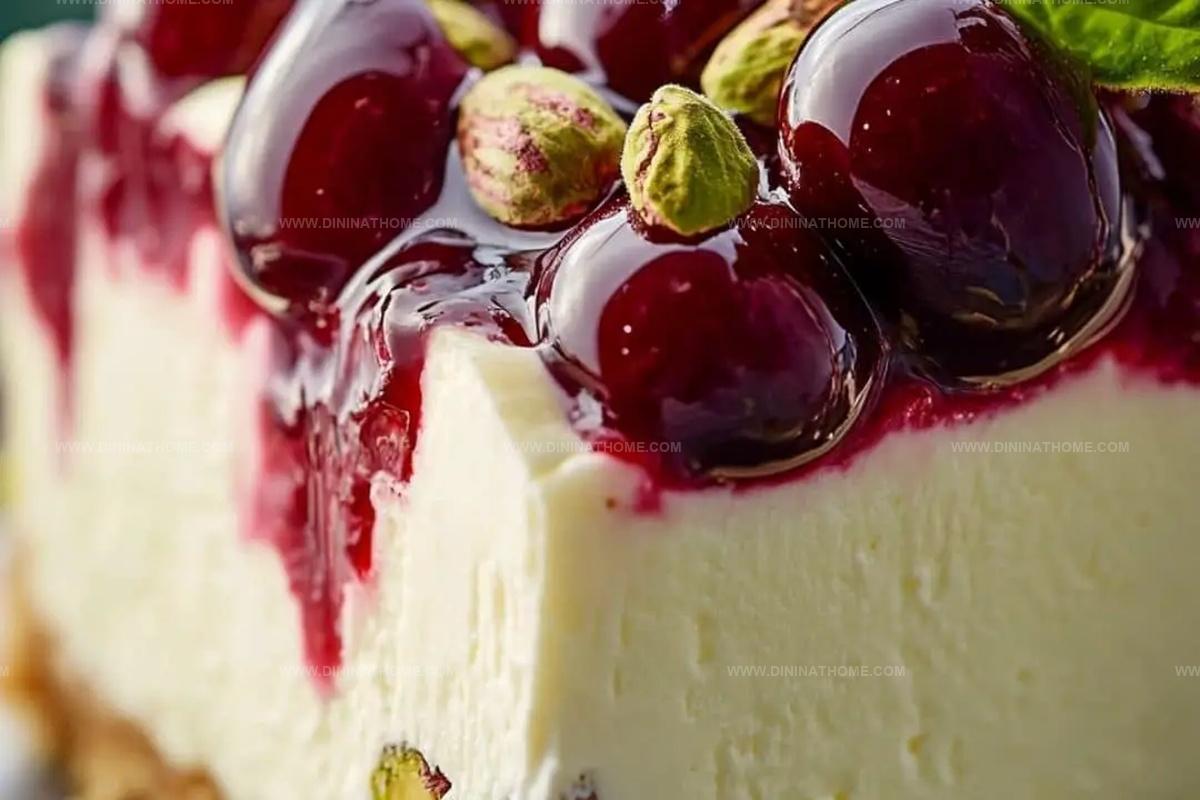
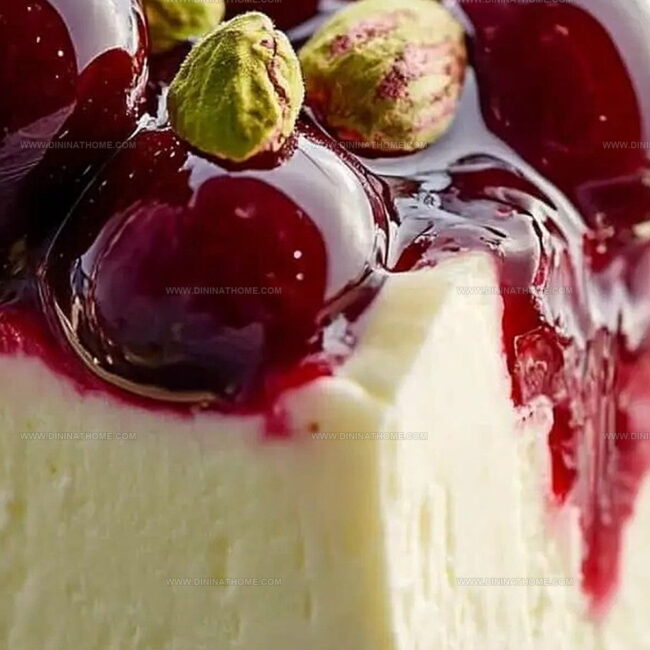
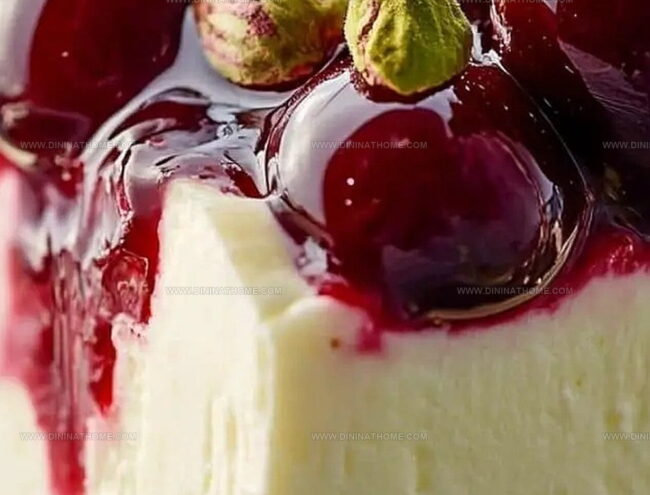
Once the cheesecake has set completely, spread the cooled cherry topping evenly across the surface.
Slice into beautiful portions and serve chilled for a truly spectacular dessert experience.
Cherry Pistachio Cheesecake Baking Tips
Cherry Pistachio Cheesecake Storage
Sweet Matches for Cherry Pistachio Cheesecake
Cherry Pistachio Cheesecake Sweet Versions
FAQs
Pistachios provide a delightful nutty crunch and unique flavor to the cheesecake, but you can omit them if you have nut allergies or prefer a smoother texture.
Yes, frozen cherries work perfectly. Just thaw and drain them before cooking to ensure the right consistency for your cherry topping.
Use room temperature ingredients, avoid overmixing the batter, and bake in a water bath to help prevent cracks in the cheesecake filling.
Let cream cheese sit at room temperature for about 30-45 minutes before mixing. You can also microwave it in short 10-second bursts to soften it gently.
Print
Easy Cherry Pistachio Cheesecake Recipe
- Total Time: 25 minutes
- Yield: 8 1x
Description
Sweet indulgence meets nutty perfection in this cherry pistachio cheesecake, where creamy textures dance with bold flavors. Dessert enthusiasts can savor each rich bite of this delightful creation that promises pure culinary bliss.
Ingredients
Crust Ingredients:
- 1.5 cups (354 ml) graham cracker crumbs
- 1/4 cup (50 g) granulated sugar
- 1/2 cup (113 g) unsalted butter, melted
Cheesecake Filling Ingredients:
- 2 packages (16 ounces / 454 g) cream cheese, softened
- 1 cup (240 ml) heavy cream
- 1/2 cup (60 g) powdered sugar
- 1/2 teaspoon vanilla extract
- 1/4 cup (30 g) pistachios, finely chopped
- 1/2 cup (120 ml) sour cream
Cherry Topping Ingredients:
- 1 cup fresh or canned cherries, pitted
- 2 tablespoons (30 g) sugar
- 1 tablespoon (15 ml) lemon juice
- 1 tablespoon (8 g) cornstarch
Instructions
- Craft a robust foundation for the dessert by blending graham cracker crumbs with granulated sugar and melted butter until thoroughly integrated.
- Press the crumbly mixture firmly into the base of a springform pan, ensuring an even, compact layer. Chill in the refrigerator to solidify the crust’s structure.
- Whip softened cream cheese using an electric mixer until achieving a silky, lump-free consistency.
- Incorporate heavy cream, powdered sugar, and vanilla extract, continuously beating until the mixture transforms into a luxurious, aerated texture.
- Delicately fold chopped pistachios and sour cream into the cream cheese mixture, gently stirring to maintain the mixture’s voluminous nature.
- Transfer the velvety filling onto the chilled crust, using a spatula to create a smooth, level surface. Return to the refrigerator for an extended setting period, ideally overnight.
- Prepare the cherry compote by combining cherries, sugar, lemon juice, and cornstarch in a saucepan over medium heat.
- Simmer the mixture, stirring periodically, until it thickens and develops a glossy, syrup-like consistency, approximately 5-7 minutes.
- Allow the cherry topping to cool to room temperature, ensuring it doesn’t compromise the cheesecake’s delicate structure.
- Once the cheesecake has completely set, elegantly drape the cooled cherry topping across its surface, creating an enticing visual and flavor contrast.
- Slice and serve the cheesecake chilled, revealing its creamy interior and vibrant cherry adornment.
Notes
- Crush graham crackers finely to ensure a smooth, compact crust that holds together perfectly when sliced.
- Use room temperature cream cheese to prevent lumps and create a silky, smooth cheesecake filling that blends seamlessly.
- Toast pistachios briefly before chopping to enhance their nutty flavor and add a delightful crunch to the cheesecake.
- Replace fresh cherries with frozen or canned options if needed, adjusting sugar levels to maintain the perfect sweet-tart balance.
- Prep Time: 15 minutes
- Cook Time: 10 minutes (for topping)
- Category: Desserts
- Method: Chilling
- Cuisine: American
Nutrition
- Serving Size: 8
- Calories: 445
- Sugar: 22 g
- Sodium: 275 mg
- Fat: 30 g
- Saturated Fat: 18 g
- Unsaturated Fat: 9 g
- Trans Fat: 0 g
- Carbohydrates: 36 g
- Fiber: 1 g
- Protein: 6 g
- Cholesterol: 80 mg
Emily Harper
Nutrition Consultant & Recipe Analyst
Expertise
Healthy Recipe Modification, Nutritional Analysis & Meal Planning, Global Cuisine & Dietary Adaptations
Education
School: French Pastry School, Chicago, IL
Program: L’Art de la Pâtisserie
Focus: Intensive training in traditional French pastry techniques, baking theory, and confectionery arts.
Emily’s journey started in a pastry kitchen but took a detour into the world of health and flavor science.
Graduating from the French Pastry School and studying nutrition opened her eyes to a new mission: making healthy food taste like something you’d actually crave.
At Dining At Home, Emily’s the go-to for smart, feel-good recipes that don’t trade flavor for nutrition.
She’s all about adding a fresh spin on old favorites and finding small ways to make everyday meals a little brighter.
Outside of the kitchen, Emily is most at home walking forest trails, testing plant-based recipes, or sharing a picnic under a wide-open sky.