Savory Cream Cheese Sausage Balls Recipe: Irresistible Party Favorite
Whipping up these delectable cream cheese sausage balls will transform your snack game in minutes.
Savory aromas fill kitchens faster than guests can gather around the appetizer table.
Unexpected flavor combinations make this recipe an instant crowd-pleaser at potlucks and game nights.
Mixing simple ingredients creates magic that surprises even experienced home cooks.
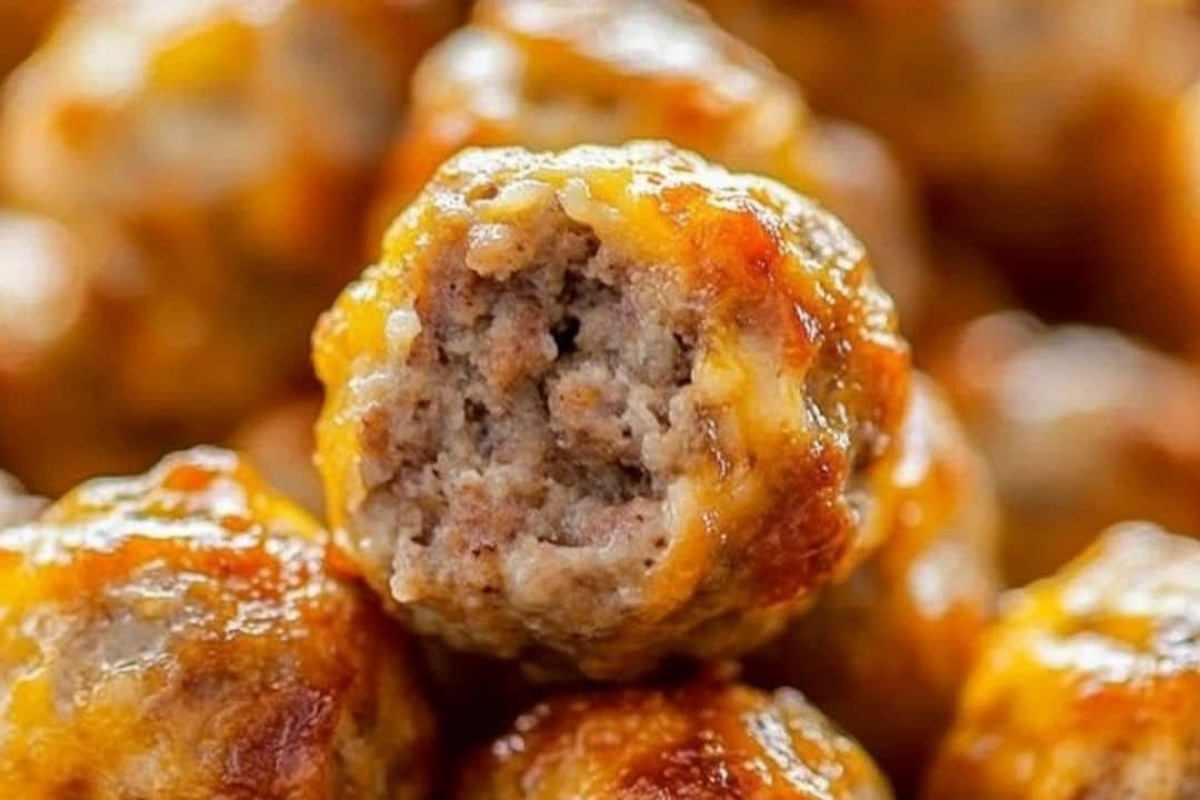
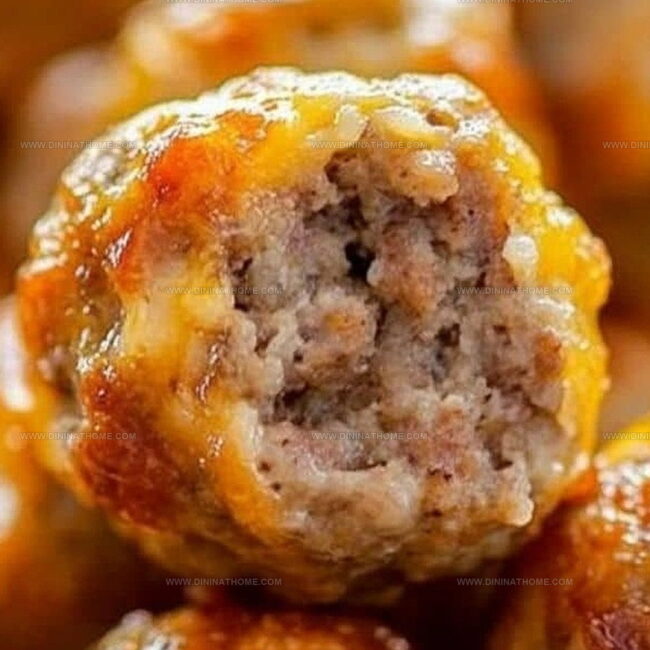
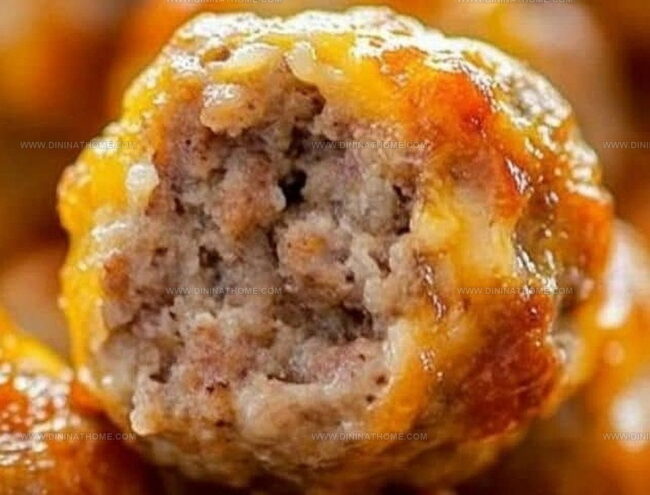
Sharp cheddar and zesty sausage blend seamlessly with creamy cheese, promising irresistible bites.
Crispy exteriors give way to tender, mouthwatering centers that keep everyone coming back for more.
Trust you’ll become the star of any gathering with these irresistible morsels.
Cream Cheese Sausage Balls That Are Savory Party Favorites
Easy Picks That Shape Cream Cheese Sausage Balls
Meat and Dairy Base:Dry Ingredients:Optional Serving Companions:Sausage Balls with Cream Cheese Prep
Step 1: Warm Up the Oven
Fire up your oven to 350°F and grab a parchment-lined baking sheet.
Prepare your cooking surface by spreading out the parchment paper evenly.
Step 2: Blend Meaty Base
Grab a spacious mixing bowl and combine sausage with cream cheese.
Mash and mix these ingredients until they create a smooth, uniform texture.
An electric mixer works like magic to blend everything perfectly.
Step 3: Build Flavor Foundation
Toss in your ingredients:Stir the mixture until all components are thoroughly integrated and look consistent.
Step 4: Shape Delicious Morsels
Roll the mixture into small, bite-sized balls about 1 inch in diameter.
Arrange these tasty spheres on the prepared baking sheet, leaving a small gap between each one.
Step 5: Quick Chill Break
Pop the baking sheet into the refrigerator for 10 minutes.
This quick cooldown helps the balls maintain their shape during baking.
Step 6: Bake to Golden Perfection
Slide the baking sheet into the preheated oven.
Bake for 25 minutes until the bites turn a beautiful golden brown and cook through completely.
Step 7: Serve and Enjoy
Let the sausage cheese bites cool slightly.
Serve them hot with your favorite dipping sauces like tangy honey mustard or creamy ranch dressing for an extra flavor kick.
Easy Tips for Cream Cheese Sausage Balls
Sausage Balls Storage Instructions
Dip Pairings for Cream Cheese Sausage Balls
Sausage Balls with Cream Cheese Snack Variants
FAQs
Using high-fat sausage and softened cream cheese helps create a moist, tender texture. The Bisquick mix also contributes to a lighter, more tender bite compared to using plain flour.
Yes! You can prepare the mixture and form balls in advance. Store them unbaked in an airtight container in the refrigerator for up to 24 hours before baking, or freeze the raw balls for up to a month.
They should be golden brown on the outside and reach an internal temperature of 160°F. The edges will look crispy, and they’ll no longer appear pink or raw in the center.
Use a cookie scoop or tablespoon to ensure uniform size. Wet your hands slightly to prevent the mixture from sticking while rolling, and chill the mixture briefly before forming balls for cleaner shaping.
Print
Cream Cheese Sausage Balls Recipe
- Total Time: 35 minutes
- Yield: 20 1x
Description
Savory cream cheese sausage balls deliver a mouthwatering appetizer that combines zesty sausage and creamy cheese in perfect harmony. Crispy exterior and tender inside make these irresistible bites a crowd-pleasing snack you can’t wait to devour.
Ingredients
Main Ingredients:
- 1 pound (450g) ground pork sausage (hot or mild)
- 8 ounces (225g) cream cheese, softened
- 2 cups (240g) Bisquick baking mix
Cheese Ingredients:
- 1 cup (100g) shredded sharp cheddar cheese
Instructions
- Prepare the culinary workspace by heating the oven to 350°F and lining a baking sheet with parchment paper for optimal cooking surface.
- Blend ground sausage with softened cream cheese in a spacious mixing bowl, using an electric mixer to ensure smooth, uniform incorporation of ingredients.
- Introduce Bisquick baking mix and shredded cheddar cheese into the meat mixture, gently folding and stirring until all components are evenly distributed.
- Craft uniform spherical portions by scooping and rolling the mixture into compact 1-inch orbs, strategically positioning them across the prepared baking sheet with slight separation.
- Enhance structural integrity by briefly chilling the assembled sausage spheres in the refrigerator for approximately 10 minutes, which helps maintain their shape during baking.
- Transfer the baking sheet to the preheated oven, allowing the sausage spheres to transform into golden-brown delicacies over 25 minutes, ensuring complete internal cooking.
- Remove from the oven and permit a brief cooling period, then present these savory morsels alongside complementary condiments like honey mustard or ranch dressing for an elevated gastronomic experience.
Notes
- Swap spicy sausage for a milder version if you prefer less heat, ensuring everyone can enjoy these tasty bites.
- Use low-fat cream cheese and turkey sausage to create a lighter, healthier alternative without compromising flavor.
- Freeze unbaked sausage balls for quick future appetizers by placing them on a tray, freezing solid, then transferring to a freezer bag for convenient storage.
- Experiment with different cheese varieties like pepper jack or smoked gouda to add unique flavor dimensions to the classic recipe.
- Prep Time: 10 minutes
- Cook Time: 25 minutes
- Category: Appetizer, Snacks
- Method: Baking
- Cuisine: American
Nutrition
- Serving Size: 20
- Calories: 170
- Sugar: 0g
- Sodium: 400mg
- Fat: 13g
- Saturated Fat: 6g
- Unsaturated Fat: 7g
- Trans Fat: 0g
- Carbohydrates: 5g
- Fiber: 0g
- Protein: 7g
- Cholesterol: 30mg
Emily Harper
Nutrition Consultant & Recipe Analyst
Expertise
Healthy Recipe Modification, Nutritional Analysis & Meal Planning, Global Cuisine & Dietary Adaptations
Education
School: French Pastry School, Chicago, IL
Program: L’Art de la Pâtisserie
Focus: Intensive training in traditional French pastry techniques, baking theory, and confectionery arts.
Emily’s journey started in a pastry kitchen but took a detour into the world of health and flavor science.
Graduating from the French Pastry School and studying nutrition opened her eyes to a new mission: making healthy food taste like something you’d actually crave.
At Dining At Home, Emily’s the go-to for smart, feel-good recipes that don’t trade flavor for nutrition.
She’s all about adding a fresh spin on old favorites and finding small ways to make everyday meals a little brighter.
Outside of the kitchen, Emily is most at home walking forest trails, testing plant-based recipes, or sharing a picnic under a wide-open sky.