Festive Cranberry Turkey Sliders Recipe: A Cozy Family Favorite
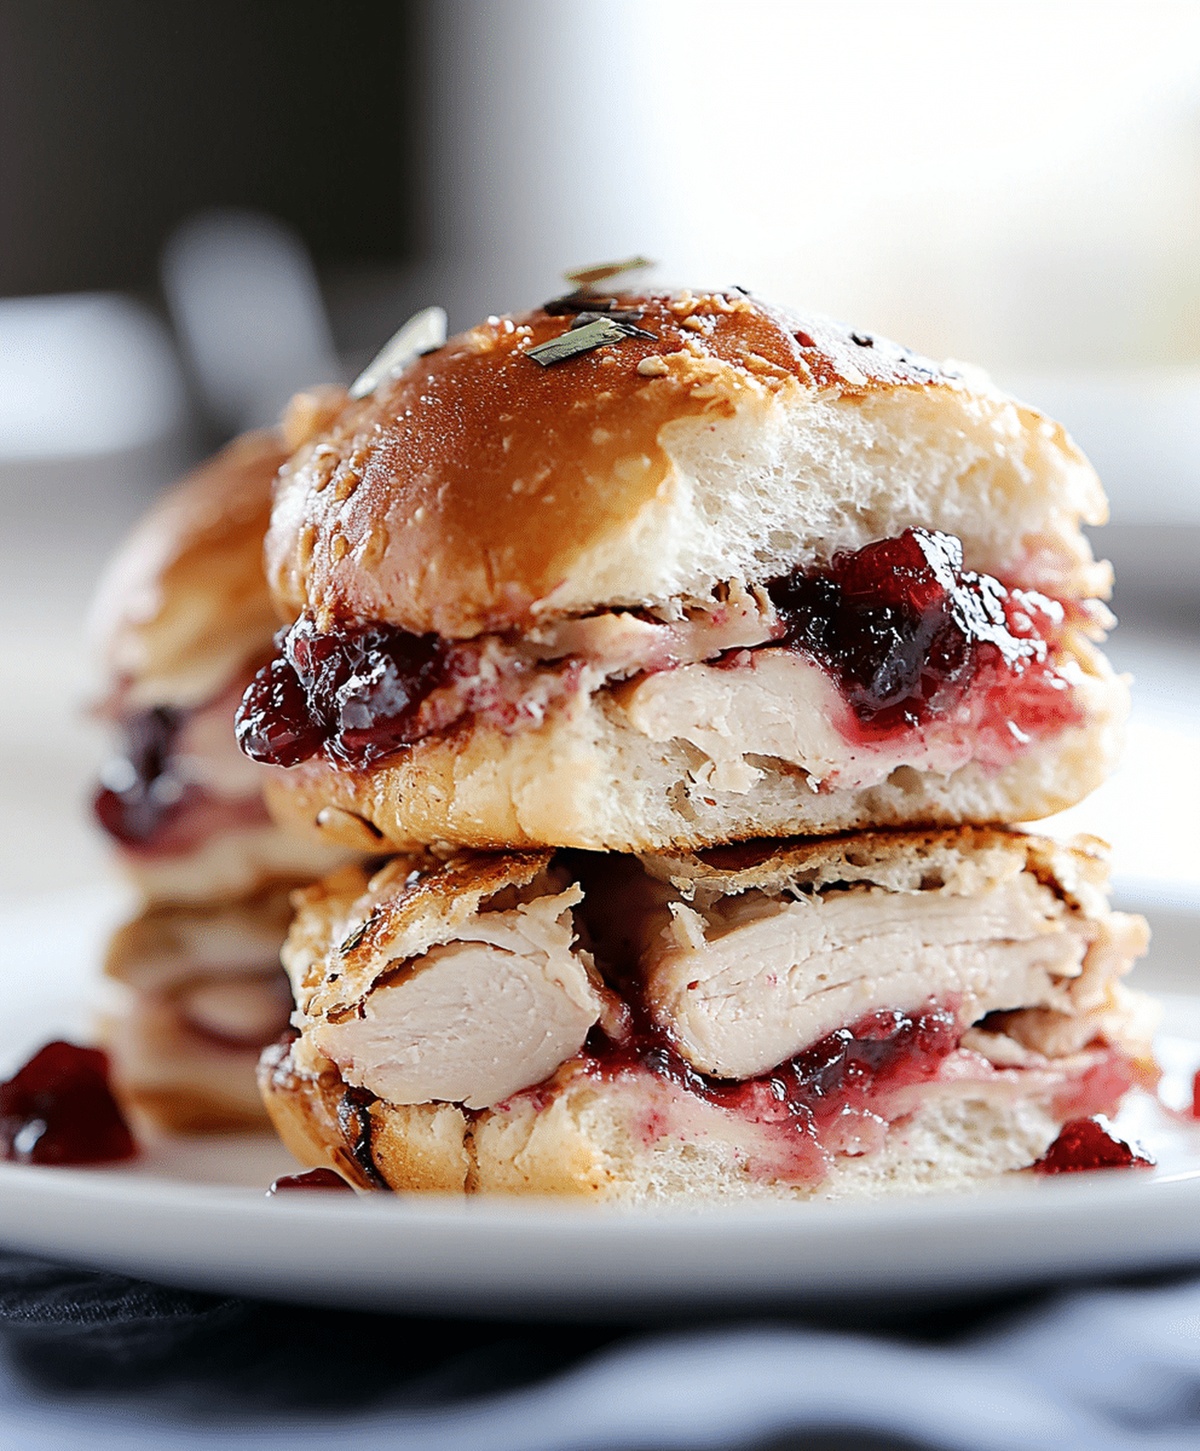
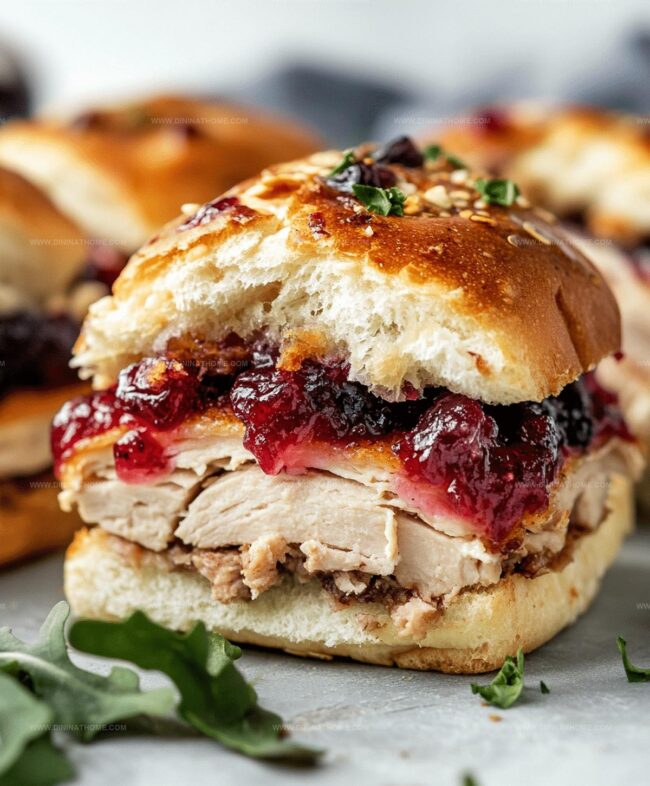
Crispy, golden slider buns cradle a delightful cranberry turkey creation that promises pure comfort.
Juicy shredded turkey mingles with tart cranberry sauce, creating a flavor explosion.
Small sandwiches pack massive taste in every single bite.
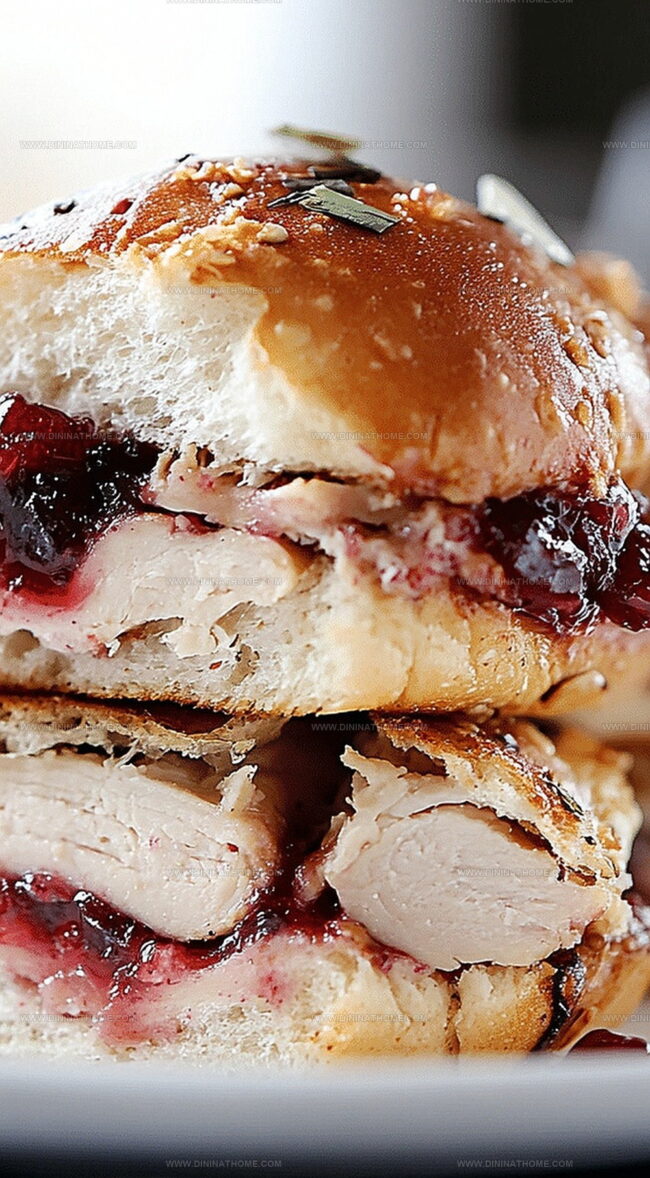
Delicate textures blend seamlessly, making these sliders perfect for casual gatherings.
Weekend game days or relaxed family meals welcome this crowd-pleasing dish.
Quick assembly means you spend less time cooking and more time enjoying delicious company.
Savor these mini masterpieces and watch everyone’s eyes light up with excitement.
Why Cranberry Turkey Sliders Hit the Spot
Cranberry Turkey Sliders Ingredient List
Bread Base:Protein:Cheese:Sauce and Spread:Seasoning and Topping:Cranberry Turkey Sliders Prep Walkthrough
Step 1: Warm Up the Oven
Crank your oven to a cozy 350°F, getting it ready for some delicious slider magic.
Step 2: Prep the Bun Base
Gently slice your slider buns in half and nestle the bottom halves into a greased 9×13-inch baking dish.
Step 3: Build the Flavor Foundation
Layer your baking dish with tender turkey, spreading it evenly across the bun bottoms.
Generously dollop cranberry sauce over the turkey, creating a sweet and tangy base.
Step 4: Add the Cheesy Layer
Drape Swiss cheese slices over the cranberry sauce, creating a melty blanket of deliciousness.
Step 5: Crown with Bun Tops
Place the top halves of the slider buns over the cheese, completing the sandwich stack.
Step 6: Create the Flavor Glaze
In a small mixing bowl, whisk together:Brush this golden mixture generously over the bun tops.
Sprinkle poppy seeds for an extra touch of excitement if you’re feeling fancy.
Step 7: Bake to Perfection
Cover the baking dish with foil and slide into the preheated oven.
Bake for 15 minutes, then remove the foil and continue baking for another 5 minutes until the tops turn a beautiful golden brown.
Step 8: Serve and Devour
Pull these mouthwatering sliders from the oven and serve them while they’re hot.
Get ready for a flavor explosion that’ll have everyone asking for seconds!
Tips to Make Cranberry Turkey Sliders Sweet and Savory
Chill Cranberry Turkey Sliders And Serve Again

Flavors to Serve with Cranberry Turkey Sliders
Cranberry Turkey Sliders with Sweet and Savory Twists
FAQs
Yes, you can substitute turkey with cooked chicken or ham for a different flavor profile while keeping the same recipe method.
Absolutely! You can assemble the sliders up to a day in advance, cover, and refrigerate. When ready to serve, bake as directed, adding a few extra minutes to the cooking time.
Regular dinner rolls or small hamburger buns work perfectly as a substitute for slider buns in this recipe.
Try replacing the turkey with roasted portobello mushrooms or plant-based deli slices to create a vegetarian version of these delicious sliders.
Print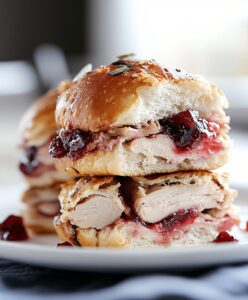
Cranberry Turkey Sliders Recipe
- Total Time: 30 minutes
- Yield: 12 1x
Description
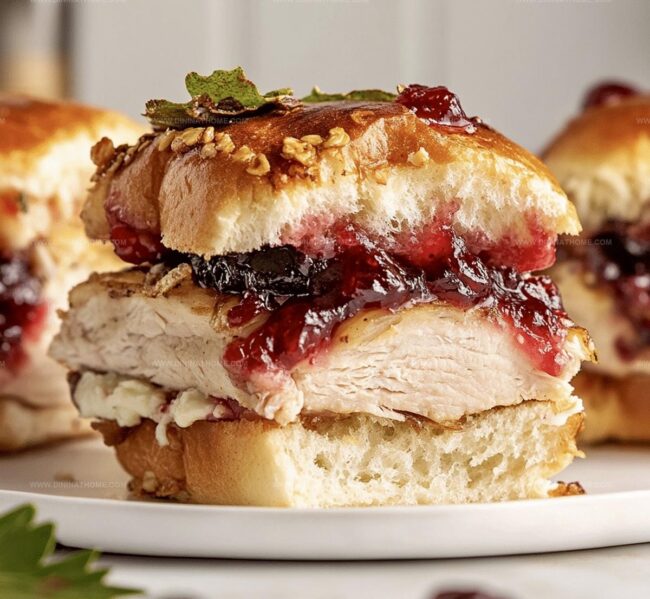
Festive holiday Cranberry Turkey Sliders deliver a perfect balance of savory and sweet flavors that dance across taste buds. Small sandwiches packed with tender turkey and zesty cranberry sauce promise a delightful bite-sized experience you won’t forget.
Ingredients
Main Ingredients:
- 2 cups cooked turkey (shredded or sliced)
- 12 slider buns
- 6 slices of Swiss cheese (halved)
- 1 cup cranberry sauce
Seasoning and Flavor Enhancers:
- 1 tablespoon Dijon mustard
- 1 tablespoon honey
- 1 teaspoon garlic powder
Finishing Ingredients:
- 4 tablespoons melted butter
- 1 tablespoon poppy seeds (optional)
Instructions
- Prepare the oven environment by heating to 350°F, ensuring an ideal temperature for baking sliders.
- Carefully bisect slider buns horizontally, creating a foundational base in a lightly greased 9×13-inch baking vessel.
- Distribute turkey meat uniformly across the bottom bun layer, creating a consistent protein foundation.
- Generously apply cranberry sauce across the turkey, establishing a tangy flavor profile.
- Arrange Swiss cheese slices strategically over the cranberry sauce, ensuring complete coverage.
- Position the top halves of slider buns to complete the sandwich structure.
- Craft a savory glaze by whisking together melted butter, Dijon mustard, honey, and garlic powder in a mixing bowl.
- Meticulously brush the prepared glaze over the bun surfaces, allowing the mixture to penetrate and enhance flavor.
- Optional: Sprinkle poppy seeds across the tops for added texture and visual appeal.
- Shield the assembled sliders with aluminum foil and transfer to the preheated oven.
- Bake covered for 15 minutes to allow flavors to meld and ingredients to heat thoroughly.
- Remove foil and continue baking an additional 5 minutes until bun tops transform into a golden, crispy finish.
- Extract from oven and serve immediately while warm, ensuring optimal taste and texture.
Notes
- Assemble sliders up to a day in advance and refrigerate, covered, to save time during busy gatherings.
- Use different cheeses like provolone or cheddar for varied flavor profiles and dietary preferences.
- Replace regular slider buns with gluten-free alternatives to accommodate wheat sensitivities.
- Add a dash of red pepper flakes or sriracha to the butter mixture for those who enjoy extra heat.
- Prep Time: 10 minutes
- Cook Time: 20 minutes
- Category: Lunch, Appetizer, Snacks
- Method: Baking
- Cuisine: American
Nutrition
- Serving Size: 12
- Calories: 250
- Sugar: 5 g
- Sodium: 400 mg
- Fat: 12 g
- Saturated Fat: 6 g
- Unsaturated Fat: 4 g
- Trans Fat: 0 g
- Carbohydrates: 28 g
- Fiber: 1 g
- Protein: 12 g
- Cholesterol: 50 mg
James Walker
Lead Recipe Developer & Culinary Educator
Expertise
Southern Cuisine & Farm-to-Table Cooking, Recipe Development & Testing, Culinary Education & Instruction
Education
School: Auguste Escoffier School of Culinary Arts
Program: Diploma in Culinary Arts and Operations
Focus: Comprehensive training in classical and modern culinary techniques, kitchen operations, and farm-to-table practices.
James didn’t learn cooking from a TV show, he learned it from busy kitchens, family gatherings, and long afternoons spent testing recipes the hard way.
After training at the Auguste Escoffier School of Culinary Arts, he brought his love for real, down-to-earth food to every dish he makes.
At Dining At Home, James loves building recipes that feel familiar but still have something special, like adding a twist to a classic or making a slow Sunday dinner feel brand new.
When he’s not in the kitchen, you’ll probably find him swapping garden tips at the farmers’ market or teaching his daughter how to flip pancakes without a mess (almost).