The Ultimate Classic Peanut Butter Blossoms Recipe For Holidays
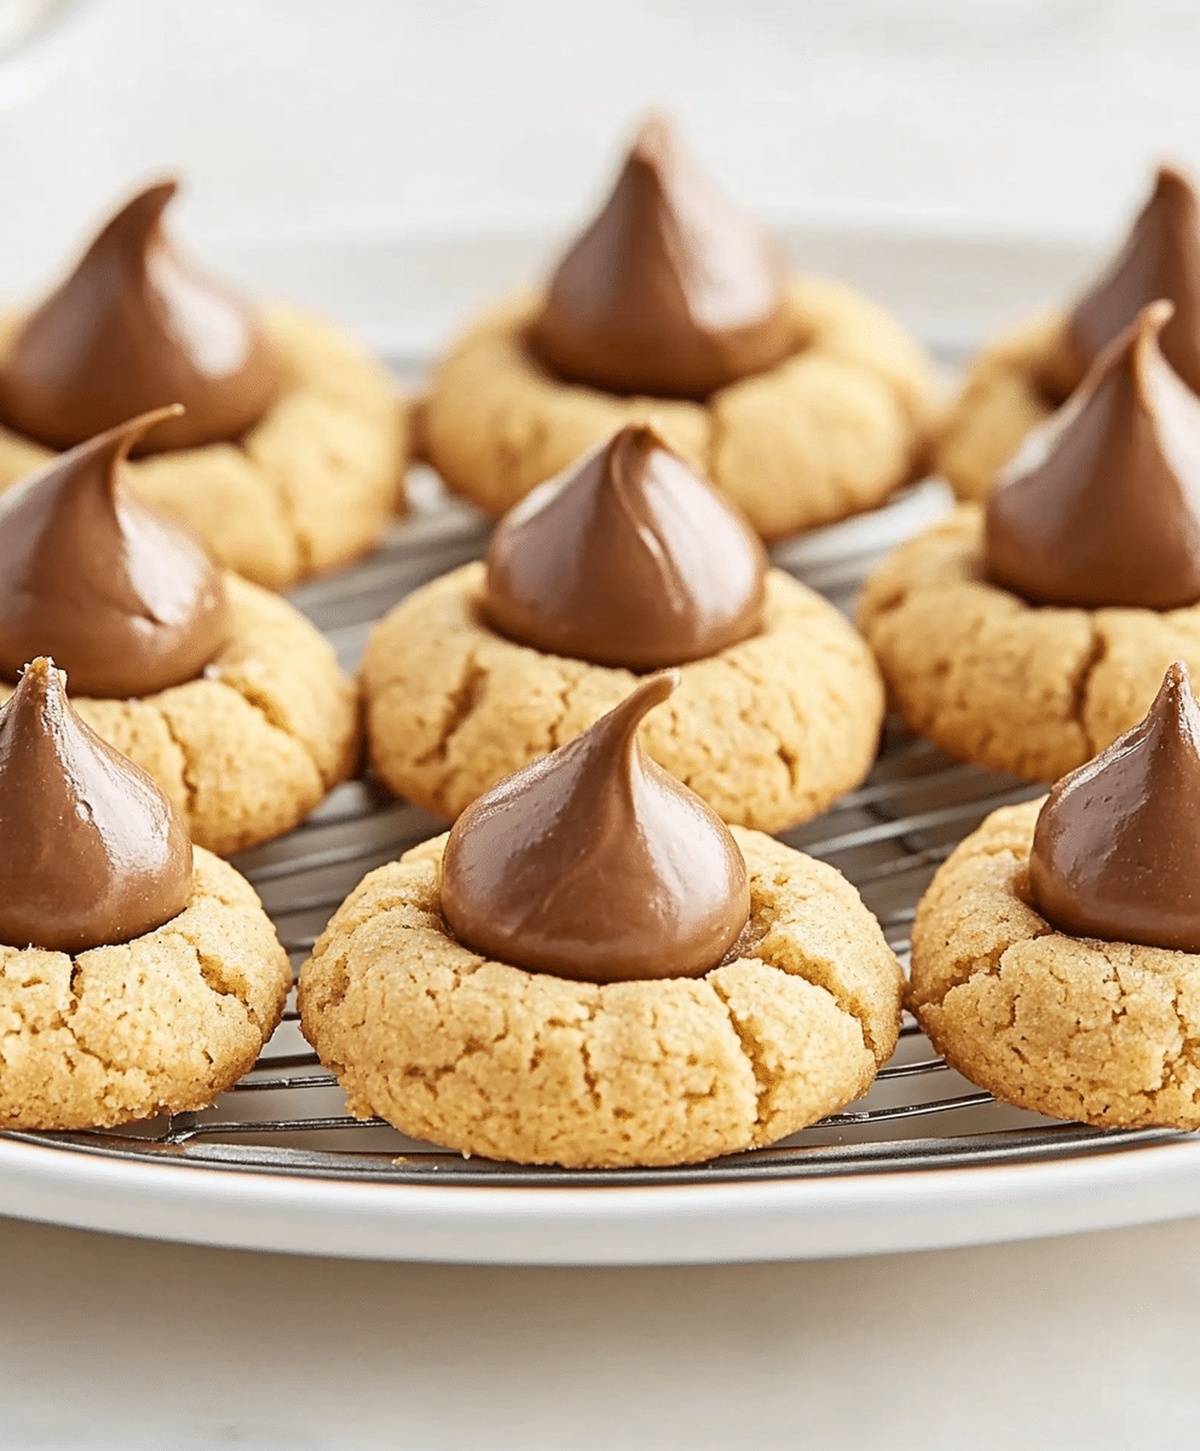
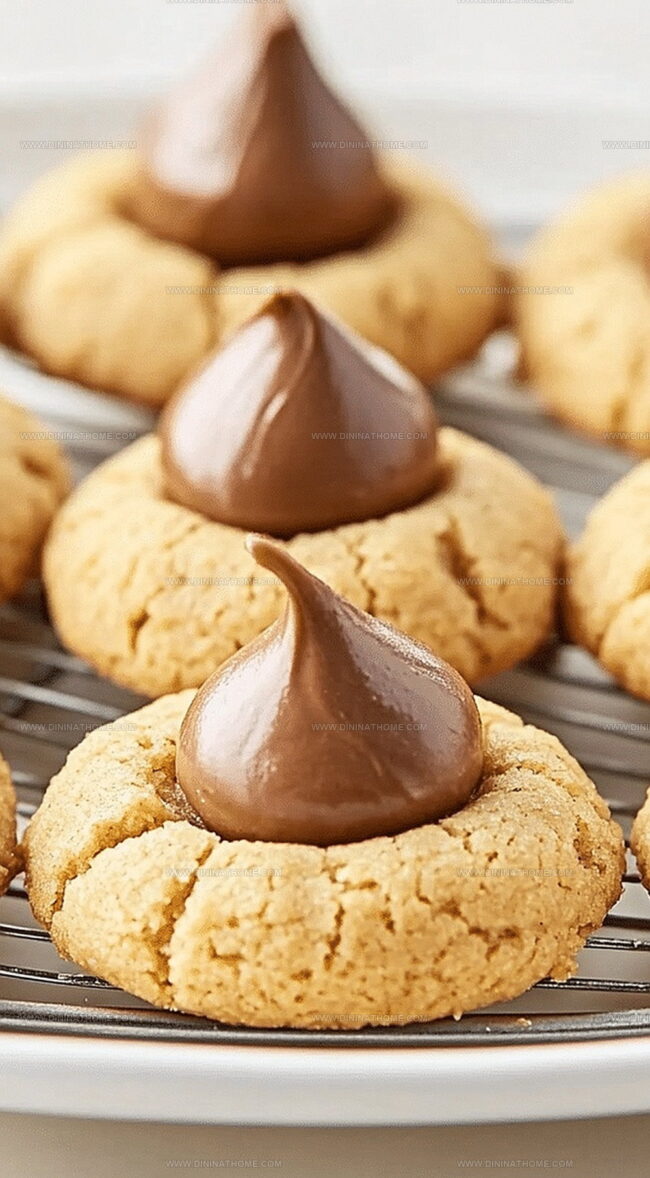
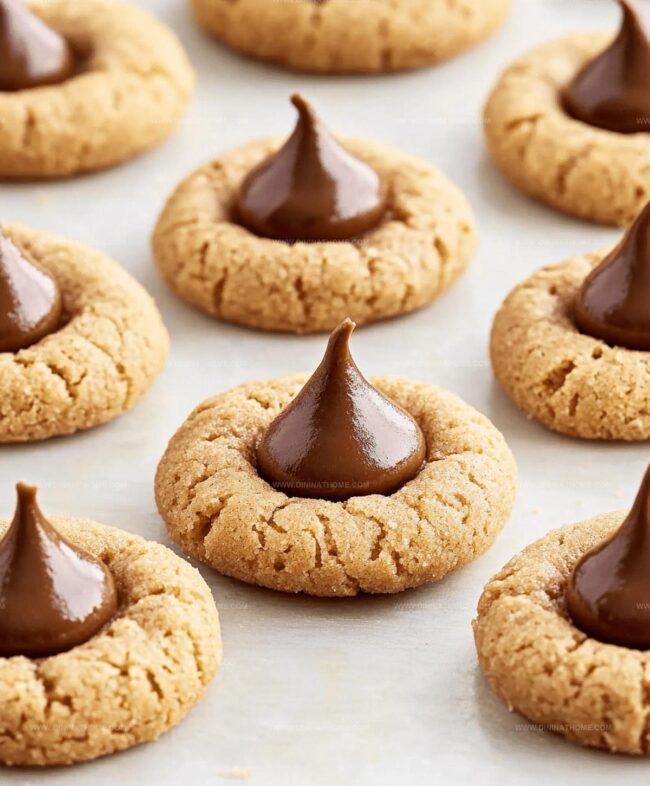
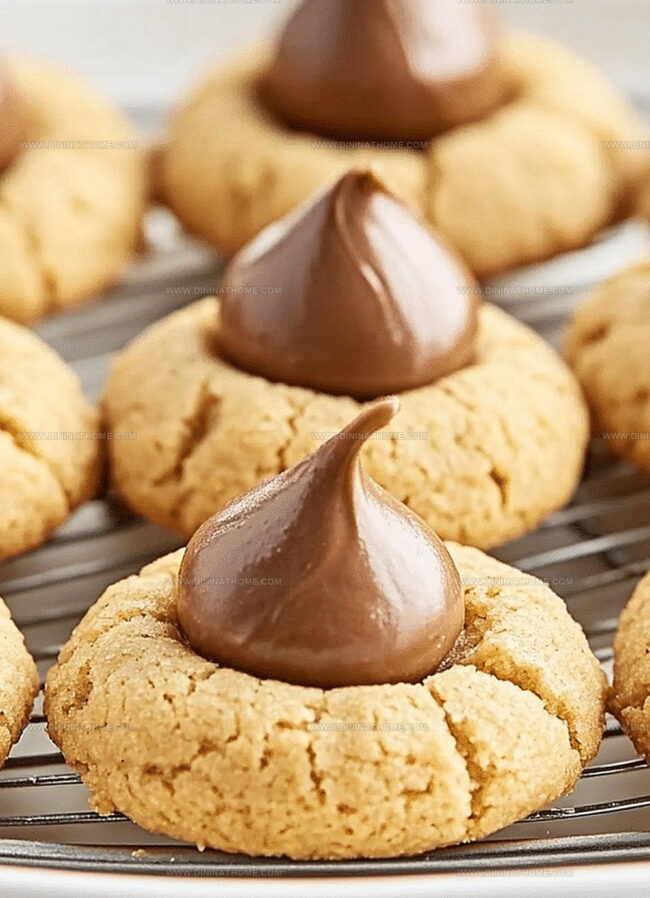
Peanut butter blossoms spark joy in every baker’s kitchen with their irresistible charm.
Soft, pillowy cookies promise a delightful blend of nutty and chocolatey goodness.
Memories of childhood come flooding back when you catch the sweet aroma wafting through the house.
Grandma’s classic recipe carries a nostalgic touch that connects generations through simple ingredients.
Each crumbly bite delivers a perfect balance of rich peanut butter and smooth chocolate kiss.
Crisp edges give way to a tender center that melts in you mouth.
Classic Peanut Butter Blossoms Pair Nutty Richness With Sweet Center
What You Need For Peanut Butter Blossoms
Base Ingredients:Binding and Flavor Ingredients:Dry Ingredients:Finishing Ingredients:Peanut Butter Blossoms Step Guide
Step 1: Warm Up the Oven
Crank your oven to a toasty 375°F and grab a baking sheet.
Line it with parchment paper for easy cookie removal.
Step 2: Create a Creamy Base
In a spacious mixing bowl, blend together:Whip these ingredients until they transform into a silky smooth mixture.
Step 3: Add Moisture and Flavor
Introduce an egg and vanilla extract to the creamy base.
Mix thoroughly until everything becomes wonderfully combined.
Step 4: Prepare Dry Ingredients
In a separate bowl, mix:Gradually fold these dry ingredients into the wet mixture, creating a luscious cookie dough.
Step 5: Shape Sweet Spheres
Roll the dough into delightful bite-sized balls.
Give each ball a luxurious roll in granulated sugar for a sparkling exterior.
Step 6: Bake to Golden Perfection
Arrange cookie balls on the prepared baking sheet, spacing them about 2 inches apart.
Bake for 8-10 minutes until edges turn a beautiful golden brown.
Step 7: Add Chocolate Surprise
Immediately after removing from the oven, gently press a chocolate kiss into the center of each warm cookie.
Step 8: Cool and Enjoy
Let cookies rest on the baking sheet for 5 minutes.
Transfer to a wire rack and allow them to cool completely before devouring.
Peanut Butter Blossoms The Classic Pro Way
Peanut Butter Blossoms Storage Instructions For Best Taste
Best Matches for Peanut Butter Blossoms
Peanut Butter Blossoms Reworks
FAQs
The heat softens the chocolate kiss slightly, allowing it to stick perfectly into the warm cookie without breaking the delicate cookie structure.
Absolutely! While traditional milk chocolate kisses are classic, you can experiment with dark chocolate, caramel-filled, or even hugs (striped white and milk chocolate) kisses for variety.
Make sure your butter is at room temperature but not too soft, and chill the dough for 30 minutes before rolling and baking to help maintain the cookie’s shape.
Use a creamy, smooth peanut butter like Jif or Skippy. Avoid natural peanut butters that separate, as they can affect the cookie’s texture and consistency.
Print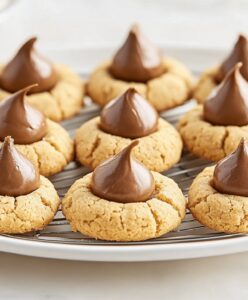
Classic Peanut Butter Blossoms Recipe
- Total Time: 25 minutes
- Yield: 24 1x
Description
Sweet Peanut Butter Blossoms cookies blend nostalgic chocolate kiss centers with rich, crumbly peanut butter dough. Childhood memories and holiday cheer mingle in each delightful bite you’ll savor with pure delight.
Ingredients
Main Ingredients:
- 1/2 cup unsalted butter, softened (113 grams)
- 1/2 cup creamy peanut butter (128 grams)
- 1 large egg
- 1 1/2 cups all-purpose flour (180 grams)
Sweeteners:
- 1/2 cup granulated sugar (100 grams)
- 1/2 cup brown sugar, packed (110 grams)
- 1/4 cup granulated sugar (for rolling) (50 grams)
Flavor Enhancers and Binding Agents:
- 1 teaspoon vanilla extract
- 1 teaspoon baking soda
- 1/4 teaspoon salt
- 24 Hershey’s chocolate kisses, unwrapped
Instructions
- Warm the oven to 375°F and prepare a baking sheet with parchment paper, ensuring an even surface for perfect cookie placement.
- Combine softened butter, creamy peanut butter, granulated sugar, and brown sugar in a mixing bowl, whipping until the mixture becomes silky and uniform in texture.
- Incorporate the egg and vanilla extract, blending thoroughly to create a smooth, cohesive base.
- Sift together flour, baking soda, and salt in a separate container, then gently fold these dry ingredients into the wet mixture, mixing until a uniform dough forms.
- Shape the dough into small, uniform spheres approximately one inch in diameter, then delicately roll each ball in additional granulated sugar for a sparkling exterior.
- Arrange the sugar-coated dough balls on the prepared baking sheet, spacing them generously to allow for slight spreading during baking.
- Slide the sheet into the preheated oven and bake for 8-10 minutes, watching for a subtle golden hue around the cookie edges.
- Immediately upon removal from the oven, create a gentle indentation in the center of each warm cookie by pressing a chocolate kiss into the surface.
- Allow the cookies to rest on the baking sheet for five minutes to stabilize, then carefully transfer to a wire cooling rack to achieve complete cooling and set the chocolate kiss firmly in place.
Notes
- Swap regular peanut butter with natural or organic versions for a healthier twist that maintains the classic cookie’s rich flavor.
- Use sunflower seed butter or almond butter as excellent dairy-free and nut-free alternatives for those with allergies.
- Chill the dough for 30 minutes before rolling to prevent spreading and create more uniform, picture-perfect cookies with crisp edges.
- For gluten-sensitive bakers, replace all-purpose flour with a 1:1 gluten-free baking blend to ensure everyone can enjoy these delightful treats.
- Prep Time: 15 minutes
- Cook Time: 10 minutes
- Category: Desserts, Snacks
- Method: Baking
- Cuisine: American
Nutrition
- Serving Size: 24
- Calories: 120
- Sugar: 8 g
- Sodium: 75 mg
- Fat: 6 g
- Saturated Fat: 2 g
- Unsaturated Fat: 4 g
- Trans Fat: 0 g
- Carbohydrates: 15 g
- Fiber: 1 g
- Protein: 3 g
- Cholesterol: 10 mg
Emily Harper
Nutrition Consultant & Recipe Analyst
Expertise
Healthy Recipe Modification, Nutritional Analysis & Meal Planning, Global Cuisine & Dietary Adaptations
Education
School: French Pastry School, Chicago, IL
Program: L’Art de la Pâtisserie
Focus: Intensive training in traditional French pastry techniques, baking theory, and confectionery arts.
Emily’s journey started in a pastry kitchen but took a detour into the world of health and flavor science.
Graduating from the French Pastry School and studying nutrition opened her eyes to a new mission: making healthy food taste like something you’d actually crave.
At Dining At Home, Emily’s the go-to for smart, feel-good recipes that don’t trade flavor for nutrition.
She’s all about adding a fresh spin on old favorites and finding small ways to make everyday meals a little brighter.
Outside of the kitchen, Emily is most at home walking forest trails, testing plant-based recipes, or sharing a picnic under a wide-open sky.