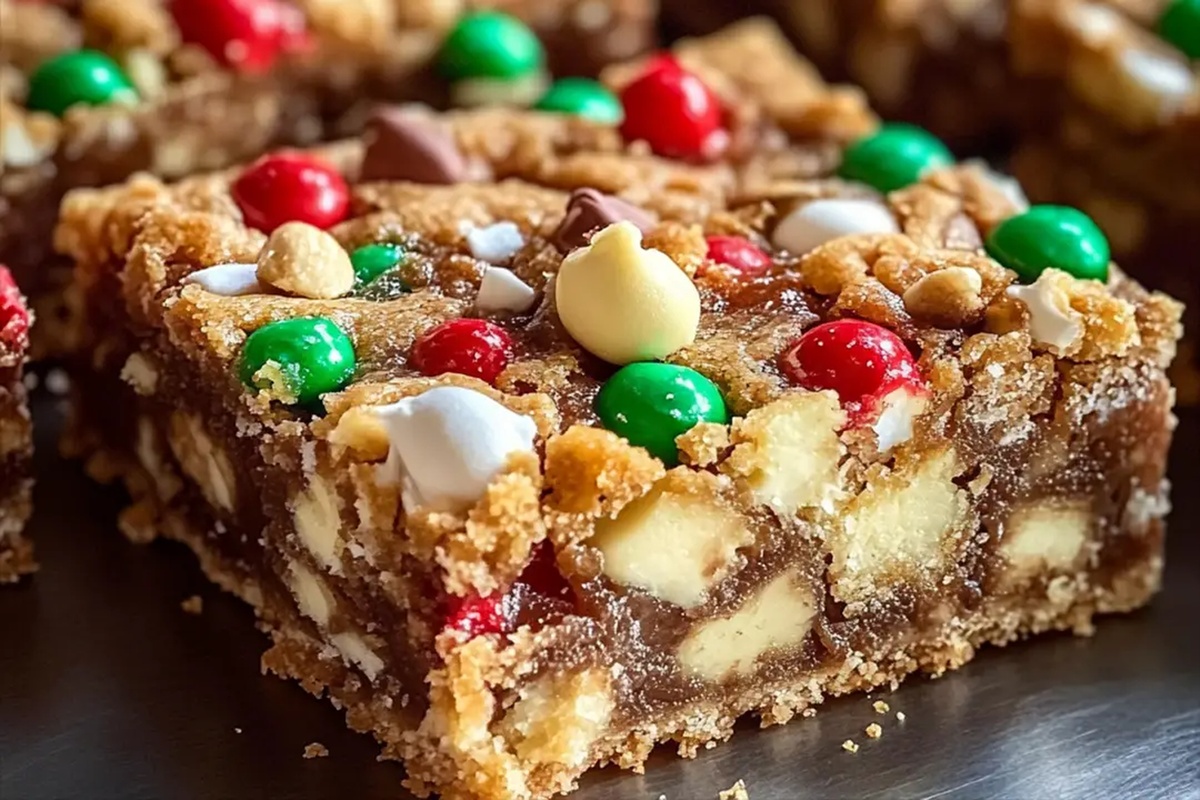
Magical Christmas Cookie Bars Recipe: A Festive Sweet Treat
Sweet memories dance through my kitchen whenever I whip up these delightful christmas cookie bars that melt hearts faster than snowflakes in sunlight.
Grandma’s secret recipe whispers comfort from generations past.
Buttery layers promise a festive experience that sparkles with joy.
Soft, chewy textures combine rich flavors that surprise and delight.
Decorative sprinkles add whimsical touches to each delectable square.
Families gather around, eagerly anticipating these magical treats.
Christmas Cookie Bars That Steal the Dessert Table
Christmas Cookie Bars – What Goes In
Base Ingredients:Sweet Components:Wet Ingredients:Optional Topping:Festive Add-Ins:Baking Christmas Cookie Bars in Festive Fashion
Step 1: Warm Up the Oven
Preheat your oven to 350°F.
Line a 9×13 inch baking pan with parchment paper, letting the edges hang over for easy removal later.
Spray the parchment with non-stick cooking spray to ensure smooth release of the bars.
Step 2: Create the Dry Mixture
In a medium bowl, whisk together:Blend these ingredients until they’re perfectly combined and look like a winter wonderland of powdery goodness.
Step 3: Whip the Butter and Sweetness
Using an electric mixer, beat softened butter until it becomes light and fluffy.
Gradually add granulated sugar and brown sugar, mixing until the texture becomes creamy and smooth.
The mixture should look like silky snow.
Step 4: Marry Wet and Dry Ingredients
Add eggs one at a time to the butter mixture, mixing thoroughly after each addition.
Slowly incorporate the dry ingredient blend into the wet ingredients.
Fold in white chocolate chips and crushed peppermint candies.
Stir until just combined to keep the batter tender.
Step 5: Bake to Golden Perfection
Pour the batter into the prepared pan, spreading evenly with a spatula.
Bake in the preheated oven for 25-30 minutes.
The bars are done when the edges turn golden and a toothpick inserted in the center comes out with just a few moist crumbs.
Step 6: Create Festive Drizzle
Once cooled, melt white chocolate in the microwave.
Drizzle the melted chocolate over the bars in elegant zigzag patterns using a spoon or piping bag.
Step 7: Slice and Celebrate
Let the bars cool completely in the pan.
Using the parchment paper edges, lift the entire batch out.
Slice into squares or festive triangles.
Serve and watch everyone’s eyes light up with holiday joy.
Cookie Bar Baking Tips Just Right for Christmas
Save Christmas Cookie Bars for Later
Perfect Pairings for Christmas Cookie Bars
Cookie Bars Decorative Holiday Ideas
FAQs
These bars feature a delightful blend of vanilla, butter, and festive sprinkles, creating a sweet and celebratory taste that captures the holiday spirit with every bite.
Yes, you can prepare these cookie bars up to 3 days in advance. Simply store them in an airtight container at room temperature, keeping them fresh and delicious for your holiday gathering.
The basic recipe does not include nuts, making them a safe option for those with nut allergies. However, always double-check your specific ingredients to ensure complete safety.
Add holiday-themed sprinkles, use red and green food coloring in the batter, or create a festive white chocolate drizzle to enhance the Christmas theme and make them look more seasonal and fun.
Print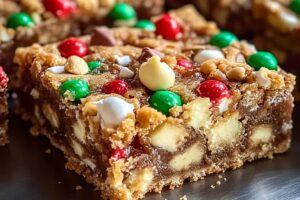
Christmas Cookie Bars Recipe
- Total Time: 45 minutes
- Yield: 12 1x
Description
Festive Christmas Cookie Bars bring holiday cheer with layers of sweet, buttery goodness and festive sprinkles. Crumbly, rich textures and classic seasonal flavors promise pure delight for holiday gatherings, delivering warmth you can savor in every delicious bite.
Ingredients
Main Ingredients:
- 2 1/4 cups (270 grams) all-purpose flour
- 1 1/2 cups (255 grams) semi-sweet chocolate chips
- 1 cup (255 grams) holiday M&Ms or red and green candy-coated chocolates
Wet Ingredients:
- 1/2 cup (113 grams) unsalted butter, softened
- 1 cup (200 grams) granulated sugar
- 2 large eggs
- 1 teaspoon vanilla extract
- 1/2 teaspoon almond extract (optional for extra flavor)
Additional/Optional Ingredients:
- 1 teaspoon baking soda
- 1/2 teaspoon salt
- 1/2 cup (60 grams) chopped pecans or walnuts (optional)
- 1/2 cup (85 grams) white chocolate chips (optional, for drizzle)
Instructions
- Grease a rectangular baking pan and line with parchment paper, ensuring edges are fully covered for easy removal.
- Preheat the oven to the specified temperature, creating an ideal baking environment for the festive treats.
- Sift together flour, baking powder, and salt in a medium bowl, ensuring a smooth and lump-free dry mixture.
- In a large mixing bowl, use an electric mixer to whip butter and granulated sugar until the mixture becomes light, fluffy, and pale in color.
- Incorporate eggs and vanilla extract into the butter mixture, blending until completely integrated and creating a smooth, uniform consistency.
- Gradually fold the dry ingredient mixture into the wet ingredients, stirring gently to prevent overmixing and maintain a tender texture.
- Gently fold in chocolate chips and holiday sprinkles, distributing them evenly throughout the cookie dough.
- Transfer the prepared dough into the prepared baking pan, spreading it evenly and smoothing the top with a spatula.
- Place the pan in the preheated oven and bake until the edges turn golden brown and a toothpick inserted in the center comes out clean.
- Remove from the oven and allow the cookie bars to cool completely in the pan for optimal setting.
- Optional: Melt white chocolate and drizzle decoratively across the cooled bars for an extra festive touch.
- Once fully cooled, lift the bars out using the parchment paper and slice into even squares or rectangles.
- Serve and enjoy these delightful Christmas cookie bars with family and friends.
Notes
- Swap white chocolate for dark or milk chocolate to suit different taste preferences.
- Ensure butter is softened at room temperature for smoother creaming and better texture.
- Line the baking pan with parchment paper for easy removal and clean cutting of cookie bars.
- Chill the dough briefly before baking to prevent excessive spreading and maintain a thick, chewy consistency.
- Prep Time: 15 minutes
- Cook Time: 30 minutes
- Category: Desserts, Snacks
- Method: Baking
- Cuisine: American
Nutrition
- Serving Size: 12
- Calories: 270
- Sugar: 22 g
- Sodium: 150 mg
- Fat: 12 g
- Saturated Fat: 7 g
- Unsaturated Fat: 3 g
- Trans Fat: 0 g
- Carbohydrates: 38 g
- Fiber: 1 g
- Protein: 3 g
- Cholesterol: 40 mg
James Walker
Lead Recipe Developer & Culinary Educator
Expertise
Southern Cuisine & Farm-to-Table Cooking, Recipe Development & Testing, Culinary Education & Instruction
Education
School: Auguste Escoffier School of Culinary Arts
Program: Diploma in Culinary Arts and Operations
Focus: Comprehensive training in classical and modern culinary techniques, kitchen operations, and farm-to-table practices.
James didn’t learn cooking from a TV show, he learned it from busy kitchens, family gatherings, and long afternoons spent testing recipes the hard way.
After training at the Auguste Escoffier School of Culinary Arts, he brought his love for real, down-to-earth food to every dish he makes.
At Dining At Home, James loves building recipes that feel familiar but still have something special, like adding a twist to a classic or making a slow Sunday dinner feel brand new.
When he’s not in the kitchen, you’ll probably find him swapping garden tips at the farmers’ market or teaching his daughter how to flip pancakes without a mess (almost).