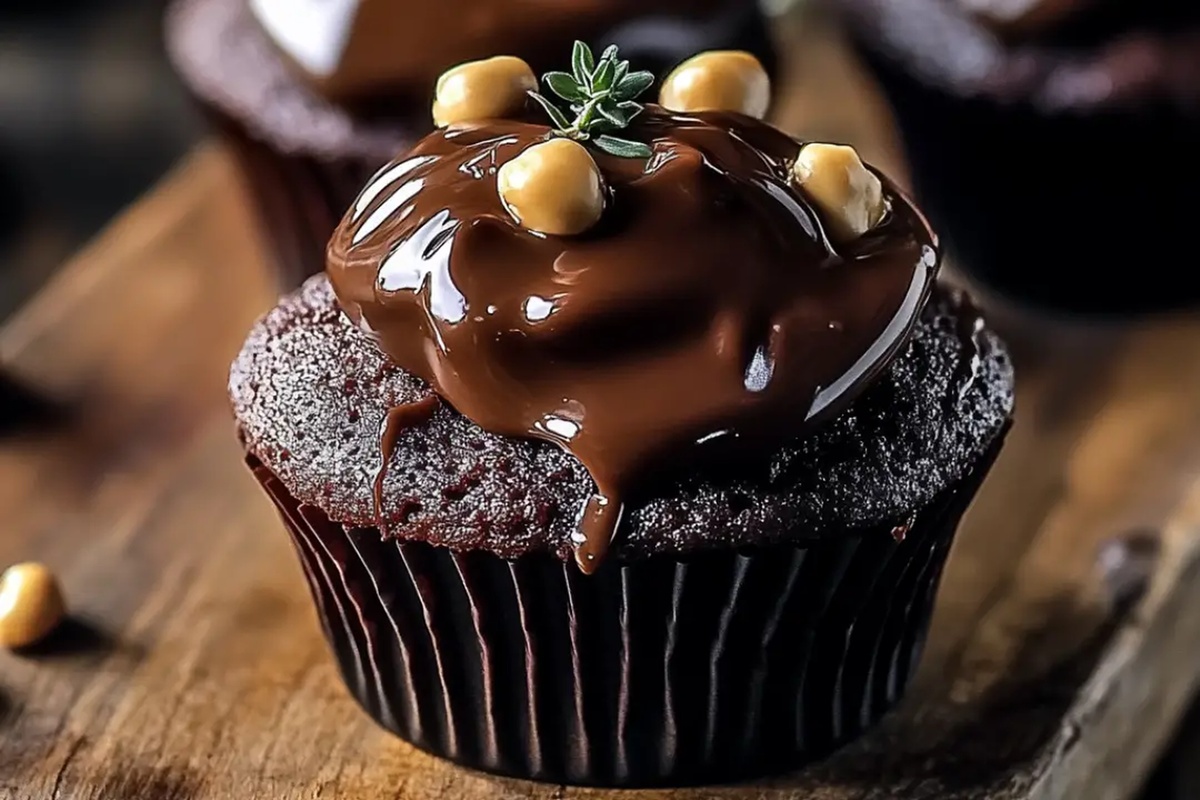
Dreamy Chocolate Peanut Butter Lava Cupcakes Recipe
Sweet chocolate peanut butter lava cupcakes offer a decadent twist on traditional desserts that melt in you.
Molten centers promise pure indulgence with every single bite.
Soft chocolate cake cradles a rich, gooey core waiting to surprise.
Delicate crumbs give way to velvety peanut butter streams that cascade across your plate.
Nobody can resist these miniature explosions of creamy, intense flavors.
Chocolate and peanut butter create magical chemistry in these irresistible individual treats.
Friends will marvel at your baking skills and beg for seconds.
Prepare to become the ultimate dessert hero at your next gathering.
Lava Cupcakes With Chocolate and Peanut Butter Bliss
Chocolate Peanut Butter Lava Cupcakes What You’ll Use
Dry Ingredients:Wet Ingredients:Filling and Topping Ingredients:Molten Chocolate PB Cupcake Instructions That Impress
Step 1: Prepare the Oven
Warm up your oven to 350°F and line a muffin tin with cute cupcake liners.
This sets the stage for your delicious adventure.
Step 2: Mix Dry Ingredients
Grab a medium bowl and whisk together these powdery friends:Blend until they’re perfectly combined and free of lumps.
Step 3: Cream Butter and Sugars
In a large mixing bowl, beat butter, granulated sugar, and brown sugar until they transform into a fluffy cloud-like mixture.
This is where the magic begins!
Add eggs one at a time, giving each a thorough mix.
Splash in vanilla extract for an extra flavor boost.
Step 4: Create Smooth Batter
Slowly incorporate dry ingredients into the creamy mixture, alternating with buttermilk.
Start and end with dry ingredients to ensure a silky-smooth consistency.
Pour in hot water and stir until the batter looks glossy and even.
Step 5: Fill Cupcake Liners
Carefully spoon batter into liners, filling each about two-thirds full.
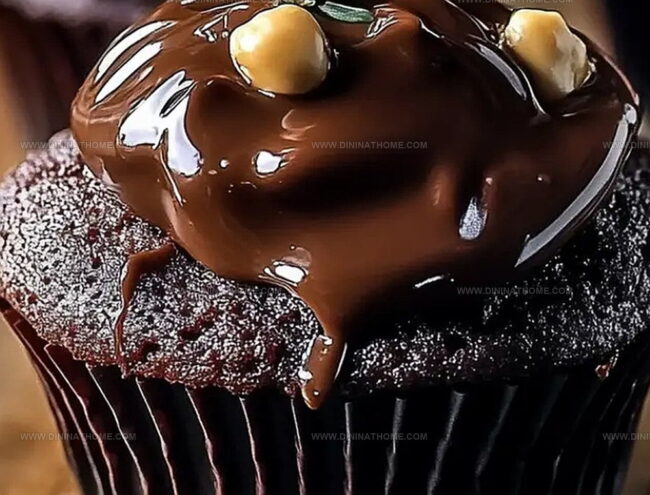
Drop a spoonful of creamy peanut butter right into the center of each cupcake.
This creates the surprise lava effect that will make everyone swoon.
Step 6: Bake to Perfection
Slide the muffin tin into the preheated oven.
Bake for 18-20 minutes until the cupcake tops spring back when gently touched.
Your kitchen will smell like chocolate heaven!
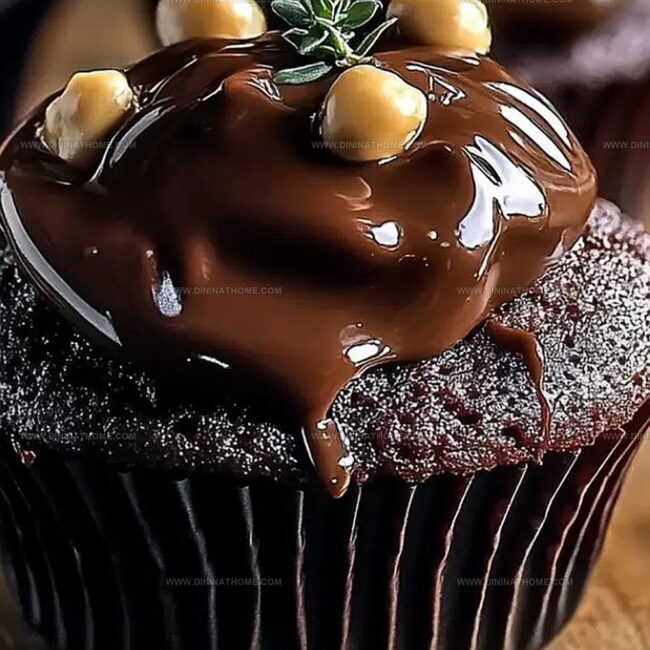
Step 7: Cool and Decorate
Let cupcakes rest in the pan for 5 minutes, then transfer to a wire rack.
Once completely cooled, top each cupcake with a generous dollop of peanut butter and sprinkle chocolate chips for that final touch of indulgence.
Melt-in-Your-Mouth Tips for Chocolate Lava Cupcake Fans
Reheat Chocolate Peanut Butter Lava Cupcakes
Perfect Sips for Chocolate Peanut Butter Lava Cupcakes
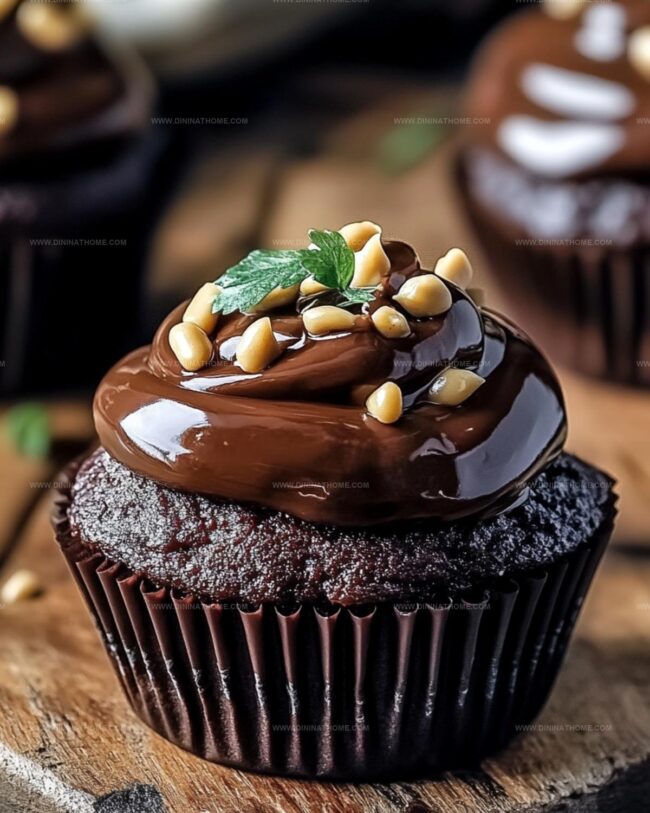
Chocolate Lava Cupcakes with Nutty Spins
FAQs
No, these chocolate peanut butter lava cupcakes are surprisingly easy. Even beginner bakers can successfully create them by following the step-by-step instructions carefully.
Yes, you can easily make a buttermilk substitute by mixing regular milk with a tablespoon of white vinegar or lemon juice. Let it sit for 5 minutes before using in the recipe.
Drop a spoonful of peanut butter directly into the center of each cupcake batter before baking. The heat will create a molten, gooey center when you bite into the cupcake.
Dutch-processed cocoa powder provides the richest chocolate flavor and creates a deeper, more intense chocolate taste in these cupcakes.
Print
Chocolate Peanut Butter Lava Cupcakes Recipe
- Total Time: 35 minutes
- Yield: 12 1x
Description
Molten chocolate peanut butter lava cupcakes promise a sinful dessert experience that melts hearts with rich, gooey centers. Sweet chocolate and creamy peanut butter dance together, creating an irresistible treat you’ll crave again and again.
Ingredients
Chocolate Peanut Butter Lava Cupcakes
Main Ingredients:
- 1 cup all-purpose flour
- 1/2 cup unsweetened cocoa powder
- 1/2 cup unsalted butter, softened
- 1/2 cup granulated sugar
- 1/2 cup brown sugar
- 2 large eggs
- 1/2 cup creamy peanut butter
Liquid and Wet Ingredients:
- 1/2 cup buttermilk
- 1/2 cup hot water
- 1 teaspoon vanilla extract
Dry and Seasoning Ingredients:
- 1/2 teaspoon baking powder
- 1/4 teaspoon baking soda
- 1/4 teaspoon salt
- 1/4 cup chocolate chips
Instructions
- Prepare the oven environment by heating to 350°F (175°C) and positioning cupcake liners within a muffin tin.
- Create a dry ingredient mixture by whisking flour, cocoa powder, baking powder, baking soda, and salt together in a medium bowl until uniformly combined.
- Cream butter and sugars in a large mixing bowl, transforming the mixture into a light, airy consistency through vigorous beating.
- Incorporate eggs individually into the butter-sugar mixture, ensuring thorough integration after each addition. Blend in vanilla extract for enhanced flavor complexity.
- Gradually merge dry ingredients with wet ingredients, alternating with buttermilk and introducing hot water to achieve a smooth, velvety batter texture.
- Distribute batter into cupcake liners, filling approximately two-thirds of each compartment with precision.
- Create a delectable core by gently depositing a concentrated spoonful of peanut butter into the center of each cupcake.
- Transfer the prepared muffin tin to the preheated oven, allowing cupcakes to bake for 18-20 minutes until they exhibit a resilient, springy surface when lightly touched.
- Remove cupcakes from the oven and permit initial cooling within the tin for five minutes before transferring to a wire rack for complete temperature reduction.
- Embellish the cooled cupcakes with a luxurious peanut butter topping and garnish with a scattering of chocolate chips for visual and gustatory appeal.
Notes
- Use an oven thermometer to ensure exact 350°F for consistent, perfectly risen cupcakes with gooey centers.
- No buttermilk? Mix regular milk with a tablespoon of white vinegar or lemon juice and let sit for 5 minutes to create a quick buttermilk alternative.
- Slightly chill the peanut butter before dropping into cupcake batter to prevent it from sinking completely and create a more defined lava-like center.
- Swap regular flour with gluten-free flour blend and use dairy-free butter and milk alternatives to make these cupcakes accessible for those with dietary restrictions.
- Prep Time: 15 minutes
- Cook Time: 20 minutes
- Category: Desserts
- Method: Baking
- Cuisine: American
Nutrition
- Serving Size: 12
- Calories: 345
- Sugar: 20 g
- Sodium: 150 mg
- Fat: 21 g
- Saturated Fat: 10 g
- Unsaturated Fat: 9 g
- Trans Fat: 0 g
- Carbohydrates: 37 g
- Fiber: 2 g
- Protein: 6 g
- Cholesterol: 70 mg
James Walker
Lead Recipe Developer & Culinary Educator
Expertise
Southern Cuisine & Farm-to-Table Cooking, Recipe Development & Testing, Culinary Education & Instruction
Education
School: Auguste Escoffier School of Culinary Arts
Program: Diploma in Culinary Arts and Operations
Focus: Comprehensive training in classical and modern culinary techniques, kitchen operations, and farm-to-table practices.
James didn’t learn cooking from a TV show, he learned it from busy kitchens, family gatherings, and long afternoons spent testing recipes the hard way.
After training at the Auguste Escoffier School of Culinary Arts, he brought his love for real, down-to-earth food to every dish he makes.
At Dining At Home, James loves building recipes that feel familiar but still have something special, like adding a twist to a classic or making a slow Sunday dinner feel brand new.
When he’s not in the kitchen, you’ll probably find him swapping garden tips at the farmers’ market or teaching his daughter how to flip pancakes without a mess (almost).