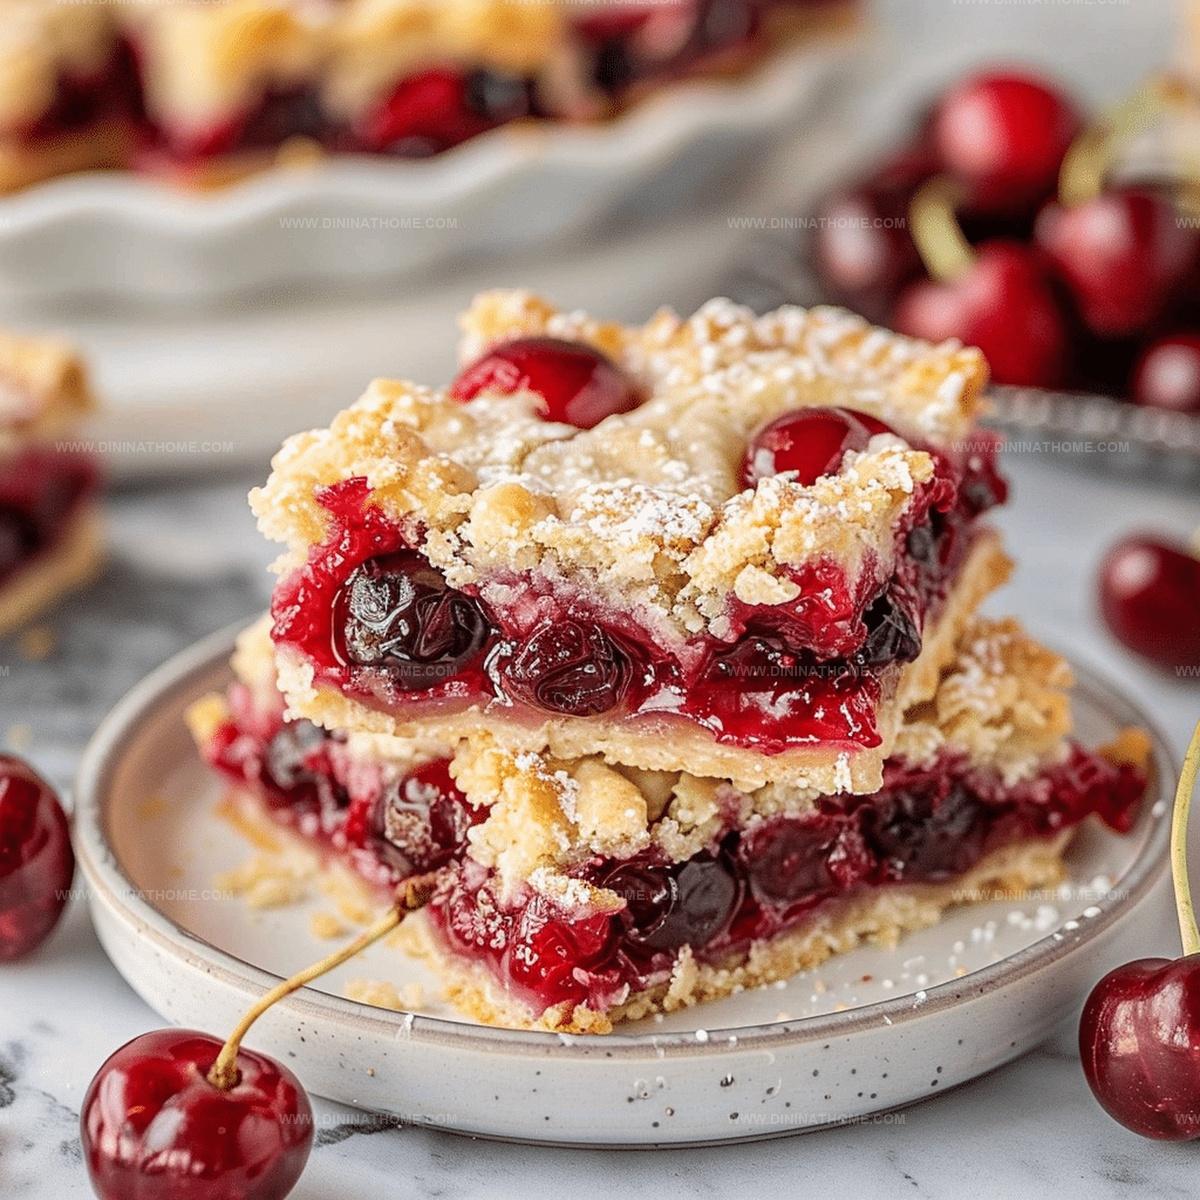
Irresistible Cherry Pie Bars Recipe: Sweet Summer Magic
Sweet memories often bloom around a classic cherry pie bars that spark joy in every bite.
Memories of grandma’s kitchen come flooding back with this delightful dessert.
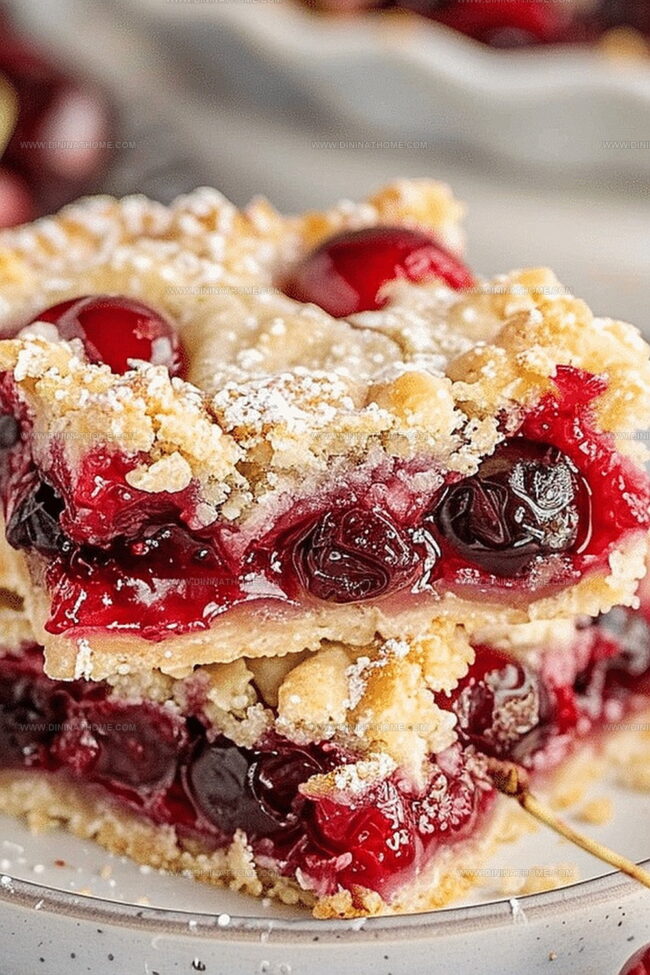
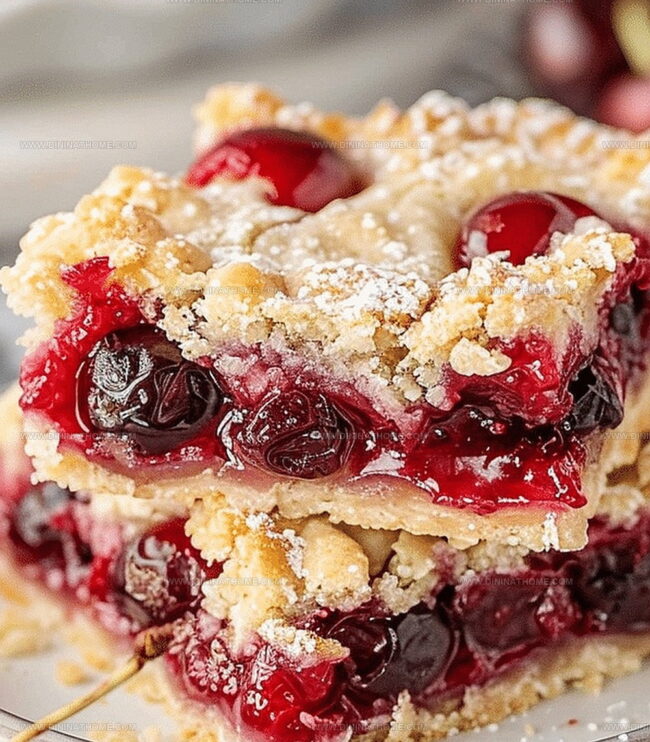
Layers of buttery crust and vibrant fruit filling create a nostalgic treat that feels like a warm hug.
Tart cherries nestled between golden, crumbly pastry promise a delectable experience for anyone who loves homemade sweets.
Simple ingredients combine to craft something magical that makes hearts smile.
Baking these bars connects you to generations of comfort and love.
Cherry Pie Bars You Can Grab And Go
What You Need For Cherry Pie Bars
Pie Crust Base:Fruit Filling:Sweet Topping:Cherry Pie Bars Assembly Steps
Step 1: Warm Up the Oven
Fire up your oven to a toasty 350°F.
Grab a 9×13-inch baking pan and give it a quick spray with cooking oil or butter it down to prevent sticking.
Step 2: Create the Crumbly Base
In a spacious mixing bowl, toss together:Step 3: Work in the Butter
Slice the cold butter into small chunks and work it into the dry ingredients using a pastry cutter or your fingertips.
Keep mixing until the texture looks like chunky sand or coarse crumbs.
Step 4: Build the First Layer
Press about two-thirds of the crumbly mixture firmly into the bottom of the prepared pan.
Make sure it’s evenly distributed and packed down.
Step 5: Add the Cherry Filling
Generously spread the cherry pie filling across the entire surface of the crumb base.
Aim for an even, luscious layer that covers every inch.
Step 6: Top with Remaining Crumbs
Sprinkle the rest of the crumb mixture over the cherry filling, creating a delightful, rustic-looking topping.
Step 7: Bake to Golden Perfection
Slide the pan into the preheated oven and bake for 40-45 minutes.
You’re looking for a beautiful golden-brown color on top.
Step 8: Prepare the Glaze
In a small bowl, whisk together:Stir until smooth and glossy.
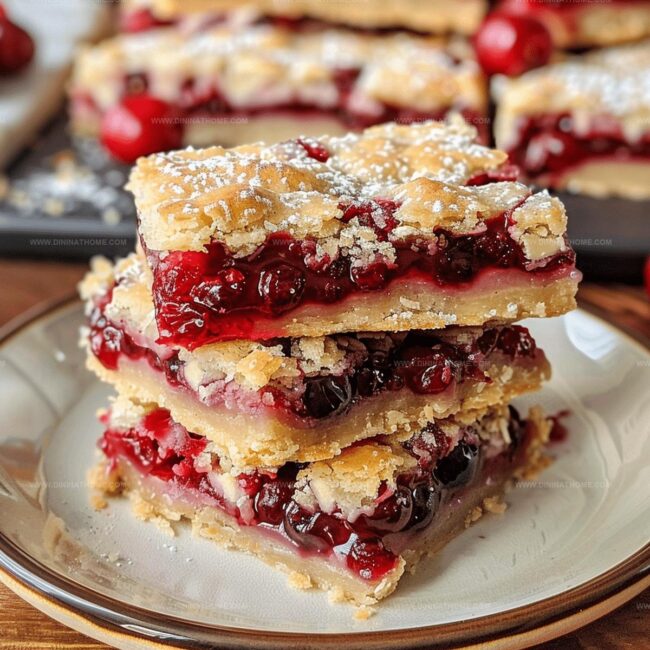
Step 9: Finish and Serve
Allow the bars to cool completely.
Once cooled, drizzle the glaze in a zigzag pattern across the top.
Slice into squares and serve.
Handy Advice for Cherry Pie Bars
Cherry Pie Bars – Store Smart, Reheat Without Crumbling
What Complements Cherry Pie Bars
Cherry Pie Bars Recipe Delicious Alternatives
FAQs
Yes, you can use fresh cherries. Simply pit and chop about 4 cups of fresh cherries and mix with 1/4 cup sugar and 2 tablespoons cornstarch before spreading over the crust.
Look for a golden-brown top and slightly crispy edges. The crust should be set and the filling should be bubbling slightly around the edges when it’s done baking.
Absolutely! Replace the all-purpose flour with a gluten-free flour blend and use certified gluten-free oats to make the recipe suitable for those with gluten sensitivities.
Yes, these bars freeze wonderfully. Wrap them tightly in plastic wrap and then aluminum foil. They’ll keep well in the freezer for up to 3 months. Thaw at room temperature before serving.
Print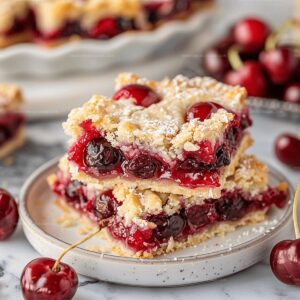
Cherry Pie Bars Recipe
- Total Time: 1 hour 5 minutes
- Yield: 12 1x
Description
Sweet cherry pie bars combine classic American dessert charm with convenient bar form, offering a delightful twist on traditional pie. Home bakers can enjoy these irresistible treats that deliver rich fruity flavor and buttery crust in every tempting bite.
Ingredients
Main Ingredients:
- 1.5 cups (354 ml) all-purpose flour
- 1 cup (240 ml) rolled oats
- 2 cans (42 ounces / 1,190 grams) cherry pie filling
- 1 cup (227 grams) unsalted butter, cold and cubed (2 sticks)
Sweeteners and Sugars:
- 0.5 cup (100 grams) granulated sugar
- 1 cup (120 grams) powdered sugar
Flavor Enhancers and Liquids:
- 0.5 teaspoon salt
- 2 tablespoons milk
- 0.5 teaspoon vanilla extract
Instructions
- Prepare your workspace by positioning an oven rack in the center and heating to 350°F (175°C).
- Combine flour, oats, sugar, and salt in a spacious mixing bowl, creating a uniform dry foundation.
- Incorporate cold butter into the dry ingredients using a pastry cutter or fingertips until the mixture transforms into coarse, pebble-like crumbs.
- Transfer approximately two-thirds of the crumbly mixture into a greased 9×13-inch baking pan, firmly pressing to create an even, compact base layer.
- Carefully spread the cherry pie filling across the prepared crust, ensuring consistent coverage from edge to edge.
- Scatter the remaining crumb mixture over the fruity layer, allowing some filling to peek through for visual appeal.
- Slide the pan into the preheated oven and bake for 40-45 minutes, watching for a golden-brown transformation of the top crust.
- While the bars cool, craft a silky glaze by whisking powdered sugar, milk, and vanilla extract until smooth and glossy.
- Once completely cooled, drizzle the glaze in elegant zigzag patterns across the surface, enhancing both flavor and presentation.
Notes
- Customize the filling by using homemade or fresh cherry compote for a more intense fruit flavor.
- Swap traditional flour with gluten-free alternatives to make the bars suitable for those with gluten sensitivities.
- Reduce sugar content by using low-sugar pie filling or adding natural sweeteners like stevia for a healthier version.
- Create a nutty texture by mixing chopped almonds or pecans into the crumb topping for extra crunch and depth.
- Prep Time: 20 minutes
- Cook Time: 45 minutes
- Category: Desserts
- Method: Baking
- Cuisine: American
Nutrition
- Serving Size: 12
- Calories: 250
- Sugar: 18 g
- Sodium: 150 mg
- Fat: 12 g
- Saturated Fat: 7 g
- Unsaturated Fat: 4 g
- Trans Fat: 0 g
- Carbohydrates: 36 g
- Fiber: 1 g
- Protein: 2 g
- Cholesterol: 30 mg
Emily Harper
Nutrition Consultant & Recipe Analyst
Expertise
Healthy Recipe Modification, Nutritional Analysis & Meal Planning, Global Cuisine & Dietary Adaptations
Education
School: French Pastry School, Chicago, IL
Program: L’Art de la Pâtisserie
Focus: Intensive training in traditional French pastry techniques, baking theory, and confectionery arts.
Emily’s journey started in a pastry kitchen but took a detour into the world of health and flavor science.
Graduating from the French Pastry School and studying nutrition opened her eyes to a new mission: making healthy food taste like something you’d actually crave.
At Dining At Home, Emily’s the go-to for smart, feel-good recipes that don’t trade flavor for nutrition.
She’s all about adding a fresh spin on old favorites and finding small ways to make everyday meals a little brighter.
Outside of the kitchen, Emily is most at home walking forest trails, testing plant-based recipes, or sharing a picnic under a wide-open sky.