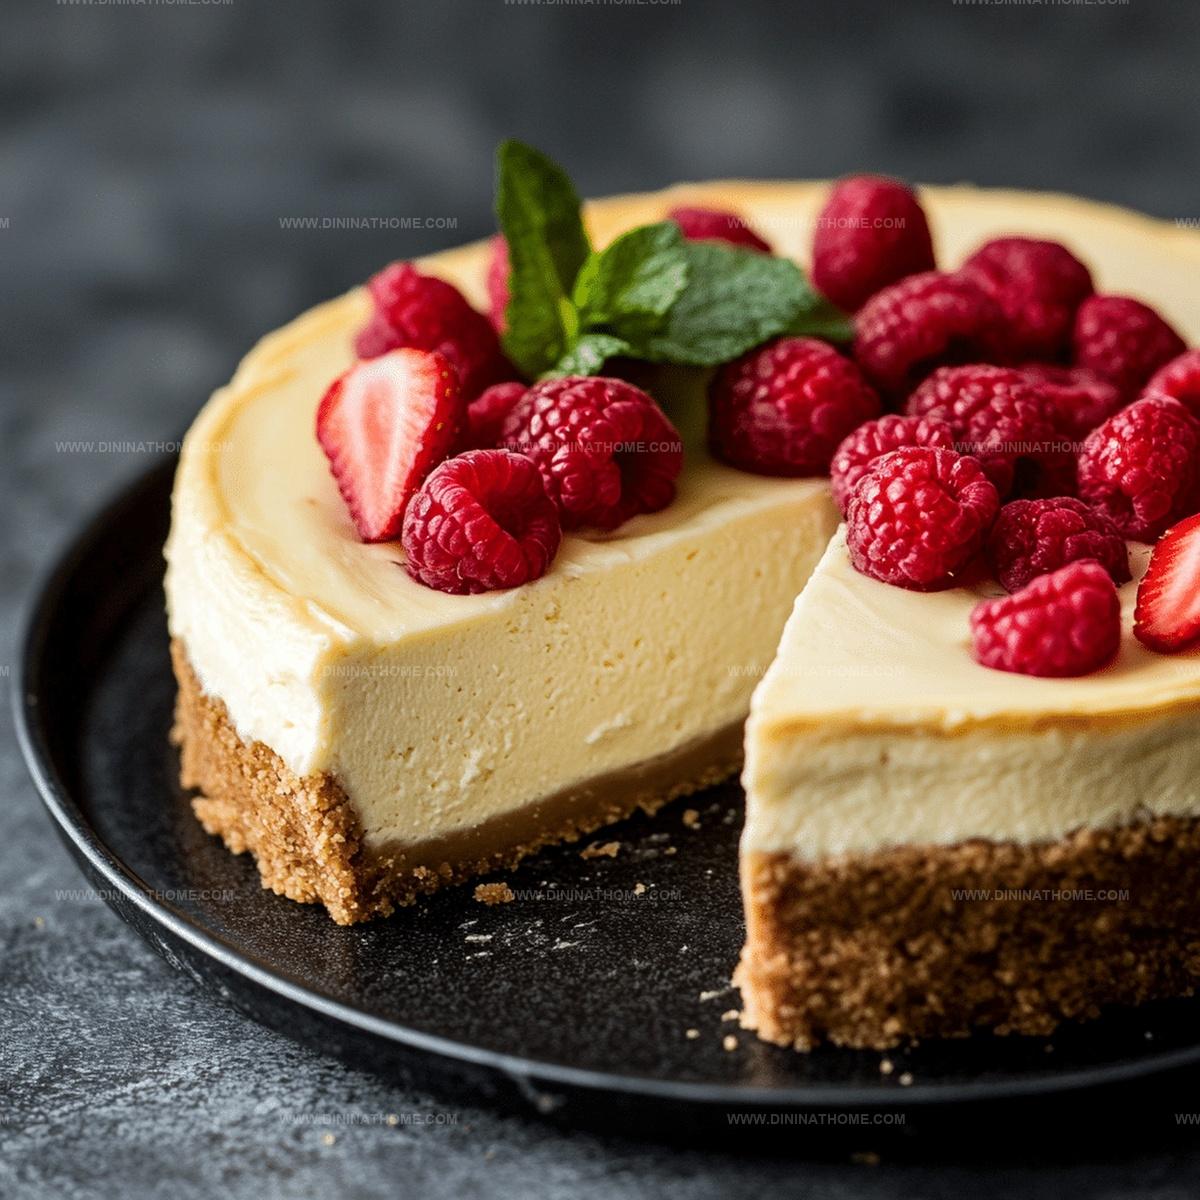
The Secret to Silky-Smooth Cheesecake: Water Bath Recipe
Water baths revolutionize the traditional cheesecake preparation method with silky-smooth results.
Creating a perfectly creamy dessert requires precise techniques and gentle heat.
Professionals swear by this method to prevent cracking and achieve a luxurious texture.
Moisture from the surrounding water ensures even cooking and prevents surface breaks.
Professional bakers understand that steam plays a critical role in producing flawless custard-like surfaces.
Gentle temperature control makes all the difference in crafting an exceptional dessert.
Let’s uncover the secrets to mastering this delicate baking technique that transforms ordinary cheesecakes into extraordinary culinary experiences.
Cheesecake Water Bath Unlocks Silky Smooth Results Worth The Effort
Perfectly Foolproof Technique: Master a professional bakery-level cheesecake with this simple water bath method that guarantees a smooth, crack-free surface every single time.
Stress-Free Baking Experience: No complicated steps or advanced pastry skills required – even beginner bakers can create a stunning dessert with minimal effort and maximum deliciousness.
Time-Efficient Preparation: Quick assembly of ingredients and straightforward technique means you’ll spend less time in the kitchen and more time enjoying a decadent homemade treat.
Crowd-Pleasing Dessert: Ideal for family gatherings, potlucks, and special occasions, this classic cheesecake appeals to all ages and satisfies diverse taste preferences with its rich, creamy texture.
How Cheesecake Water Bath Is Put Together
Crust Ingredients:Cheesecake Filling Ingredients:Water Bath Ingredient:Cheesecake Water Bath Step-By-Step
Step 1: Prepare Baking Station
Preheat the oven to 325°F.
Carefully wrap the exterior bottom of a springform pan completely with aluminum foil to prevent water seepage.
This protective barrier ensures your delicate cheesecake remains perfectly dry during the water bath process.
Step 2: Create Buttery Crust
Mix graham cracker crumbs with melted butter until the texture resembles wet sand.
Press the mixture firmly into the bottom of the springform pan, creating an even, compact foundation for your cheesecake.
Step 3: Whip Cream Cheese Base
In a spacious mixing bowl, beat cream cheese and sugar until the mixture becomes silky smooth and free of lumps.
Use an electric mixer at medium speed to achieve a luxurious, creamy consistency.
Step 4: Incorporate Wet Ingredients
Gently add eggs one at a time, thoroughly mixing after each addition.
Blend in:Continue mixing until the filling transforms into a velvety, uniform texture.
Step 5: Fill Cheesecake Pan
Pour the cream cheese mixture over the prepared graham cracker crust, ensuring an even distribution.
Step 6: Create Water Bath
Position the springform pan inside a larger roasting pan.
Carefully pour hot water into the roasting pan, filling it approximately halfway up the sides of the springform pan.
Step 7: Bake to Perfection
Bake the cheesecake for 60-70 minutes.
The center should appear set but slightly jiggly when gently nudged.
Step 8: Cool and Chill
Turn off the oven and crack the door open.
Allow the cheesecake to cool gradually for one hour.
Transfer to the refrigerator and chill for a minimum of 4 hours before serving to achieve optimal texture and flavor.
Cheesecake Water Bath Know-How Every Pro Uses
Cheesecake Water Bath Storage Details
Tips for Serving Cheesecake Water Bath
Cheesecake Water Bath Alternatives
FAQs
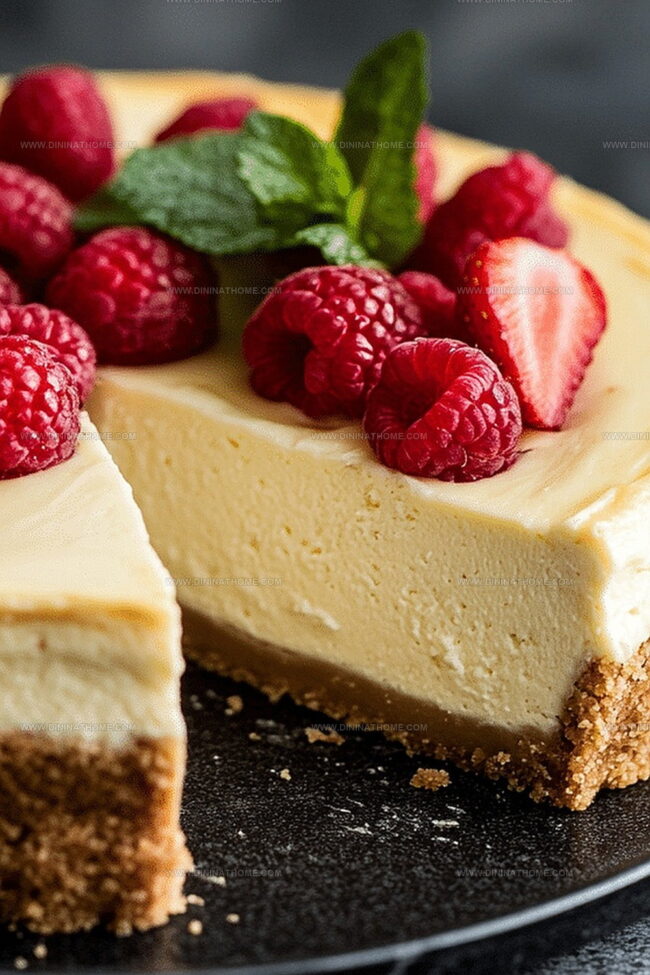
A water bath helps distribute heat evenly, prevents cracking, and creates a smooth, creamy texture by keeping the cheesecake moist during baking.
Wrap the bottom and sides of the pan tightly with aluminum foil, ensuring multiple layers to create a waterproof barrier that blocks moisture.
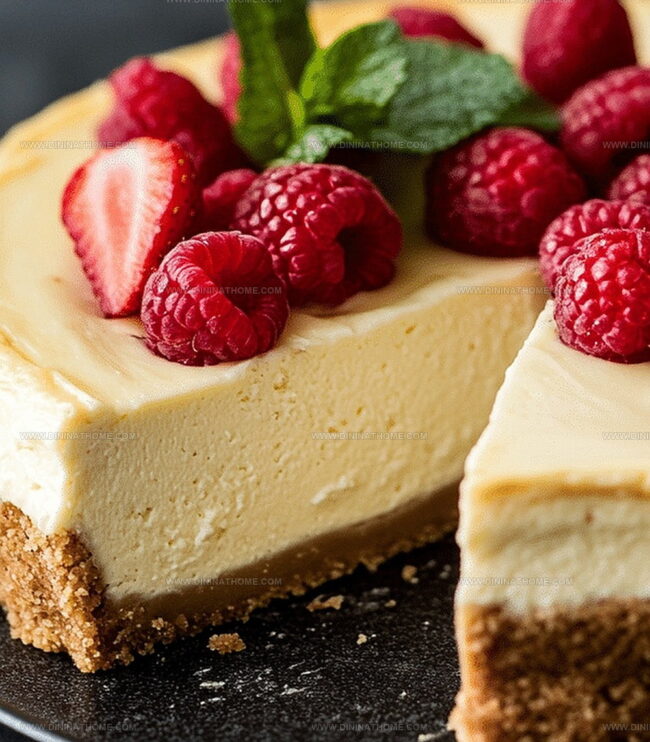
Look for a slightly jiggly center with set edges. The internal temperature should reach around 150°F, and the surface should look slightly dry but not browned.
Cracks can occur from overmixing, sudden temperature changes, or overbaking. Use room temperature ingredients, mix gently, and follow the water bath method to minimize cracking.
Print
Cheesecake Water Bath Recipe
- Total Time: 1 hour 40 minutes
- Yield: 8 1x
Description
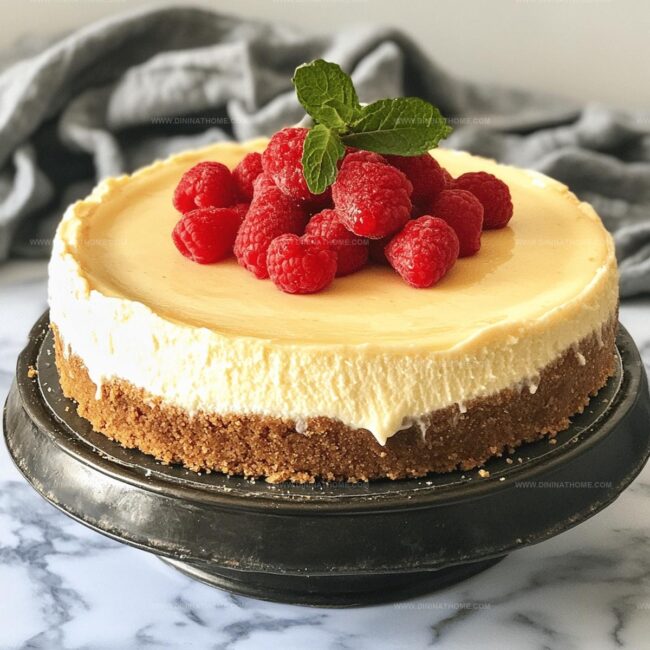
Silky smooth classic cheesecake rises to perfection when baked in a gentle water bath, ensuring a creamy texture without cracks. Rich cream cheese melts into a luxurious dessert that melts in your mouth, promising pure indulgence with each delectable slice.
Ingredients
Primary Ingredients:
- 24 ounces (680 grams) cream cheese, softened
- 4 large eggs
- 1 cup (200 grams) granulated sugar
- 1 cup (240 milliliters) sour cream
Crust Ingredients:
- 2 cups (240 grams) graham cracker crumbs
- 1/2 cup (113 grams) melted butter
Finishing Ingredients:
- 2 tablespoons (16 grams) all-purpose flour
- 1 teaspoon (5 milliliters) vanilla extract
- Pinch of salt
Instructions
- Meticulously prepare the baking environment by heating the oven to 325°F and thoroughly encasing the springform pan’s exterior with aluminum foil to prevent water infiltration.
- Create a sturdy foundation by blending graham cracker crumbs with melted butter, then firmly pressing the mixture into the pan’s base to construct a compact crust.
- Utilize an electric mixer to transform cream cheese and sugar into a velvety, homogeneous mixture, ensuring no lumps remain.
- Introduce eggs individually, thoroughly incorporating each before adding the next, then gently fold in sour cream, vanilla extract, flour, and salt until the mixture achieves a luxurious, silky consistency.
- Delicately transfer the creamy filling atop the prepared crust, smoothing the surface for an elegant presentation.
- Strategically position the springform pan within a larger roasting vessel, then cascade hot water around the sides, submerging approximately halfway up the pan’s exterior.
- Allow the cheesecake to bake for 60-70 minutes, monitoring until the center maintains a subtle wobble while appearing structurally sound.
- Terminate the baking process by switching off the oven, leaving the door slightly ajar, and permitting the cheesecake to gradually cool for one hour.
- Conclude by refrigerating the dessert for a minimum of 4 hours, enabling complete stabilization and optimal flavor development before serving.
Notes
- Prevent water leaks by carefully wrapping the springform pan’s exterior with multiple layers of heavy-duty aluminum foil, ensuring a tight seal.
- Create a perfectly smooth texture by beating cream cheese and sugar at room temperature to eliminate lumps and incorporate air.
- Avoid cracking by using the water bath method, which provides gentle, even heating and helps the cheesecake cook slowly and uniformly.
- Customize the recipe by experimenting with different crust options like crushed cookies, nuts, or adding flavor extracts to the filling for unique variations.
- Prep Time: 30 minutes
- Cook Time: 70 minutes
- Category: Desserts
- Method: Baking
- Cuisine: American
Nutrition
- Serving Size: 8
- Calories: 410
- Sugar: 24 g
- Sodium: 320 mg
- Fat: 28 g
- Saturated Fat: 17 g
- Unsaturated Fat: 7 g
- Trans Fat: 0 g
- Carbohydrates: 34 g
- Fiber: 1 g
- Protein: 6 g
- Cholesterol: 120 mg
Emily Harper
Nutrition Consultant & Recipe Analyst
Expertise
Healthy Recipe Modification, Nutritional Analysis & Meal Planning, Global Cuisine & Dietary Adaptations
Education
School: French Pastry School, Chicago, IL
Program: L’Art de la Pâtisserie
Focus: Intensive training in traditional French pastry techniques, baking theory, and confectionery arts.
Emily’s journey started in a pastry kitchen but took a detour into the world of health and flavor science.
Graduating from the French Pastry School and studying nutrition opened her eyes to a new mission: making healthy food taste like something you’d actually crave.
At Dining At Home, Emily’s the go-to for smart, feel-good recipes that don’t trade flavor for nutrition.
She’s all about adding a fresh spin on old favorites and finding small ways to make everyday meals a little brighter.
Outside of the kitchen, Emily is most at home walking forest trails, testing plant-based recipes, or sharing a picnic under a wide-open sky.