Irresistible Cheesecake Cookie Cups Recipe for Sweet Lovers
Sweet memories dance through kitchens when cheesecake cookie cups appear on dessert plates.
Unexpected combinations spark culinary magic in these bite-sized delights.
Creamy textures blend perfectly with crisp cookie foundations.
Minimal ingredients create maximum satisfaction for anyone seeking a decadent treat.
Each morsel promises a delightful experience that connects comfort and innovation.
Guests will swoon over these miniature masterpieces that elevate classic dessert expectations.
Breaking away from traditional cheesecake presentations, we’ve crafted something truly special that you’ll want to savor slowly.
Cheesecake Cookie Cups Fit Decadence Into Bite-Sized Perfection
Cheesecake Cookie Cups At A Glance
Cookie Base Ingredients:Cheesecake Filling Ingredients:Optional Toppings:Cheesecake Cookie Cups Recipe Guide
Step 1: Craft the Cookie Foundation
Mix dry ingredients in a bowl:In another bowl, cream together:Blend in:Combine wet and dry ingredients until a smooth dough forms.
Step 2: Create Delightful Cookie Vessels
Gently roll dough into small spheres.
Press each ball into a mini muffin tin, creating a cute little cup shape with a center indent.
Ensure the dough covers the bottom and sides evenly.
Step 3: Whip Up Creamy Cheesecake Center
In a mixing bowl, blend:Incorporate:Stir until the mixture becomes silky and uniform.
Step 4: Fill and Prepare for Baking
Carefully spoon the luscious cheesecake mixture into each cookie cup.
Fill almost to the top, leaving a tiny bit of space.
Step 5: Transform in the Oven
Bake in a preheated oven at 350°F for 12-15 minutes.
Look for golden edges and a set cheesecake center.
The cups will look slightly puffy and beautiful.
Step 6: Cool and Embellish
Allow cookie cups to cool completely in the tin.
Gently remove and place on a serving plate.
For extra pizzazz, consider topping with:Pro Methods For Cheesecake Cookie Cups That Wow

Cheesecake Cookie Cups Storage Info
Cupcake Matches for Cheesecake Cookie Cups
Perfectly Paired Delights: Elevating Cheesecake Cookie Cups
Cheesecake Cookie Cups Twists
FAQs
Yes, you can substitute the classic chocolate chip cookie dough with sugar cookie or shortbread dough for a different flavor profile.
You’ll need a mini muffin tin and basic baking tools like mixing bowls, an electric mixer, and measuring cups.
Generously grease the mini muffin tin with butter or cooking spray, ensuring each cavity is well-coated before adding the cookie dough.
Absolutely! You can prepare the cookie cups a day in advance and store them in an airtight container in the refrigerator until ready to serve.
Print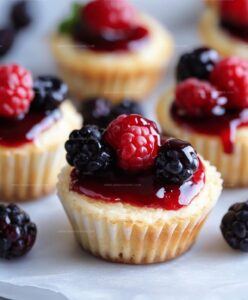
Cheesecake Cookie Cups Recipe
- Total Time: 35 minutes
- Yield: 12 1x
Description
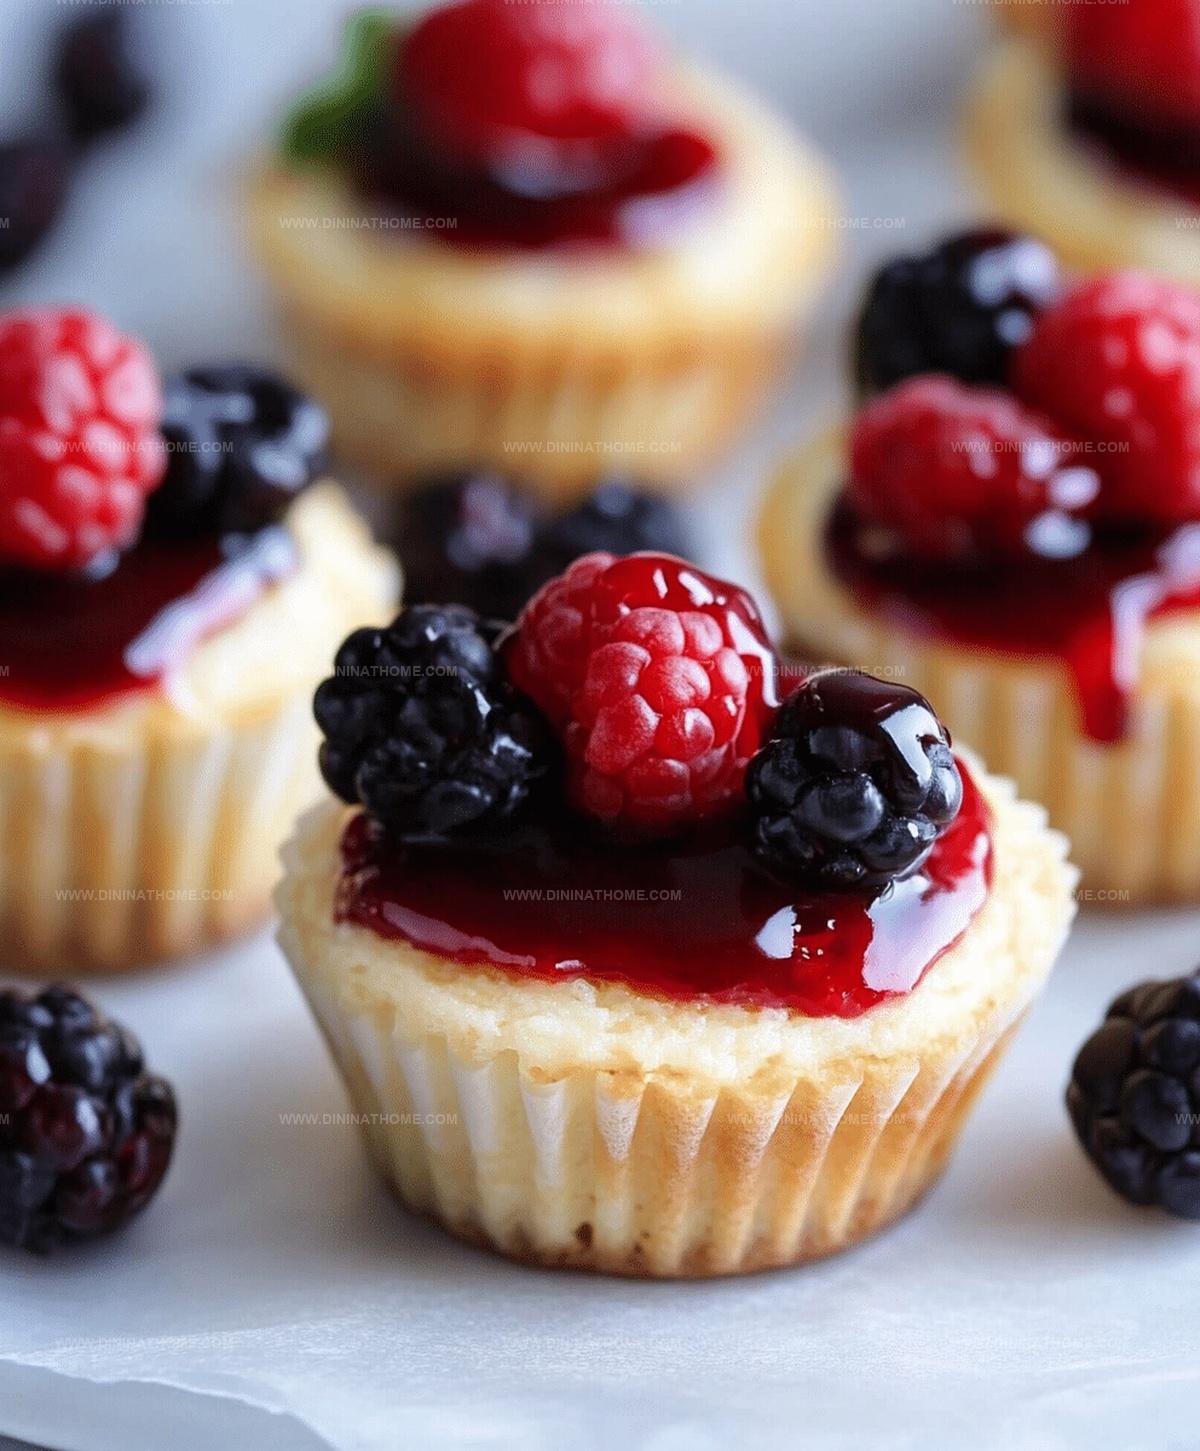
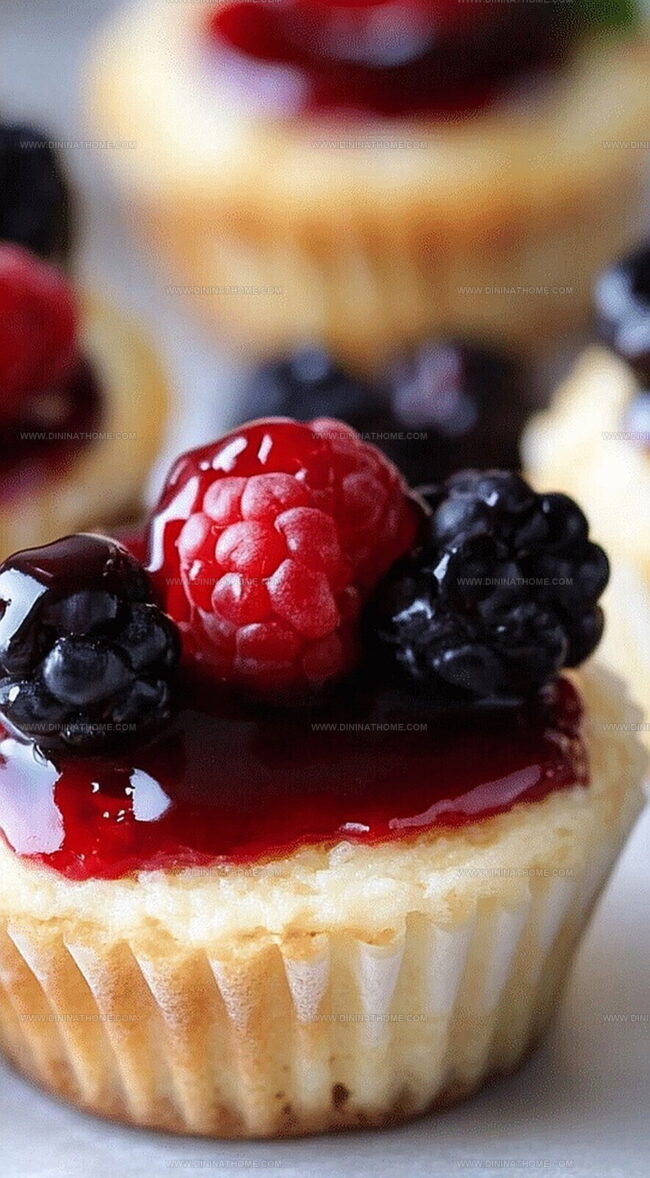
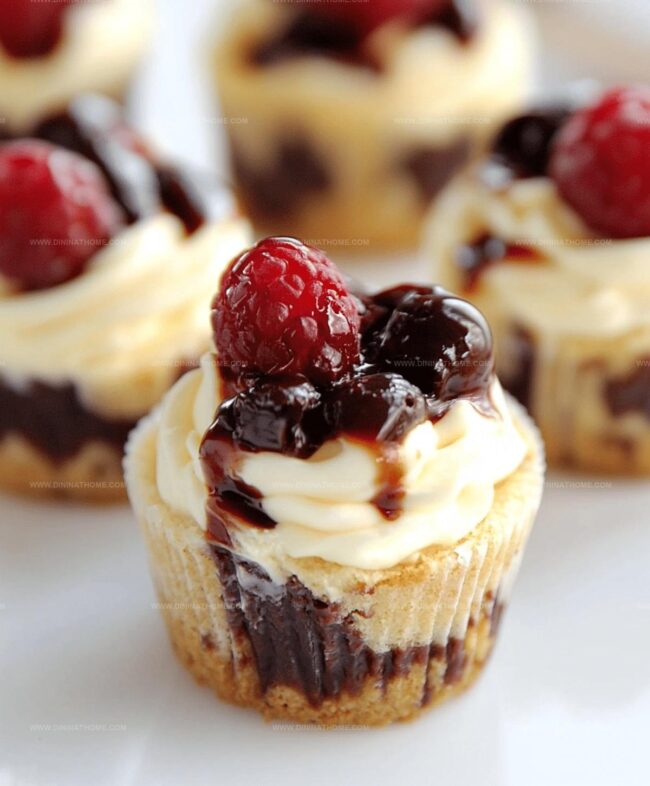
Delightful Cheesecake Cookie Cups blend classic dessert flavors into one irresistible bite-sized treat. Creamy cheesecake nestled in a chocolate chip cookie base offers sweet indulgence for dessert enthusiasts seeking a perfect balance of texture and taste.
Ingredients
Cookie Base:
- 1.5 cups (360 ml) all-purpose flour
- 0.5 teaspoon (2.5 ml) baking soda
- 0.5 teaspoon (2.5 ml) salt
- 0.5 cup (120 ml) unsalted butter, softened
- 0.5 cup (100 g) granulated sugar
- 0.5 cup (110 g) brown sugar, packed
- 1 large egg
- 1 teaspoon (5 ml) vanilla extract
Cheesecake Filling:
- 8 ounces (226 g) cream cheese, softened
- 0.25 cup (50 g) granulated sugar
- 1 large egg
- 1 teaspoon (5 ml) vanilla extract
Optional Toppings:
- Fresh fruit
- Chocolate chips
- Caramel sauce
Instructions
- Craft a velvety cookie dough foundation by combining flour, baking soda, and salt in a mixing bowl. In a separate vessel, cream butter with granulated and brown sugars until airy and luminous.
- Integrate egg and vanilla extract into the butter mixture, blending until harmonious. Gently fold dry ingredients into the wet components, forming a cohesive dough.
- Preheat the oven to 350°F and prepare a mini muffin tin with a delicate coating of grease. Sculpt cookie dough into petite one-inch spheres.
- Tenderly press each dough ball into the muffin cavities, molding them into delicate cups with gentle indentations at their centers.
- Whip cream cheese and sugar together until silky smooth, creating a luxurious cheesecake filling. Introduce egg and vanilla, mixing until the texture becomes uniform and creamy.
- Carefully spoon the luscious cheesecake mixture into the center of each cookie vessel, ensuring even distribution.
- Position the filled tin into the preheated oven, allowing the treats to transform for 12-15 minutes. Watch for golden-brown cookie edges and a set cheesecake core.
- Remove from oven and permit the cookie cups to cool completely within the tin, ensuring structural integrity.
- Optional: Embellish with fresh berries, scattered chocolate chips, or a graceful caramel drizzle before presenting these delectable miniature desserts.
Notes
- Ensure cookie dough balls are uniform in size for consistent baking and even cooking.
- Create a deep indent in the center of each dough ball to hold maximum cheesecake filling without overflowing.
- Refrigerate cream cheese before mixing to achieve smoother, lump-free filling consistency.
- Cool cookie cups completely in the pan to prevent breaking when removing, as the delicate structure needs time to set.
- Prep Time: 20 minutes
- Cook Time: 15 minutes
- Category: Desserts, Snacks
- Method: Baking
- Cuisine: American
Nutrition
- Serving Size: 12
- Calories: 200
- Sugar: 10 g
- Sodium: 150 mg
- Fat: 9 g
- Saturated Fat: 5 g
- Unsaturated Fat: 3 g
- Trans Fat: 0 g
- Carbohydrates: 28 g
- Fiber: 1 g
- Protein: 3 g
- Cholesterol: 30 mg
Emily Harper
Nutrition Consultant & Recipe Analyst
Expertise
Healthy Recipe Modification, Nutritional Analysis & Meal Planning, Global Cuisine & Dietary Adaptations
Education
School: French Pastry School, Chicago, IL
Program: L’Art de la Pâtisserie
Focus: Intensive training in traditional French pastry techniques, baking theory, and confectionery arts.
Emily’s journey started in a pastry kitchen but took a detour into the world of health and flavor science.
Graduating from the French Pastry School and studying nutrition opened her eyes to a new mission: making healthy food taste like something you’d actually crave.
At Dining At Home, Emily’s the go-to for smart, feel-good recipes that don’t trade flavor for nutrition.
She’s all about adding a fresh spin on old favorites and finding small ways to make everyday meals a little brighter.
Outside of the kitchen, Emily is most at home walking forest trails, testing plant-based recipes, or sharing a picnic under a wide-open sky.