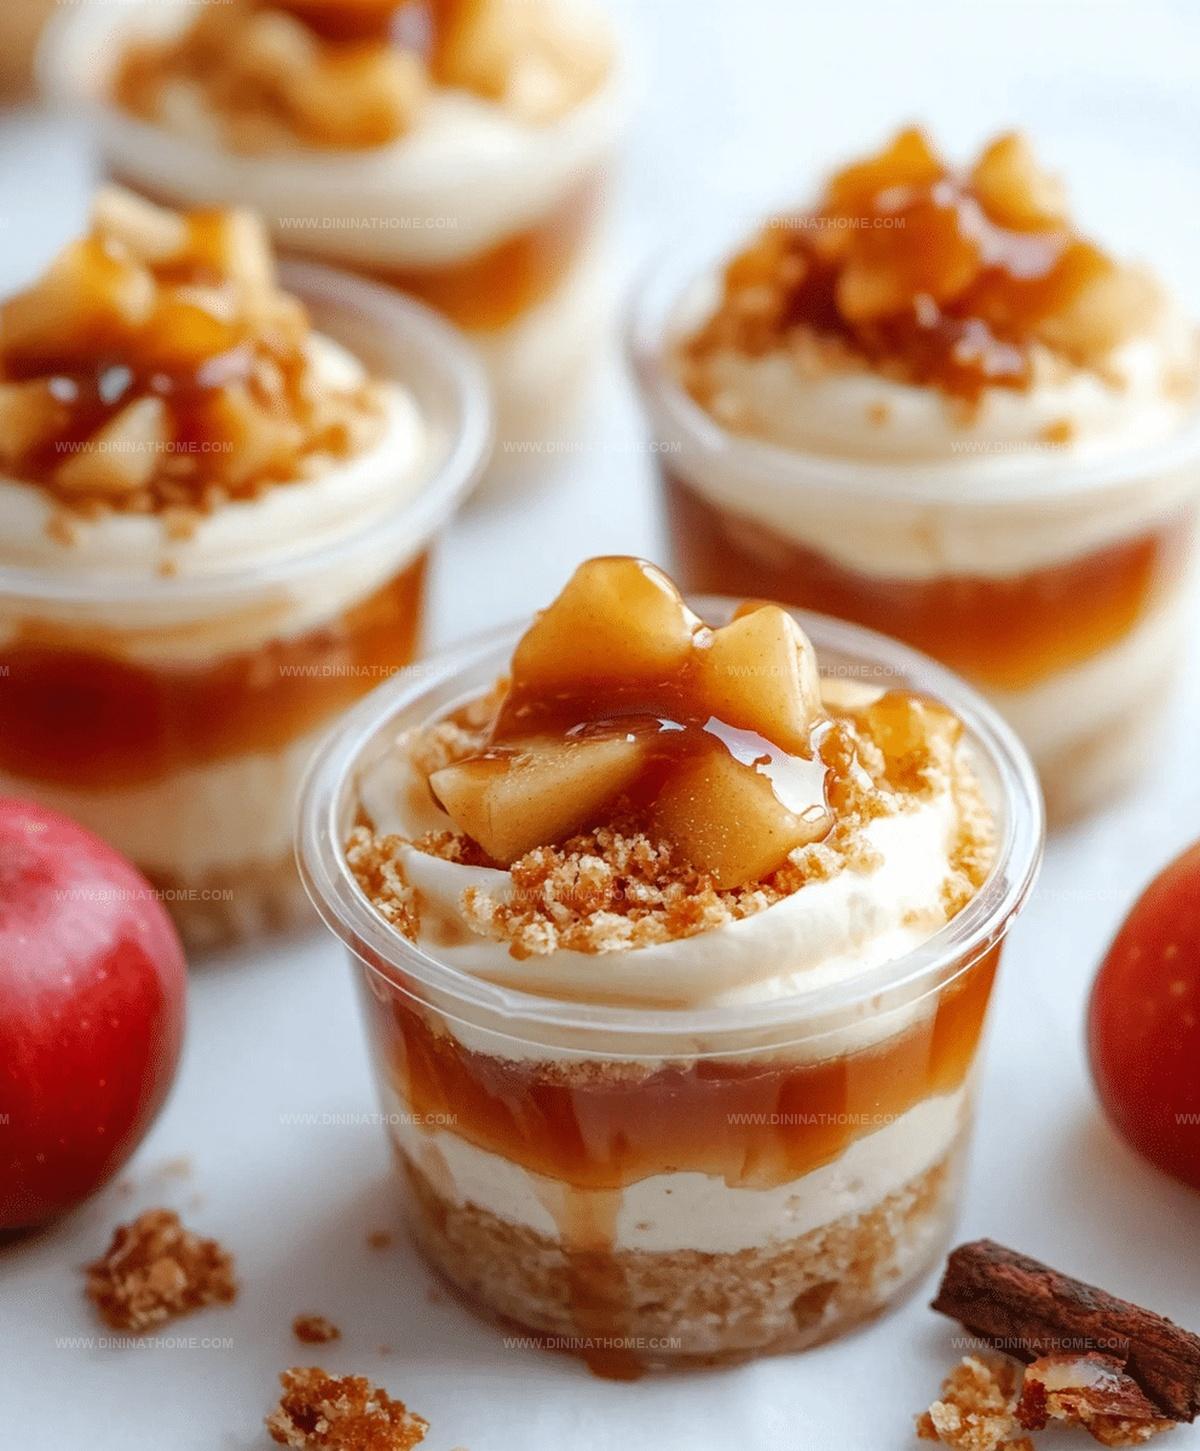
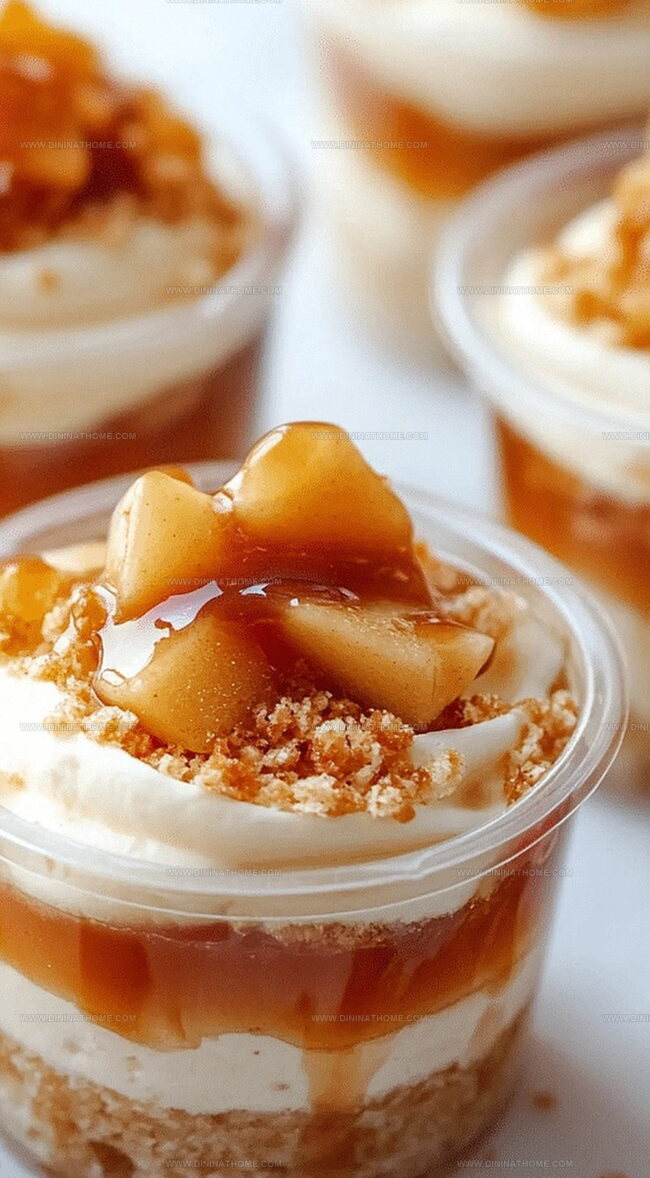
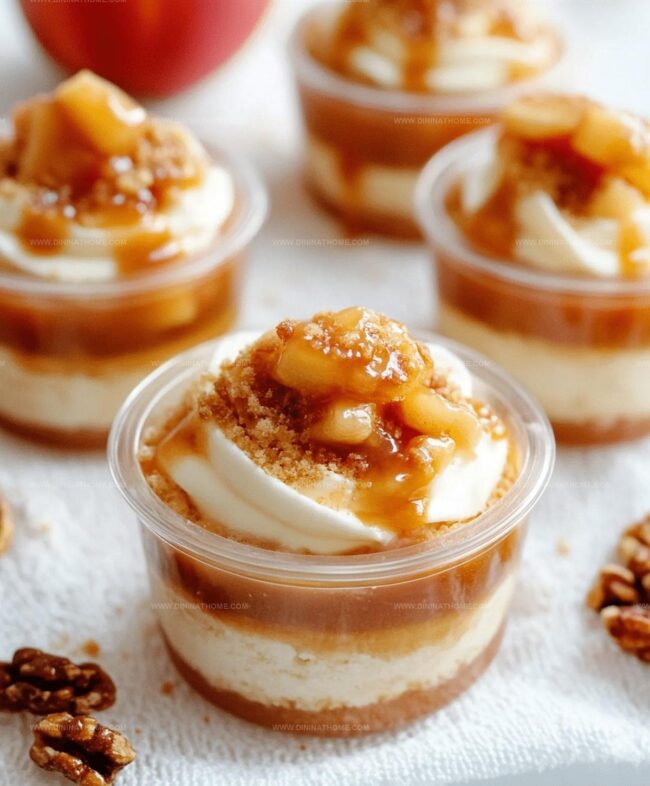
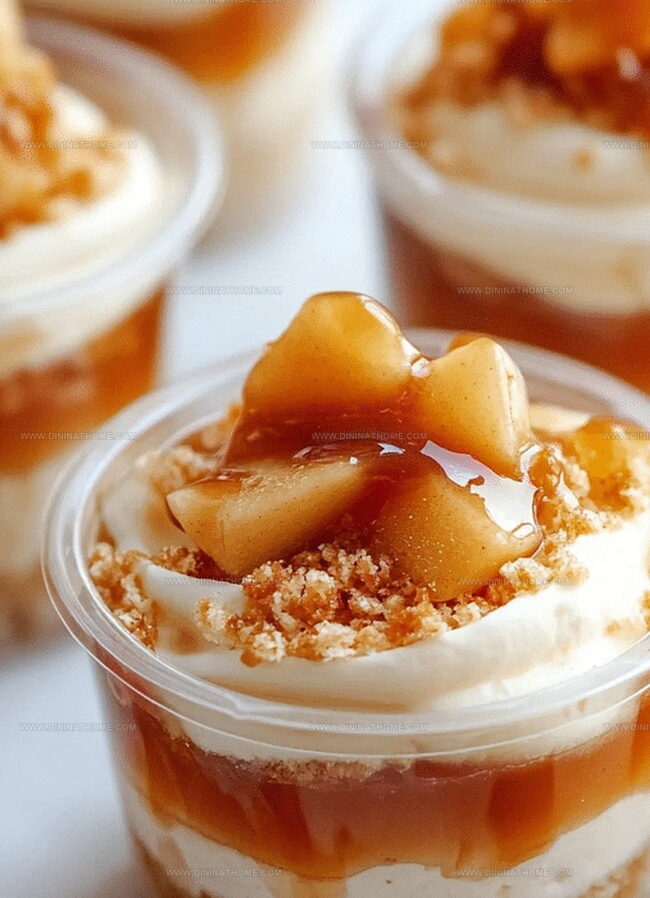
Heavenly Caramel Apple Dessert Cups Recipe: Sweet Fall Bliss
Sweet memories dance around this caramel apple dessert cups creation that connects childhood nostalgia with sophisticated flavor profiles.
Crisp autumn apples meet buttery pastry in a delightful combination.
Delicate layers promise a symphony of textures and tastes.
Seasonal ingredients blend seamlessly to craft something magical.
Each bite tells a story of comfort and indulgence.
Rich caramel drizzles promise pure decadence.
Caramel Apple Dessert Cups Recipe That Bring Fall To The Table
Inside Caramel Apple Dessert Cups
Dry Ingredients:Wet Ingredients:Finishing Ingredients:Note: Choose fresh, high-quality spices for best flavor. Room temperature ingredients blend more smoothly.
Caramel Apple Dessert Cups Directions
Step 1: Prepare the Baking Station
Warm up your oven to a cozy 375°F.
Line a spacious 15×10 inch jelly roll pan with parchment paper, giving it a quick spray of cooking grease to prevent sticking.
Step 2: Mix Dry Ingredients
Grab a mixing bowl and whisk together a magical blend of:Step 3: Whip Up Wet Ingredients
In a separate bowl, beat eggs and sugar until they transform into a thick, creamy mixture.
Gently fold in pumpkin puree and vanilla extract, creating a smooth base.
Step 4: Combine and Spread
Tenderly fold the dry ingredients into the wet mixture until just combined.
Spread the batter evenly across the prepared pan, creating a smooth canvas.
Step 5: Bake to Perfection
Slide the pan into the preheated oven and bake for 13-15 minutes.
The cake should look golden and spring back when lightly touched.
Step 6: Create the Rolled Cake
While the cake is still warm, carefully roll it up in a towel dusted with powdered sugar.
Let it cool completely, allowing it to set its shape.
Step 7: Whip Up the Filling
In a mixing bowl, beat together:Blend until the mixture becomes silky smooth and irresistible.
Step 8: Assemble and Finish
Gently unroll the cooled cake, spread the creamy filling evenly across the surface, then carefully re-roll.
Dust the top with a snowfall of powdered sugar for a beautiful finishing touch.
Step 9: Serve and Enjoy
Slice and serve these delectable caramel apple dessert cups, watching as your guests’ eyes light up with delight.
Helpful Dessert Tips For Caramel Apple Cups
Caramel Apple Dessert Cups: Saving Leftovers
Apple Dessert Cups Great Additions
Caramel Apple Dessert Cups Fun Customizations
FAQs
Fresh pumpkin puree and warm spices like cinnamon, ginger, and nutmeg give this dessert a rich, cozy autumn flavor profile that sets it apart from traditional cake rolls.
While it looks impressive, this dessert is surprisingly straightforward. The key is carefully rolling the cake while warm and using a towel dusted with powdered sugar to prevent sticking.
Yes, you can make the cake base a day ahead and store it rolled in the towel. The cream cheese filling can also be prepared earlier and refrigerated until you’re ready to assemble the dessert.
Work quickly when the cake is warm, use a powdered sugar-dusted towel, and roll gently but firmly to avoid cracking. Let the cake cool completely before unrolling and adding the filling.
Print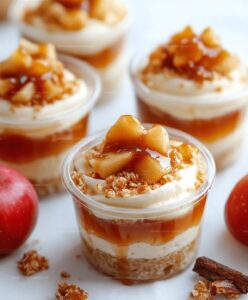
Caramel Apple Dessert Cups Recipe
- Total Time: 35 minutes
- Yield: 8 1x
Description
Creamy caramel apple dessert cups blend sweet autumn flavors into a delightful handheld treat. Crisp pastry shells cradle rich caramel and tender apple filling, offering a perfect balance of textures you’ll savor with each delectable bite.
Ingredients
Main Ingredients:
- 3 large eggs
- 2/3 cup pumpkin puree
- 8 ounces (226 grams) cream cheese, softened
- 1 cup granulated sugar
Flour and Spices:
- 3/4 cup all-purpose flour
- 2 teaspoons ground cinnamon
- 1/2 teaspoon ground ginger
- 1/2 teaspoon ground nutmeg
- 1 teaspoon baking powder
- 1/4 teaspoon salt
Wet Ingredients and Finishing:
- 6 tablespoons butter, softened
- 1 cup powdered sugar
- 2 teaspoons vanilla extract
- Powdered sugar (for dusting)
Instructions
- Preheat the oven and prepare a baking sheet with parchment paper, ensuring the surface is lightly greased for easy cake removal.
- Combine all dry ingredients – flour, baking powder, and warm spices like cinnamon, ginger, and nutmeg – in a mixing bowl, whisking thoroughly to distribute evenly.
- In a separate large bowl, whip eggs and sugar together until the mixture becomes pale, thick, and creates ribbons when the whisk is lifted.
- Incorporate pumpkin puree and vanilla extract into the egg mixture, stirring gently to maintain the mixture’s airy texture.
- Carefully fold the dry ingredient mixture into the wet ingredients, using a spatula to blend without deflating the batter.
- Spread the batter uniformly across the prepared baking sheet, creating an even layer that will ensure consistent baking.
- Bake in the preheated oven for approximately 13-15 minutes, watching for a golden edge and a slight springback when touched.
- Remove the cake and immediately dust a clean kitchen towel with powdered sugar to prevent sticking.
- While still warm, carefully roll the cake within the sugar-dusted towel, allowing it to cool completely in this cylindrical shape.
- Prepare the filling by beating cream cheese, butter, powdered sugar, and vanilla until smooth and creamy.
- Once cooled, gently unroll the cake and spread the filling evenly across the surface.
- Re-roll the cake, ensuring the filling is distributed consistently.
- Finish by lightly dusting the exterior with additional powdered sugar for a delicate, elegant presentation.
Notes
- Swap wheat flour with gluten-free alternatives like almond or coconut flour for those with gluten sensitivities.
- Use reduced-fat cream cheese and butter to lower the calorie content without compromising taste.
- Keep the cake roll tightly wrapped to prevent cracking and maintain moisture during cooling.
- Enhance the spice profile by adding a pinch of cardamom or cloves for a more complex flavor experience.
- Prep Time: 20 minutes
- Cook Time: 15 minutes
- Category: Desserts
- Method: Baking
- Cuisine: American
Nutrition
- Serving Size: 8
- Calories: 350
- Sugar: 30 g
- Sodium: 200 mg
- Fat: 15 g
- Saturated Fat: 9 g
- Unsaturated Fat: 5 g
- Trans Fat: 0 g
- Carbohydrates: 50 g
- Fiber: 1 g
- Protein: 5 g
- Cholesterol: 100 mg
Emily Harper
Nutrition Consultant & Recipe Analyst
Expertise
Healthy Recipe Modification, Nutritional Analysis & Meal Planning, Global Cuisine & Dietary Adaptations
Education
School: French Pastry School, Chicago, IL
Program: L’Art de la Pâtisserie
Focus: Intensive training in traditional French pastry techniques, baking theory, and confectionery arts.
Emily’s journey started in a pastry kitchen but took a detour into the world of health and flavor science.
Graduating from the French Pastry School and studying nutrition opened her eyes to a new mission: making healthy food taste like something you’d actually crave.
At Dining At Home, Emily’s the go-to for smart, feel-good recipes that don’t trade flavor for nutrition.
She’s all about adding a fresh spin on old favorites and finding small ways to make everyday meals a little brighter.
Outside of the kitchen, Emily is most at home walking forest trails, testing plant-based recipes, or sharing a picnic under a wide-open sky.