The No-Fail Basic Pizza Dough Recipe for Homemade Magic
Crafting homemade basic pizza dough can transform your weekend cooking adventures into something magical.
Every kitchen has its own rhythm and personality when mixing ingredients.
Flour, yeast, and water become a canvas for culinary creativity through simple techniques.
Salt adds depth while warm water awakens the dormant yeast cultures.
Kneading develops gluten networks that give pizza dough its characteristic stretch and texture.
Watching the dough rise feels like witnessing a delicious science experiment unfold before you.
Start rolling and shaping – your perfect pizza masterpiece awaits its delectable debut.
Basic Pizza Dough That’s Soft And Foolproof

Essentials Behind Basic Pizza Dough
Dry Ingredients:Wet Ingredients:Pizza Dough Basic Preparation
Step 1: Create Dough Base
Mix dry ingredients in a spacious mixing bowl.
Grab flour, sugar, salt, and yeast and combine them thoroughly using a whisk or wooden spoon.
Ensure all powdery components are evenly distributed.
Step 2: Introduce Liquid Magic
Slowly pour warm water into the dry ingredient mixture.
Stir gently and consistently until a soft, slightly sticky dough begins to form.
The consistency should be cohesive but not too wet.
Step 3: Knead with Passion
Transfer the dough onto a lightly floured surface.
Use your hands to press, fold, and stretch the dough.
Continue kneading for 5-7 minutes until the texture becomes smooth, stretchy, and develops a silky surface.
Step 4: First Rise Preparation
Select a clean bowl and coat its interior with olive oil.
Gently place the kneaded dough inside and cover completely with a soft kitchen towel or plastic wrap.
Position the bowl in a warm, draft-free spot and allow the dough to rise for 1-1.5 hours.
Step 5: Shape and Rest
After the dough has doubled in size, softly press down to release air bubbles.
Let the deflated dough rest for 10 minutes.
Now it’s ready to be transformed into a delicious pizza crust.
Basic Dough – Pizza Prep Tips
Save Basic Pizza Dough For Later Use Like This
Pairs Nicely with Basic Pizza Dough
Naan Pizza Styles
FAQs
Kneading develops gluten, which gives your pizza dough its stretchy texture and helps it rise properly, creating a better crust with a nice chew and structure.
Test your yeast by mixing it with warm water and a pinch of sugar. If it becomes foamy and bubbly within 5-10 minutes, the yeast is alive and ready to use in your pizza dough.
Keep your dough in a warm, draft-free area around 75-85°F. A slightly warm oven (turned off) or a sunny spot in your kitchen works perfectly for optimal rising.
Yes! You can prepare the dough and refrigerate it for up to 24 hours. This slow fermentation actually enhances the flavor and texture of your pizza crust.
Print
Basic Pizza Dough Recipe
- Total Time: 25 minutes
- Yield: 2 1x
Description
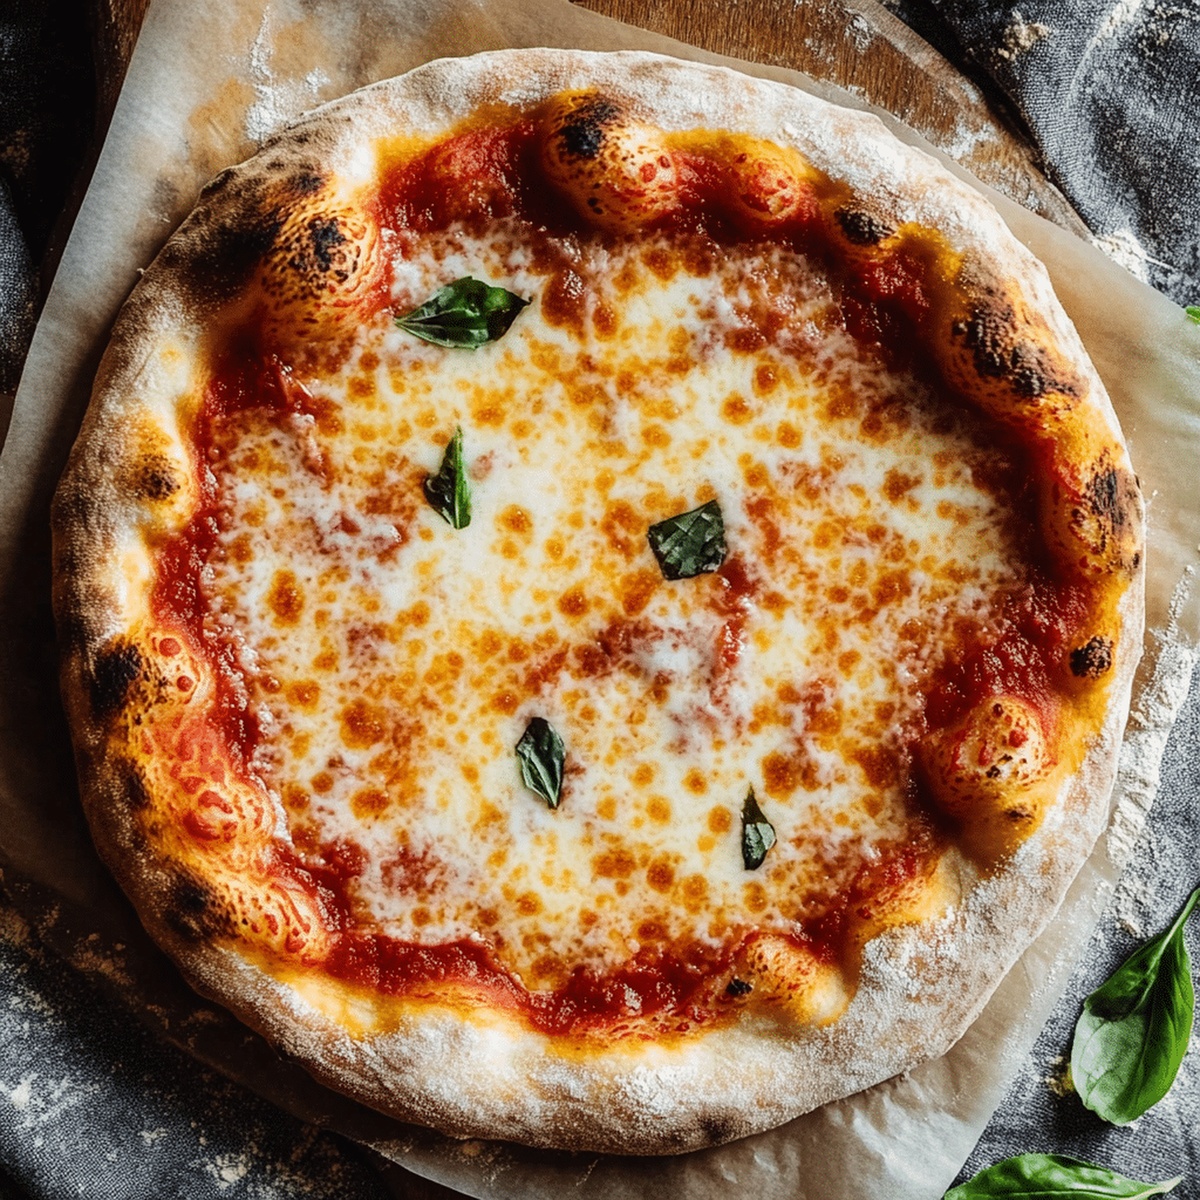
Homemade pizza dough creates mouthwatering possibilities for delicious Italian-style creations right in home kitchens. Simple ingredients and classic techniques help passionate cooks craft perfect pizza foundations with professional-level results.
Ingredients
Main Ingredients:
- 2 1/2 cups (300 g / 10.5 oz) bread flour or all-purpose flour
Dry Ingredients:
- 1 teaspoon granulated sugar
- 1 teaspoon salt
- 1 teaspoon instant dry yeast
Liquid Ingredients:
- 3/4 cup plus 1 tablespoon (195 ml) warm water
- olive oil (for greasing)
Instructions
- Merge dry ingredients – flour, sugar, salt, and yeast – in a spacious mixing vessel, creating a uniform base for your pizza foundation.
- Introduce warm water gradually, stirring consistently until the mixture transforms into a cohesive, slightly tacky dough with a shaggy texture.
- Transfer the dough onto a lightly dusted work surface, employing a rhythmic kneading technique for 5-7 minutes to develop gluten structure and achieve a silky, resilient consistency.
- Coat a clean bowl with olive oil, ensuring complete surface coverage, then gently nestle the dough inside and drape with a pristine kitchen cloth.
- Allow the dough to undergo a transformative proofing process, resting in a warm environment for 1-1.5 hours until it expands dramatically and nearly doubles in volume.
- Deflate the risen dough with a gentle punch, releasing trapped air pockets and redistributing yeast activity.
- Permit the dough a brief 10-minute relaxation period, enabling gluten strands to settle and become more malleable for effortless pizza crust shaping.
Notes
- Adjust water temperature carefully, as too hot water can kill yeast and prevent proper rising.
- Choose high-protein bread flour for a chewier, more authentic pizza crust texture.
- Experiment with whole wheat or gluten-free flour blends to accommodate different dietary needs and preferences.
- Rest the dough at room temperature to develop deeper, more complex flavor profiles during fermentation.
- Prep Time: 10 minutes
- Cook Time: 15 minutes
- Category: Dinner, Snacks
- Method: Fermenting
- Cuisine: Italian
Nutrition
- Serving Size: 2
- Calories: 232
- Sugar: 1 g
- Sodium: 337 mg
- Fat: 3 g
- Saturated Fat: 0.4 g
- Unsaturated Fat: 2.6 g
- Trans Fat: 0 g
- Carbohydrates: 47 g
- Fiber: 2 g
- Protein: 7 g
- Cholesterol: 0 mg
Emily Harper
Nutrition Consultant & Recipe Analyst
Expertise
Healthy Recipe Modification, Nutritional Analysis & Meal Planning, Global Cuisine & Dietary Adaptations
Education
School: French Pastry School, Chicago, IL
Program: L’Art de la Pâtisserie
Focus: Intensive training in traditional French pastry techniques, baking theory, and confectionery arts.
Emily’s journey started in a pastry kitchen but took a detour into the world of health and flavor science.
Graduating from the French Pastry School and studying nutrition opened her eyes to a new mission: making healthy food taste like something you’d actually crave.
At Dining At Home, Emily’s the go-to for smart, feel-good recipes that don’t trade flavor for nutrition.
She’s all about adding a fresh spin on old favorites and finding small ways to make everyday meals a little brighter.
Outside of the kitchen, Emily is most at home walking forest trails, testing plant-based recipes, or sharing a picnic under a wide-open sky.