Crispy Homemade Air Fryer Peanut Butter Cookies Recipe
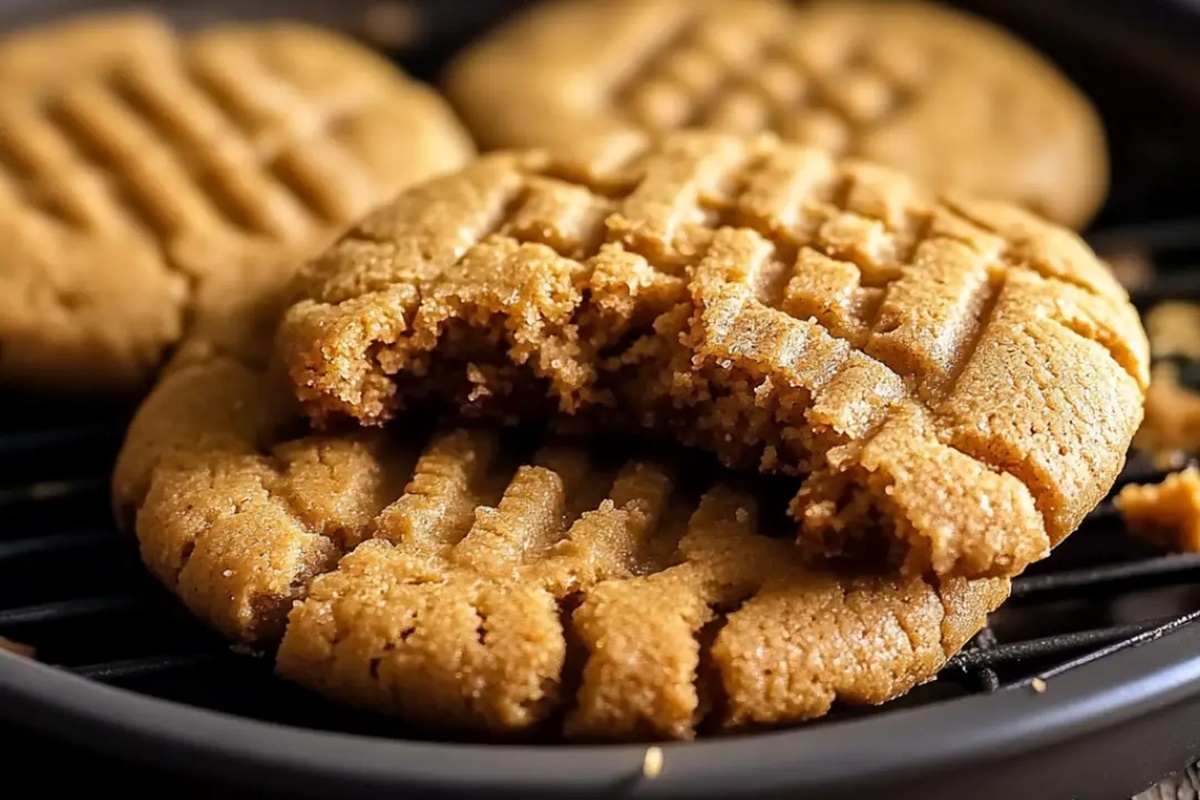
Crispy edges and soft centers define these delightful air fryer peanut butter cookies that melt in your mouth.
Homemade treats like these always spark instant joy in my kitchen.
Minimal ingredients create maximum flavor with this simple recipe.
Quick preparation means you can enjoy warm, fresh cookies in minutes.
Perfectly golden and irresistibly fragrant, these cookies promise pure comfort.
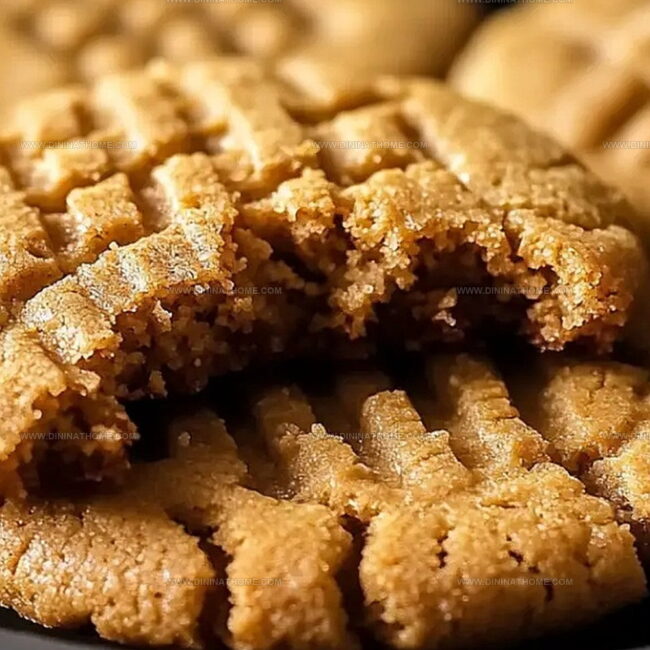
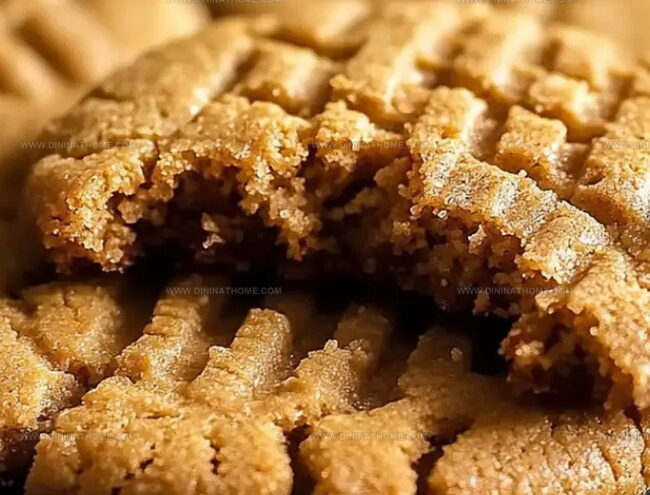
Sweet crumbles of peanut butter goodness await you in every bite.
Baking just got easier and more delicious with this game-changing method.
Jump into making these cookies and treat yourself to something spectacular.
Peanut Butter Cookies In The Air Fryer That Stay Soft And Rich
Air Fryer Peanut Butter Cookies Ingredient Essentials
Main Ingredients:Filling Ingredients:Flavor Enhancers:Air Fryer Method for Peanut Butter Cookies
Step 1: Whisk the Cookie Base
Create a smooth, creamy mixture by combining peanut butter, sugars, and egg in a large mixing bowl.
Blend thoroughly until the ingredients are fully integrated and look silky.
Add baking soda, vanilla extract, and a pinch of sea salt, stirring until completely mixed.
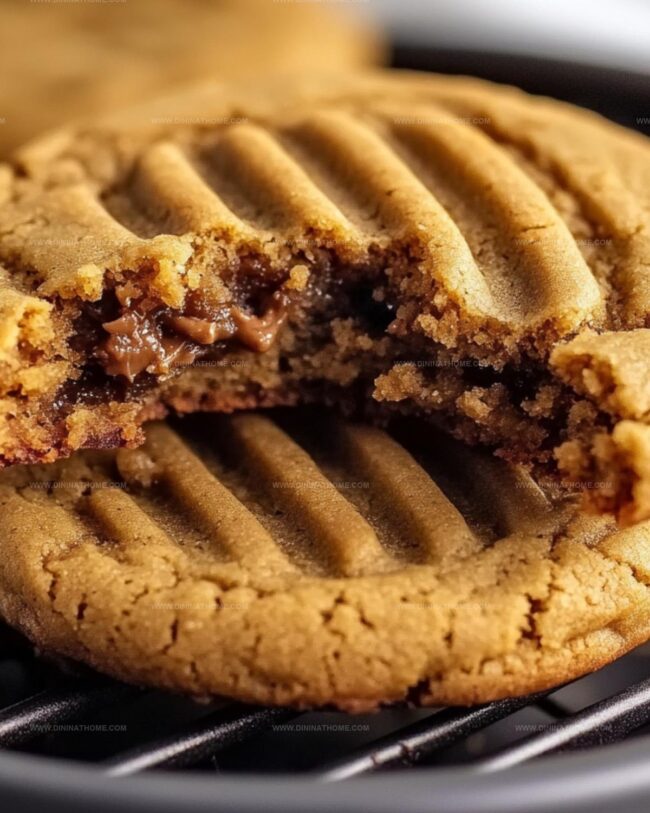
Step 2: Prepare Secret Filling
In a separate small bowl, craft a luscious center by mixing:Blend until the mixture becomes creamy and slightly thicker.
Step 3: Form Delightful Dough Balls
Scoop out portions of cookie dough and roll into perfect spheres.
Gently flatten each ball in your palm, creating a small indentation.
Place a tiny dollop of prepared filling in the center.
Carefully fold the dough around the filling, sealing completely.
Roll each ball smoothly to create a uniform shape.
Step 4: Design Cookie Tops
Arrange filled dough balls in the air fryer basket, leaving space between each cookie.
Use a fork to press a classic crisscross pattern on top, slightly flattening the cookies.
Step 5: Air Fry to Golden Perfection
Preheat the air fryer to 350°F.
Cook cookies in batches, ensuring they have breathing room.
Fry for 8–10 minutes until edges turn golden brown and develop a delicate crisp exterior.
Step 6: Cool and Savor
Transfer cookies carefully to a wire rack.
Allow them to rest for 5–10 minutes, letting the filling set while maintaining its gooey, delectable center.
Enjoy the warm, freshly baked treat with a glass of cold milk or your favorite beverage.
Air Fryer Tips for Soft Peanut Butter Cookies
Keep Air Fryer Peanut Butter Cookies Fresh
What to Pair with Peanut Butter Cookies
Air Fryer Cookies with Texture Tweaks
FAQs
Air fryers create a crispy exterior while keeping the inside soft and chewy, and they cook faster than traditional ovens with more even heat distribution.
Yes, both creamy and crunchy peanut butter work well. Just ensure it’s a smooth, spreadable consistency without separation.
No chilling is required for this recipe. You can shape and air fry the cookies immediately after preparing the dough.
Lightly spray the basket with non-stick cooking spray or use parchment paper liners designed for air fryers to ensure easy cookie removal.
Print
Air Fryer Peanut Butter Cookies Recipe
- Total Time: 25 minutes
- Yield: 12 1x
Description
Irresistible air fryer peanut butter cookies deliver classic comfort with modern kitchen magic. Crisp edges, chewy centers, and rich nutty flavor promise a delightful treat you’ll savor in just minutes.
Ingredients
Main Ingredients:
- 1 cup smooth peanut butter
- 1/4 cup smooth peanut butter (for filling)
- 1/2 cup granulated sugar
- 1/2 cup packed brown sugar
- 1 large egg
Secondary Ingredients:
- 1 teaspoon baking soda
- 1 teaspoon vanilla extract
Finishing Ingredients:
- 1 pinch sea salt
Instructions
- Craft a smooth, homogeneous mixture by vigorously blending peanut butter, granulated and brown sugars, and the egg until the texture becomes uniformly creamy and well-integrated.
- Incorporate baking soda, vanilla extract, and a delicate sprinkle of sea salt, stirring thoroughly to ensure even distribution throughout the dough.
- Create a luxurious filling by whisking the reserved peanut butter with powdered sugar, aiming for a slightly thickened consistency that will melt deliciously inside the cookie.
- Portion the dough into tablespoon-sized spheres, gently flattening each ball to create a small crater for the filling.
- Carefully nestle a modest dollop of the prepared filling into the center of each dough portion, meticulously sealing the edges to encase the creamy center completely.
- Roll the filled dough balls between your palms to achieve a smooth, uniform shape that conceals the hidden filling.
- Arrange the cookies in the air fryer basket, leaving sufficient space between each to allow proper heat circulation.
- Press a classic crisscross pattern onto each cookie using the tines of a fork, which simultaneously flattens and decorates the surface.
- Activate the air fryer to 350°F, cooking the cookies in carefully managed batches for 8-10 minutes until the edges transform into a golden, slightly crisp hue.
- Transfer the freshly cooked cookies to a wire cooling rack, allowing them to rest for 5-10 minutes, during which the molten filling will gradually stabilize while maintaining its luscious interior.
Notes
- Customize sugar levels by adjusting granulated and brown sugar for desired sweetness intensity.
- Experiment with different nut butter alternatives like almond or cashew butter for unique flavor profiles.
- Ensure filling doesn’t leak by pinching dough edges firmly and rolling gently to seal completely.
- Store cookies in airtight container at room temperature for maximum freshness, consuming within 3-4 days.
- Prep Time: 15 minutes
- Cook Time: 10 minutes
- Category: Desserts, Snacks
- Method: Air Frying
- Cuisine: American
Nutrition
- Serving Size: 12
- Calories: 160
- Sugar: 10 g
- Sodium: 100 mg
- Fat: 9 g
- Saturated Fat: 2 g
- Unsaturated Fat: 7 g
- Trans Fat: 0 g
- Carbohydrates: 18 g
- Fiber: 1 g
- Protein: 5 g
- Cholesterol: 25 mg
James Walker
Lead Recipe Developer & Culinary Educator
Expertise
Southern Cuisine & Farm-to-Table Cooking, Recipe Development & Testing, Culinary Education & Instruction
Education
School: Auguste Escoffier School of Culinary Arts
Program: Diploma in Culinary Arts and Operations
Focus: Comprehensive training in classical and modern culinary techniques, kitchen operations, and farm-to-table practices.
James didn’t learn cooking from a TV show, he learned it from busy kitchens, family gatherings, and long afternoons spent testing recipes the hard way.
After training at the Auguste Escoffier School of Culinary Arts, he brought his love for real, down-to-earth food to every dish he makes.
At Dining At Home, James loves building recipes that feel familiar but still have something special, like adding a twist to a classic or making a slow Sunday dinner feel brand new.
When he’s not in the kitchen, you’ll probably find him swapping garden tips at the farmers’ market or teaching his daughter how to flip pancakes without a mess (almost).