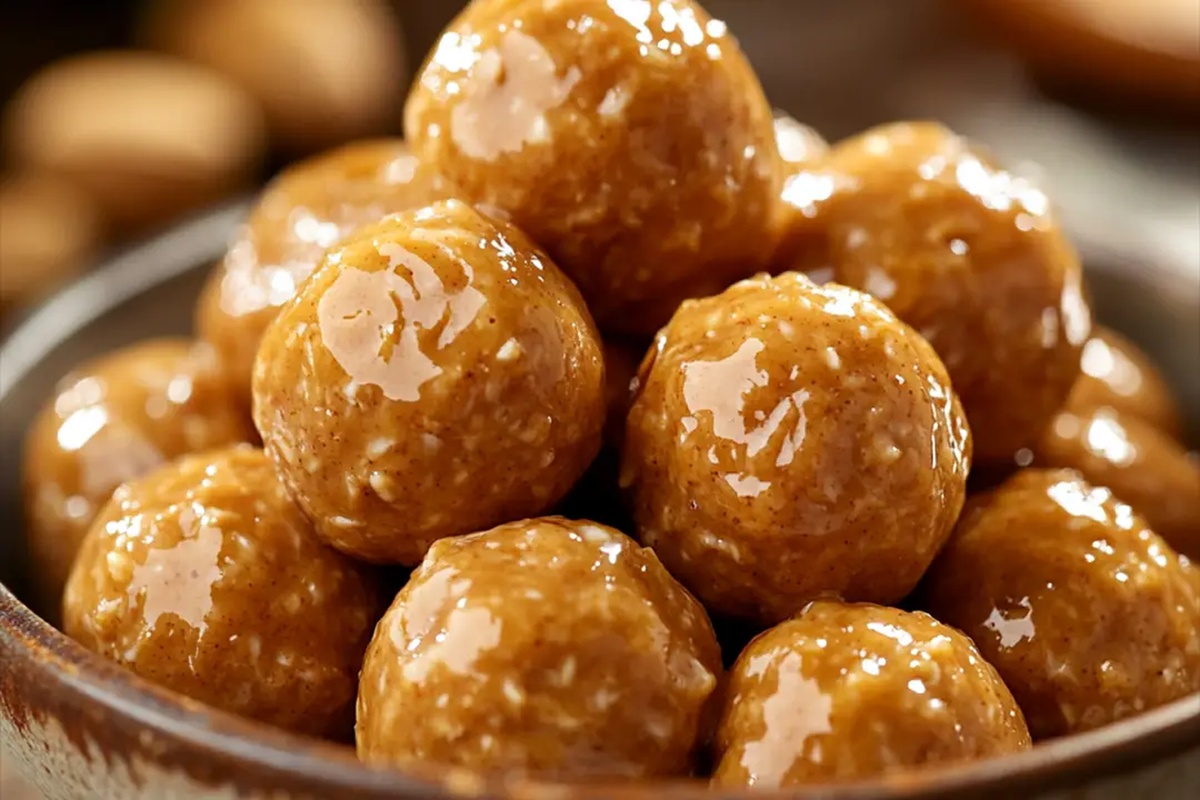
Irresistible 4-Ingredient Peanut Butter Balls Recipe for Sweet Smiles
Crafting delectable 4-ingredient peanut butter balls requires minimal effort and maximum satisfaction.
Sweet treats like these always spark joy in our kitchen.
Incredibly simple ingredients combine to create something magical.
Quick mixing and no-bake preparation mean you can whip these up in minutes.
Chocolate lovers will adore the rich coating that complements creamy peanut butter perfectly.
Small hands and big appetites alike gravitate toward these irresistible bites.
Let’s roll into a delightful snacking adventure that promises pure deliciousness.
Peanut Butter Balls That Are So Easy and Loved by All
4-Ingredient Peanut Butter Balls – What Goes In
Main Ingredients:
Cream Cheese and Peanut Butter Base:Sweetener:Coating and Decoration:Peanut Butter Ball Instructions in Four Ingredients
Step 1: Blend Creamy Base
In a mixing bowl, whip softened cream cheese and peanut butter together until the mixture becomes silky smooth and perfectly combined.
Use an electric mixer to achieve a consistent texture without any lumps.
Step 2: Create Dough Mixture
Gradually incorporate powdered sugar into the creamy base.
Stir thoroughly until the ingredients transform into a thick, moldable dough that holds its shape when pressed together.
Step 3: Shape Delightful Balls
Gently roll the mixture into bite-sized spheres, approximately one inch in diameter.
Place each ball carefully on a parchment-lined baking sheet, ensuring they are not touching each other.
Step 4: Chill and Prepare
Transfer the baking sheet to the refrigerator and let the balls cool for about 15-20 minutes.
Meanwhile, prepare your chosen chocolate for coating.
Step 5: Melt Chocolate Coating
Select milk, dark, or white chocolate for dipping.
Melt the chocolate using either a microwave in short intervals or a double boiler, stirring until completely smooth and glossy.
Step 6: Dip and Cover
Remove chilled balls from the refrigerator.
Using a fork or specialized dipping tool, carefully submerge each ball into the melted chocolate.
Ensure complete coverage and allow excess chocolate to drip off.
Step 7: Set and Harden
Place chocolate-coated balls on a fresh parchment-lined tray.
Return to the refrigerator and let them set until the chocolate becomes firm and crisp.
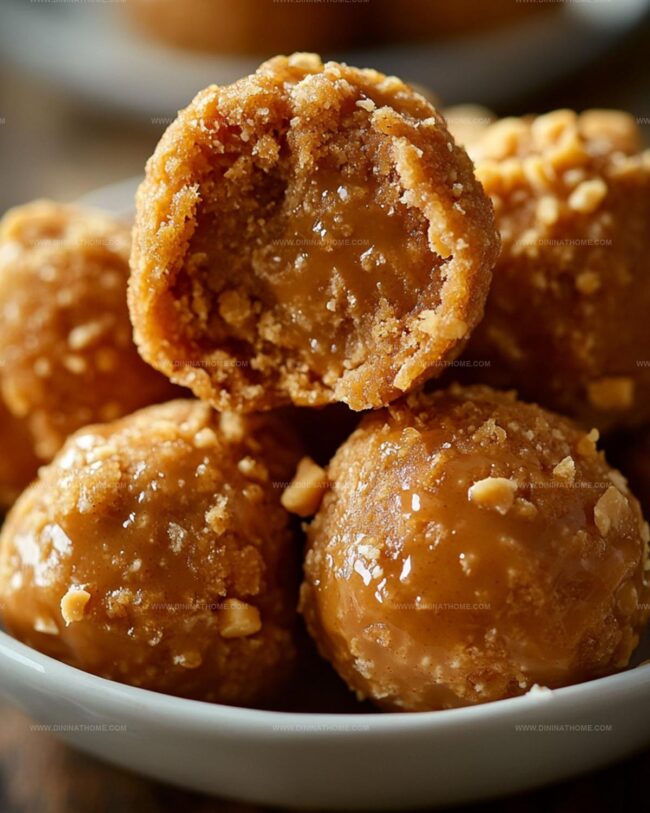
Step 8: Final Flourish
Optional: Sprinkle with powdered sugar or drizzle additional melted chocolate for an elegant finishing touch.
Serve chilled and enjoy your decadent treats.
Quick PB Ball Tips Using Only Four Ingredients

Save 4-Ingredient Peanut Butter Balls
Sweet Snacks for Peanut Butter Balls
Classic Peanut Butter Balls Reimagined
FAQs
They can be adapted for gluten-free diets by using gluten-free powdered sugar, but contain dairy from cream cheese and may not be suitable for vegans or those with nut allergies.
These treats can be prepared up to 5-7 days in advance and stored in an airtight container in the refrigerator, maintaining their fresh taste and texture.
While a mixer helps create a smoother texture, you can mix the ingredients by hand using a sturdy spatula or wooden spoon, just ensure the cream cheese is very soft and mix thoroughly.
Chocolate melting wafers or high-quality chocolate chips work best because they melt smoothly and create a nice, even coating on the peanut butter balls.
Print
4-Ingredient Peanut Butter Balls Recipe
- Total Time: 15 minutes
- Yield: 20 1x
Description
Indulgent 4-ingredient peanut butter balls deliver sweet nostalgia with minimal effort. Creamy peanut butter, chocolate, and crisp rice cereal combine into irresistible bite-sized treats that bring pure comfort and joy in every delectable morsel.
Ingredients
Primary Ingredients:
- 1 cup creamy peanut butter
- 1 cup powdered sugar
- 8 ounces (226 grams) cream cheese, softened
Coating Ingredients:
- Chocolate (milk, dark, or white)
Instructions
- Blend softened cream cheese and peanut butter in a mixing bowl until achieving a silky, uniform consistency.
- Gradually incorporate powdered sugar, stirring until the mixture transforms into a dense, cohesive dough.
- Shape the mixture into compact, spherical portions approximately one inch in diameter, arranging them carefully on a lined baking sheet.
- Chill the formed balls in the refrigerator for approximately 15-20 minutes to firm their structure.
- Select your preferred chocolate variety – milk, dark, or white – and gently melt using a microwave or double boiler, stirring until achieving a glossy, smooth texture.
- Remove chilled balls from refrigerator and prepare a dipping station with melted chocolate and a fork or specialized dipping tool.
- Carefully immerse each ball into the melted chocolate, ensuring complete coverage and allowing excess chocolate to elegantly cascade back into the bowl.
- Transfer chocolate-coated balls onto a parchment-lined tray, maintaining spacing between each piece.
- Return the tray to the refrigerator, allowing the chocolate coating to solidify completely.
- For an optional elegant finishing touch, delicately dust with powdered sugar or create intricate chocolate drizzle patterns across the surface of the chilled treats.
Notes
- Use room temperature cream cheese for a smoother, easier-to-mix consistency that prevents lumps in the mixture.
- Chill the peanut butter ball mixture for 15-30 minutes before rolling to make shaping easier and prevent sticky hands.
- Experiment with alternative nut butters like almond or cashew butter for different flavor profiles and dietary needs.
- Add a pinch of sea salt or drizzle with dark chocolate for more complex flavor depth and gourmet appeal.
- Prep Time: 15 minutes
- Cook Time: 0 minutes
- Category: Snacks, Desserts
- Method: Rolling
- Cuisine: American
Nutrition
- Serving Size: 20
- Calories: 150
- Sugar: 8 g
- Sodium: 90 mg
- Fat: 10 g
- Saturated Fat: 3 g
- Unsaturated Fat: 7 g
- Trans Fat: 0 g
- Carbohydrates: 15 g
- Fiber: 1 g
- Protein: 4 g
- Cholesterol: 15 mg
James Walker
Lead Recipe Developer & Culinary Educator
Expertise
Southern Cuisine & Farm-to-Table Cooking, Recipe Development & Testing, Culinary Education & Instruction
Education
School: Auguste Escoffier School of Culinary Arts
Program: Diploma in Culinary Arts and Operations
Focus: Comprehensive training in classical and modern culinary techniques, kitchen operations, and farm-to-table practices.
James didn’t learn cooking from a TV show, he learned it from busy kitchens, family gatherings, and long afternoons spent testing recipes the hard way.
After training at the Auguste Escoffier School of Culinary Arts, he brought his love for real, down-to-earth food to every dish he makes.
At Dining At Home, James loves building recipes that feel familiar but still have something special, like adding a twist to a classic or making a slow Sunday dinner feel brand new.
When he’s not in the kitchen, you’ll probably find him swapping garden tips at the farmers’ market or teaching his daughter how to flip pancakes without a mess (almost).