The Perfect Honey Garlic Chicken Recipe for Busy Weeknights
Whipping up a delectable honey garlic chicken takes less time than you might expect.
My kitchen often buzzes with excitement when this aromatic dish comes together.
Weeknight meals can feel mundane, but this recipe introduces a burst of sweet and savory flavors that dance across your palate.
Simple ingredients merge into something spectacular with minimal effort.
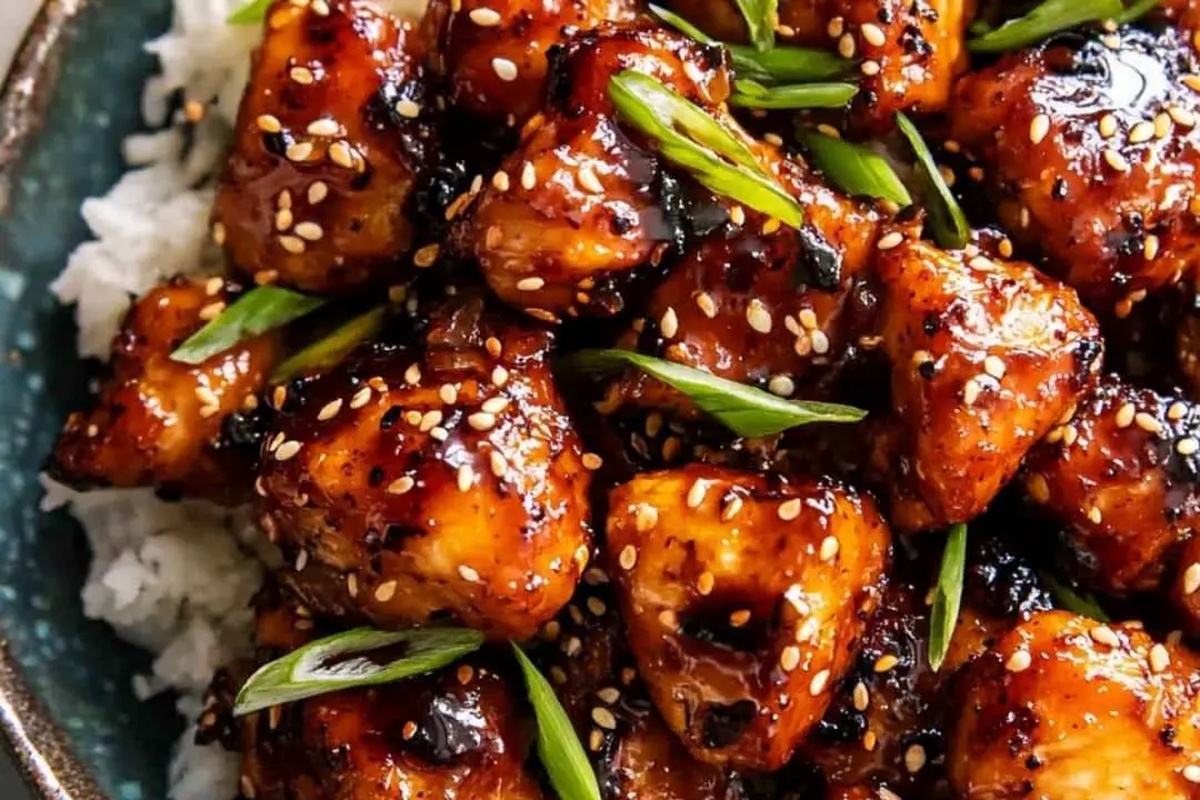
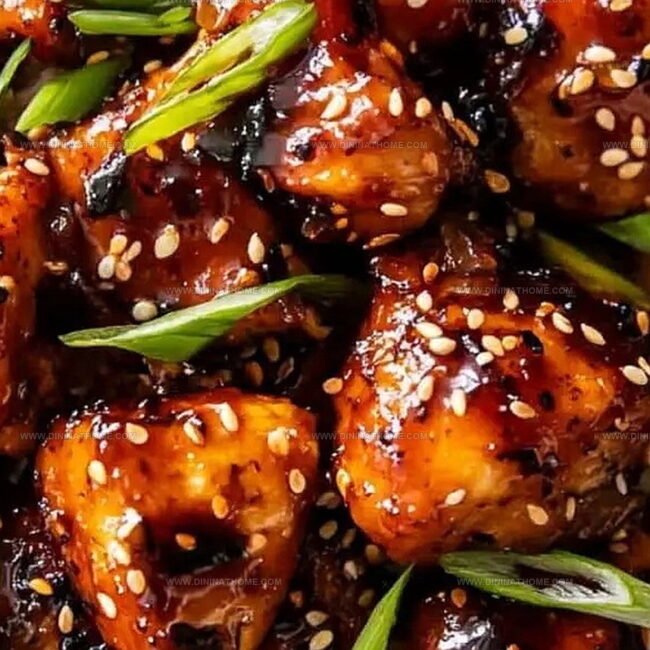
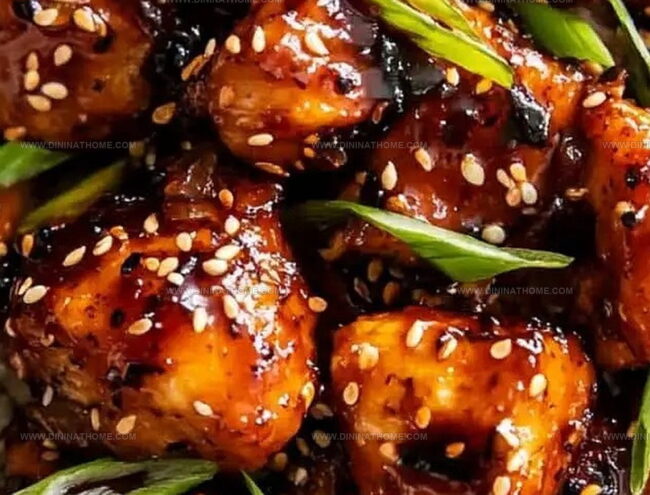
Tender chicken pieces glisten with a rich, golden-brown sauce that promises instant satisfaction.
Quick preparation meets restaurant-quality results, making dinner both effortless and impressive.
Jump into this culinary adventure and watch your dinner table transform into a gourmet experience.
Honey Garlic Chicken Done in 30 Minutes and Big on Flavor
Honey Garlic Chicken (30-Minute) Ingredients
Protein Base:Coating and Thickening Agents:Sauce Components:Aromatics and Garnish:Honey Garlic Chicken 30-Minute Steps
Step 1: Prepare Chicken Pieces
Slice chicken into bite-sized chunks.
Season with salt and pepper.
Dust chicken with cornstarch to create a crispy golden exterior during cooking.
Step 2: Sizzle Chicken
Heat oil in a large skillet over medium-high heat.
Cook chicken pieces for 4-5 minutes on each side until golden brown and fully cooked.
Transfer chicken to a clean plate.
Step 3: Craft Flavorful Sauce
In the same skillet, add a touch more oil.
Quickly sauté minced garlic for 30 seconds until aromatic.
Add sauce ingredients:Simmer sauce for 2-3 minutes until it begins to thicken.
Step 4: Merge Chicken and Sauce
Return cooked chicken to the skillet.
Gently toss to coat every piece with the glossy sauce.
Allow mixture to simmer an additional 2-3 minutes until sauce becomes rich and clingy.
Step 5: Final Touches
Enhance dish with final garnishes:Serve immediately over steamed rice, soft noodles, or fresh vegetables.
Quick Cooking Tips for Honey Garlic Chicken
Honey Garlic Chicken Reheated Easily
What Complements Honey Garlic Chicken
Honey Garlic Chicken 30-Minute Twists
FAQs
Cornstarch creates a thin, crispy coating that helps the chicken brown beautifully and lock in moisture, giving you a golden exterior with a tender inside.
Rice vinegar works best for this recipe, but if you don’t have it, you can substitute with apple cider vinegar or white wine vinegar for a similar tangy flavor.
Add a teaspoon of sriracha sauce or red pepper flakes to the honey garlic sauce to give it a nice kick of heat and extra flavor complexity.
To make it gluten-free, use tamari instead of regular soy sauce and ensure all other ingredients are certified gluten-free.
Print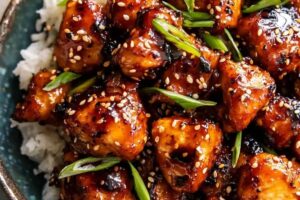
30-Minute Honey Garlic Chicken Recipe
- Total Time: 30 minutes
- Yield: 4 1x
Description
Succulent 30-minute honey garlic chicken promises a delightful culinary journey with its perfect balance of sweet and savory flavors. Crispy, golden-brown chicken glazed in a rich honey garlic sauce will satisfy your taste buds and leave you craving more.
Ingredients
Protein:
- 1.5 pounds (680 grams) boneless, skinless chicken breasts or thighs, cut into bite-sized pieces
Sauce Components:
- 1/3 cup honey
- 1/4 cup low-sodium soy sauce
- 2 tablespoons water
- 1 tablespoon rice vinegar
- 1 teaspoon sesame oil
Seasoning and Cooking Ingredients:
- 3 tablespoons cornstarch
- 1/4 teaspoon salt
- 1/4 teaspoon black pepper
- 2 tablespoons vegetable oil
- 3 cloves garlic, minced
- 2 green onions, chopped
- 1 teaspoon sesame seeds (for garnish)
Instructions
- Prepare the chicken by cutting it into uniform, bite-sized pieces that will cook evenly and absorb the sauce effectively.
- Season the chicken portions with a delicate blend of salt and pepper, ensuring each piece is lightly coated.
- Dust the seasoned chicken with cornstarch, creating a light, protective layer that will transform into a delightfully crisp exterior during cooking.
- Warm a spacious skillet over medium-high heat, adding a generous splash of oil to prevent sticking and promote golden browning.
- Carefully place the cornstarch-coated chicken pieces into the hot skillet, allowing each side to develop a rich, caramelized crust for approximately 4-5 minutes.
- Verify the chicken is thoroughly cooked by checking for a golden-brown color and ensuring no pink remains in the center.
- Transfer the perfectly seared chicken to a separate plate, keeping it warm and ready for the next stage.
- In the same skillet, add a touch more oil and quickly sauté minced garlic until its aromatic essence permeates the pan.
- Rapidly whisk together honey, soy sauce, rice vinegar, and water, creating a glossy, harmonious sauce.
- Allow the sauce to simmer and reduce, watching it transform into a slightly thickened, lustrous coating.
- Gently reintroduce the cooked chicken to the skillet, carefully turning each piece to ensure complete sauce coverage.
- Let the chicken and sauce meld together for an additional 2-3 minutes, allowing the flavors to intensify and the sauce to cling tantalizingly to each morsel.
- Finish the dish with a delicate drizzle of sesame oil for depth and complexity.
- Garnish with a sprinkle of fresh green onions and toasted sesame seeds for visual appeal and added texture.
- Serve immediately atop a bed of steamed rice, tender noodles, or vibrant vegetables for a complete and satisfying meal.
Notes
- Achieve golden-brown chicken by ensuring the skillet is hot before adding the pieces, preventing soggy results and creating a perfect crispy exterior.
- Optimize cornstarch coating by patting chicken dry before seasoning, allowing for maximum crispiness and better sauce adherence.
- Prevent sauce from burning by adjusting heat to medium-low when simmering, stirring occasionally to maintain smooth consistency and prevent sticking.
- Customize the dish for dietary needs by using gluten-free soy sauce, honey alternatives for low-sugar diets, or swapping chicken with tofu for a vegetarian version.
- Prep Time: 10 minutes
- Cook Time: 20 minutes
- Category: Dinner
- Method: Sautéing
- Cuisine: Asian
Nutrition
- Serving Size: 4
- Calories: 450
- Sugar: 24 g
- Sodium: 400 mg
- Fat: 14 g
- Saturated Fat: 2 g
- Unsaturated Fat: 10 g
- Trans Fat: 0 g
- Carbohydrates: 50 g
- Fiber: 1 g
- Protein: 30 g
- Cholesterol: 100 mg
Emily Harper
Nutrition Consultant & Recipe Analyst
Expertise
Healthy Recipe Modification, Nutritional Analysis & Meal Planning, Global Cuisine & Dietary Adaptations
Education
School: French Pastry School, Chicago, IL
Program: L’Art de la Pâtisserie
Focus: Intensive training in traditional French pastry techniques, baking theory, and confectionery arts.
Emily’s journey started in a pastry kitchen but took a detour into the world of health and flavor science.
Graduating from the French Pastry School and studying nutrition opened her eyes to a new mission: making healthy food taste like something you’d actually crave.
At Dining At Home, Emily’s the go-to for smart, feel-good recipes that don’t trade flavor for nutrition.
She’s all about adding a fresh spin on old favorites and finding small ways to make everyday meals a little brighter.
Outside of the kitchen, Emily is most at home walking forest trails, testing plant-based recipes, or sharing a picnic under a wide-open sky.